Instructions for scheduling
Introduction
Welcome to our help centre. Please see the information below for help in using our system.
Shortcuts - Video Tutorials
Please check our Video Tutorials for the most common actions.
1. Learn how - Schedule a demo
2. My demo schedule rearrangement
Learn how - Invite/Uninvite
Learn how - Reschedule/Cancel
3. Learn how - Connect to Demo
How to:
1. Schedule a demo
1.1. Home page
Schedule a Demo using following Home page sections:
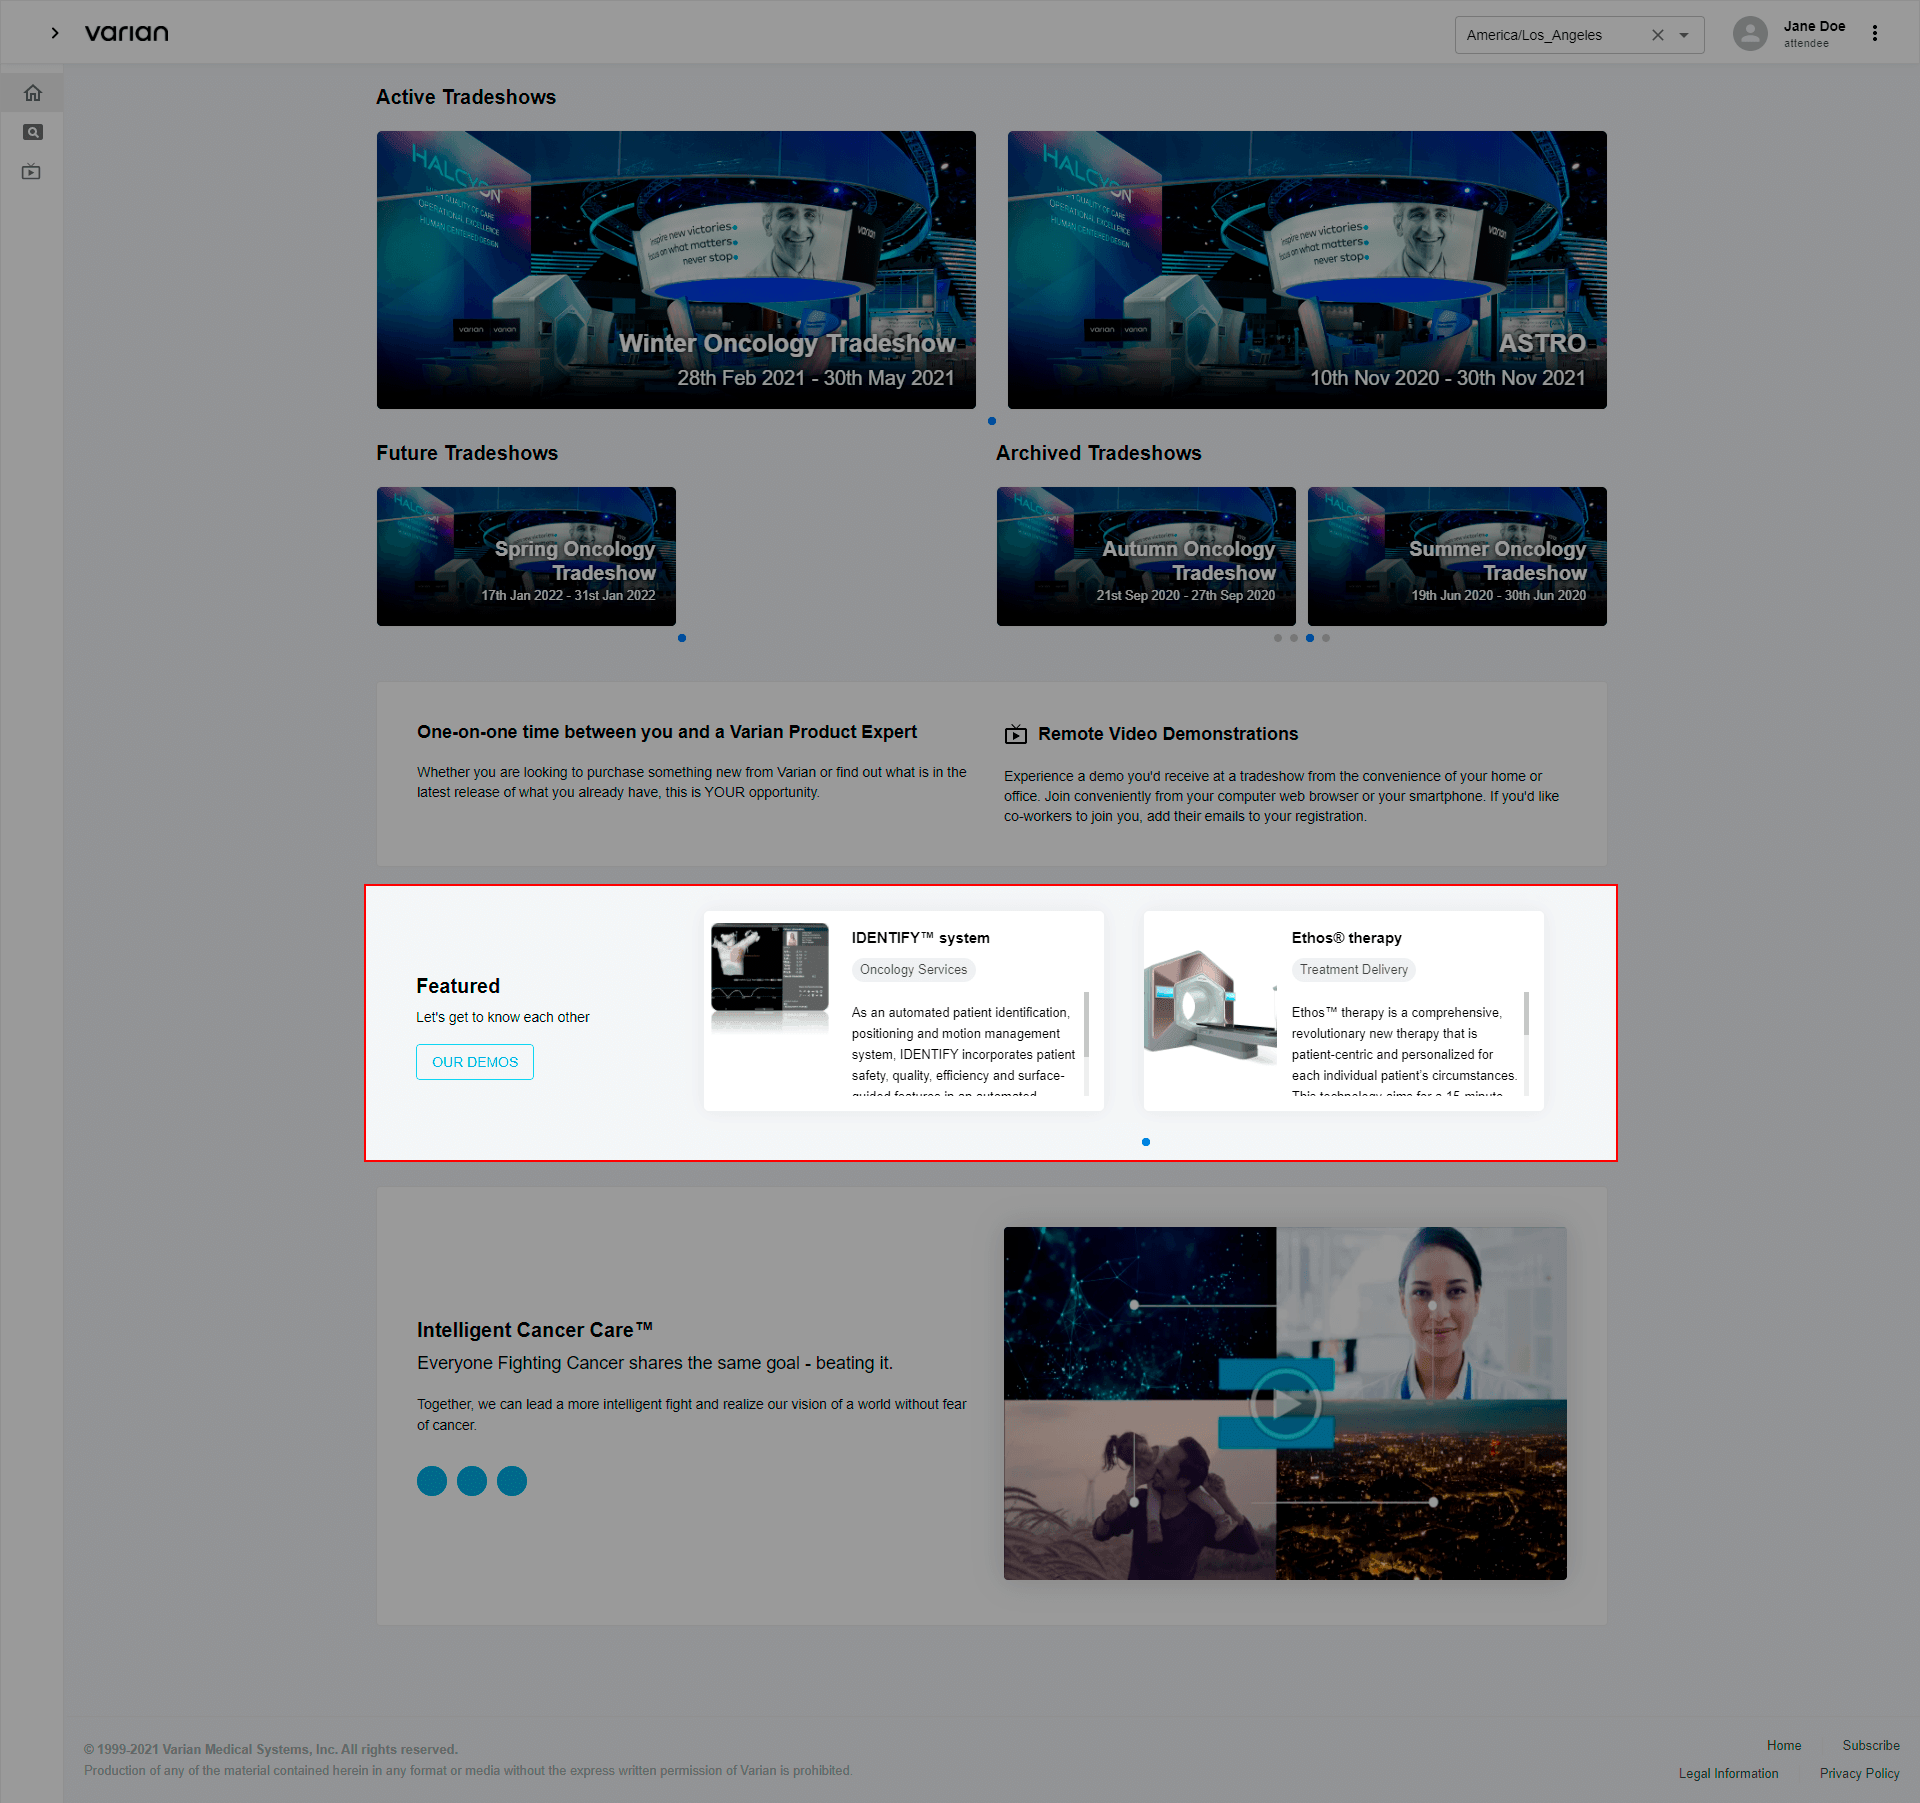
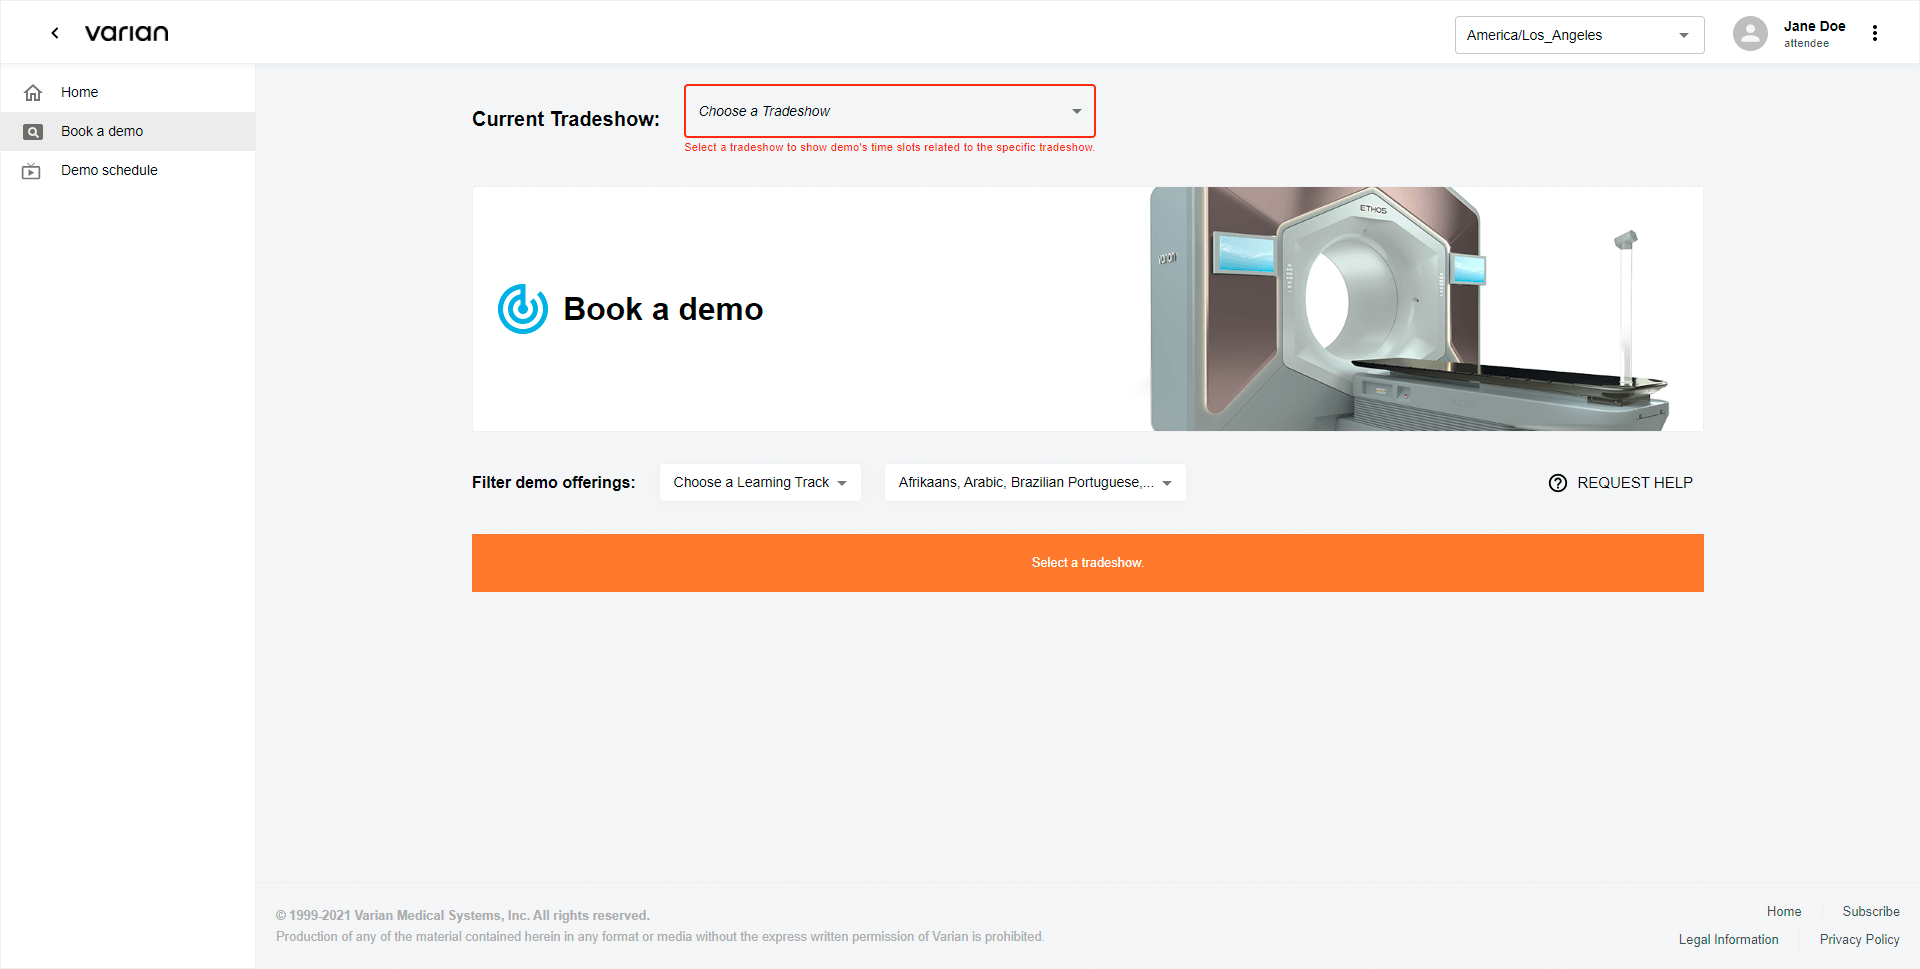
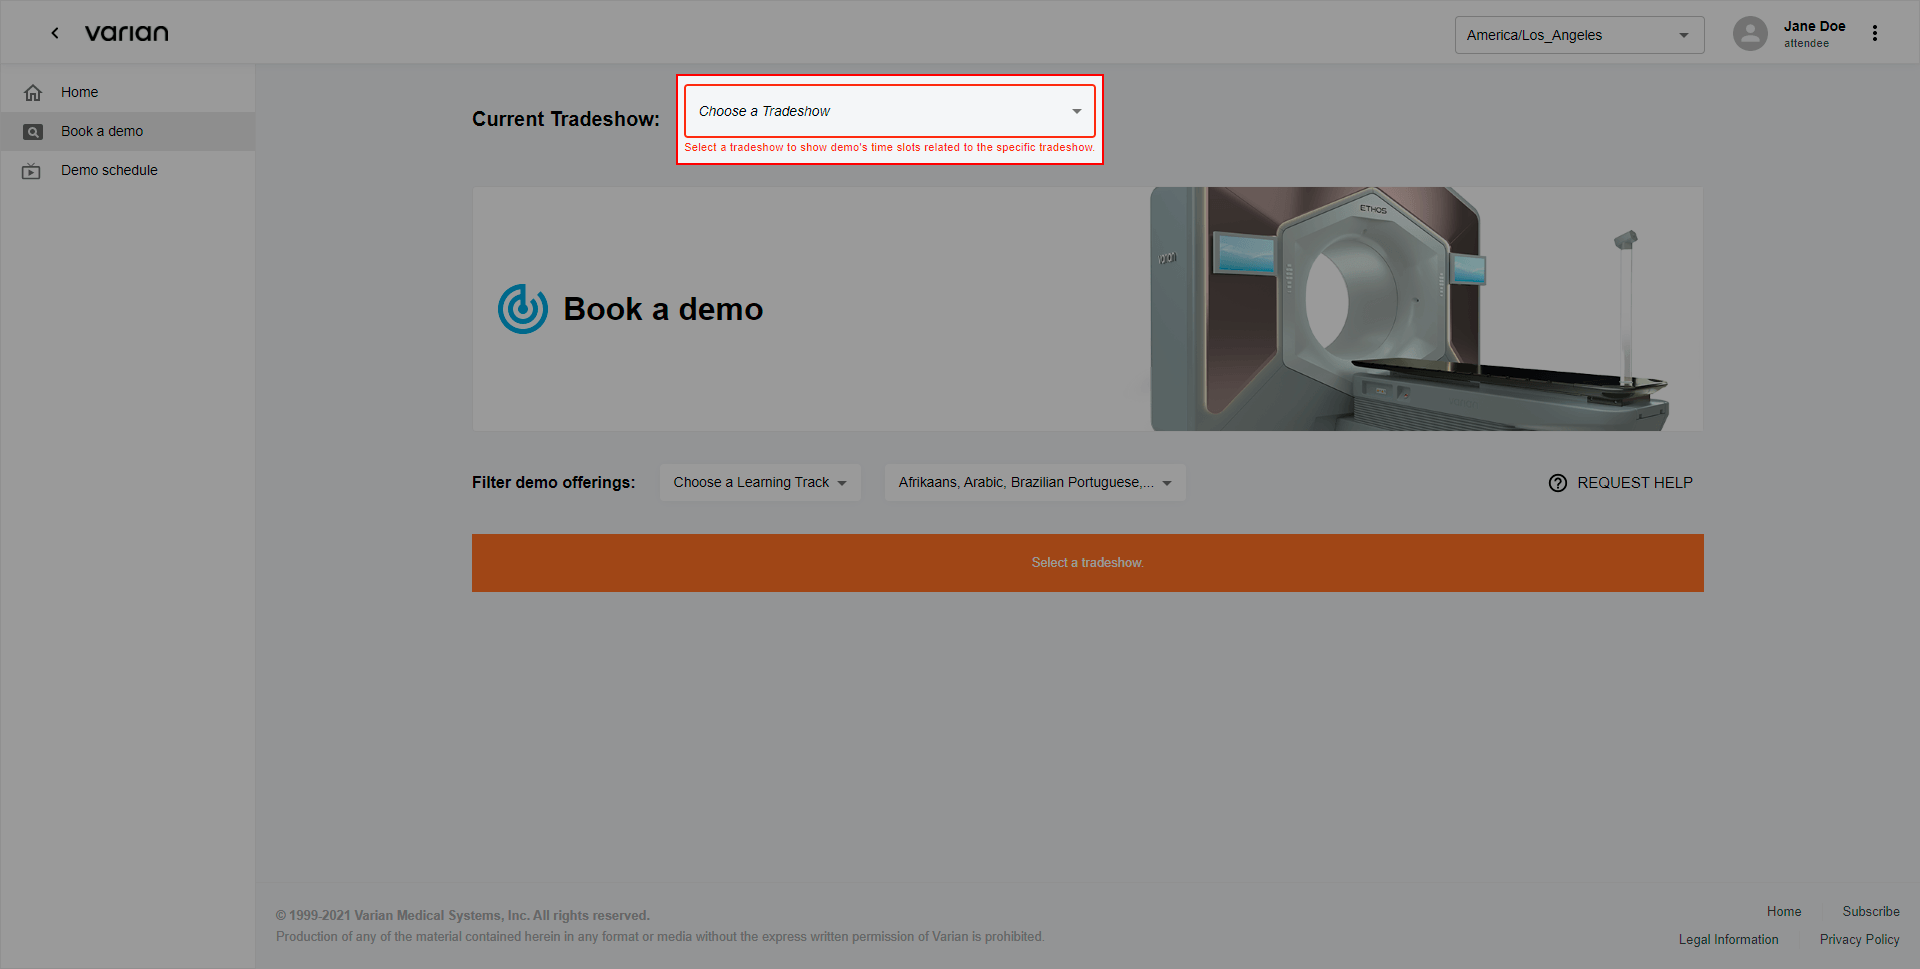
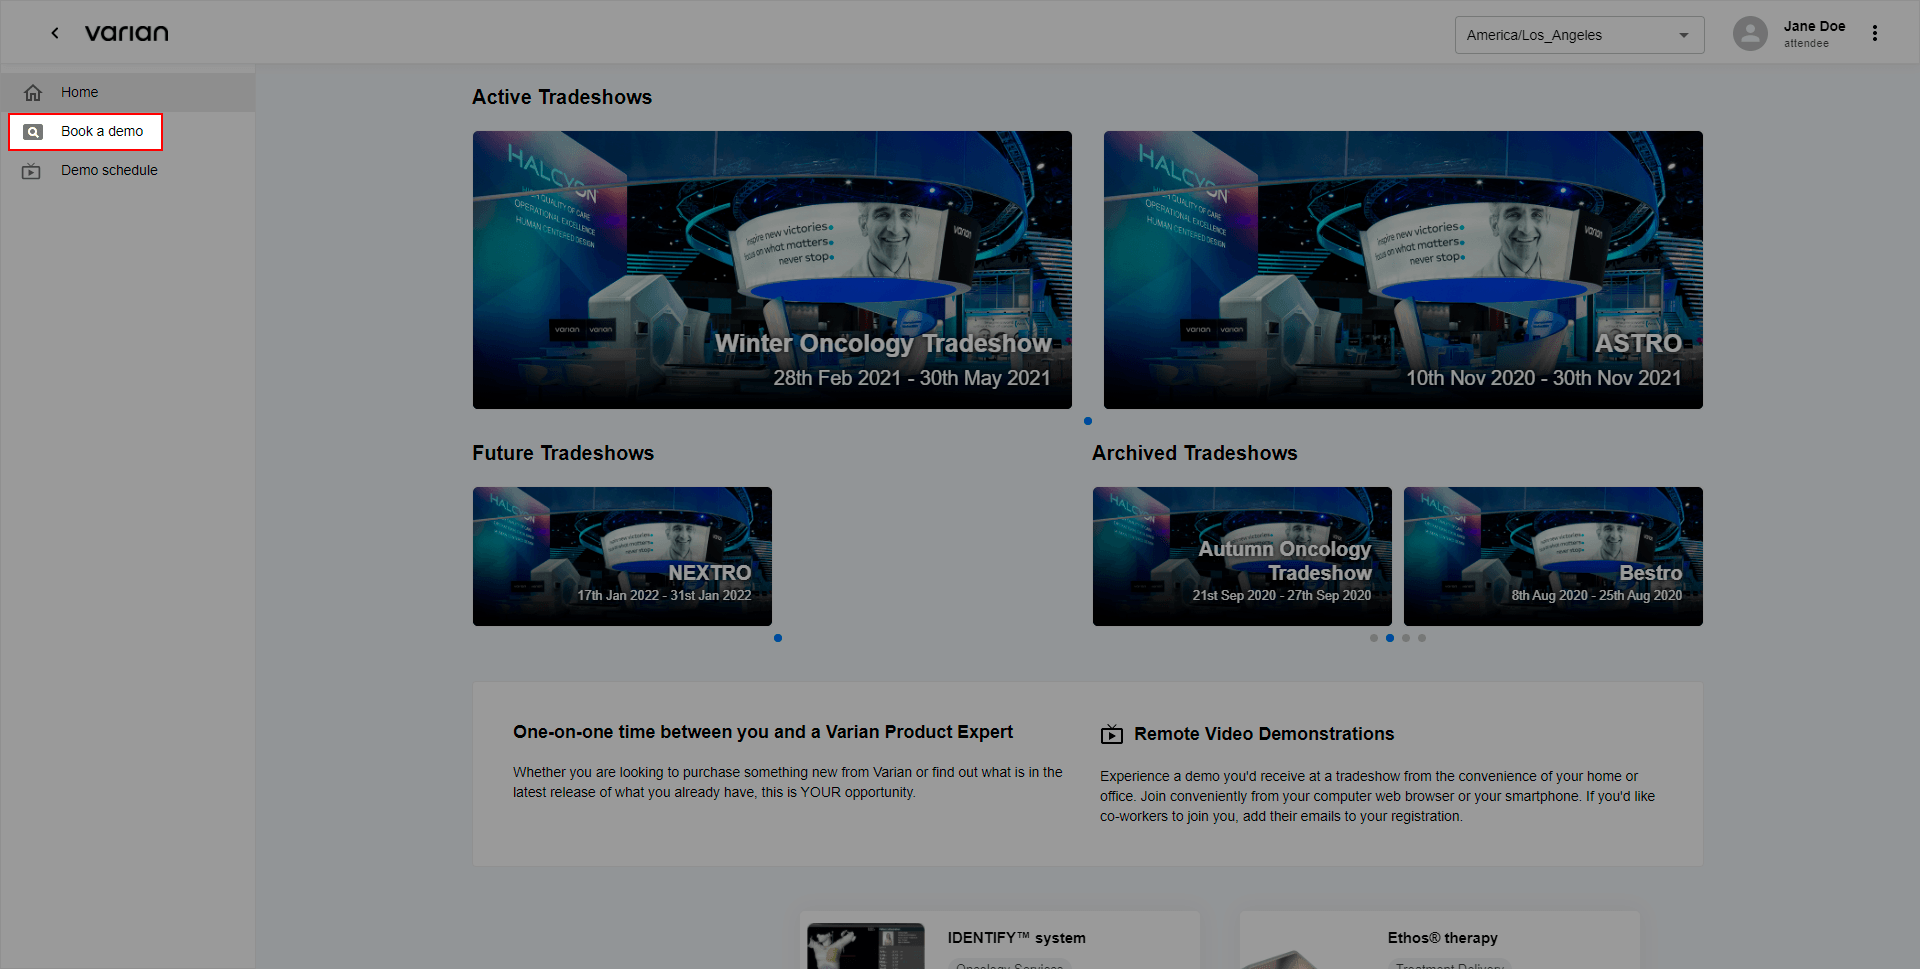
1.1.1. Active Tradeshow
To schedule a Demo using Active Tradeshow:
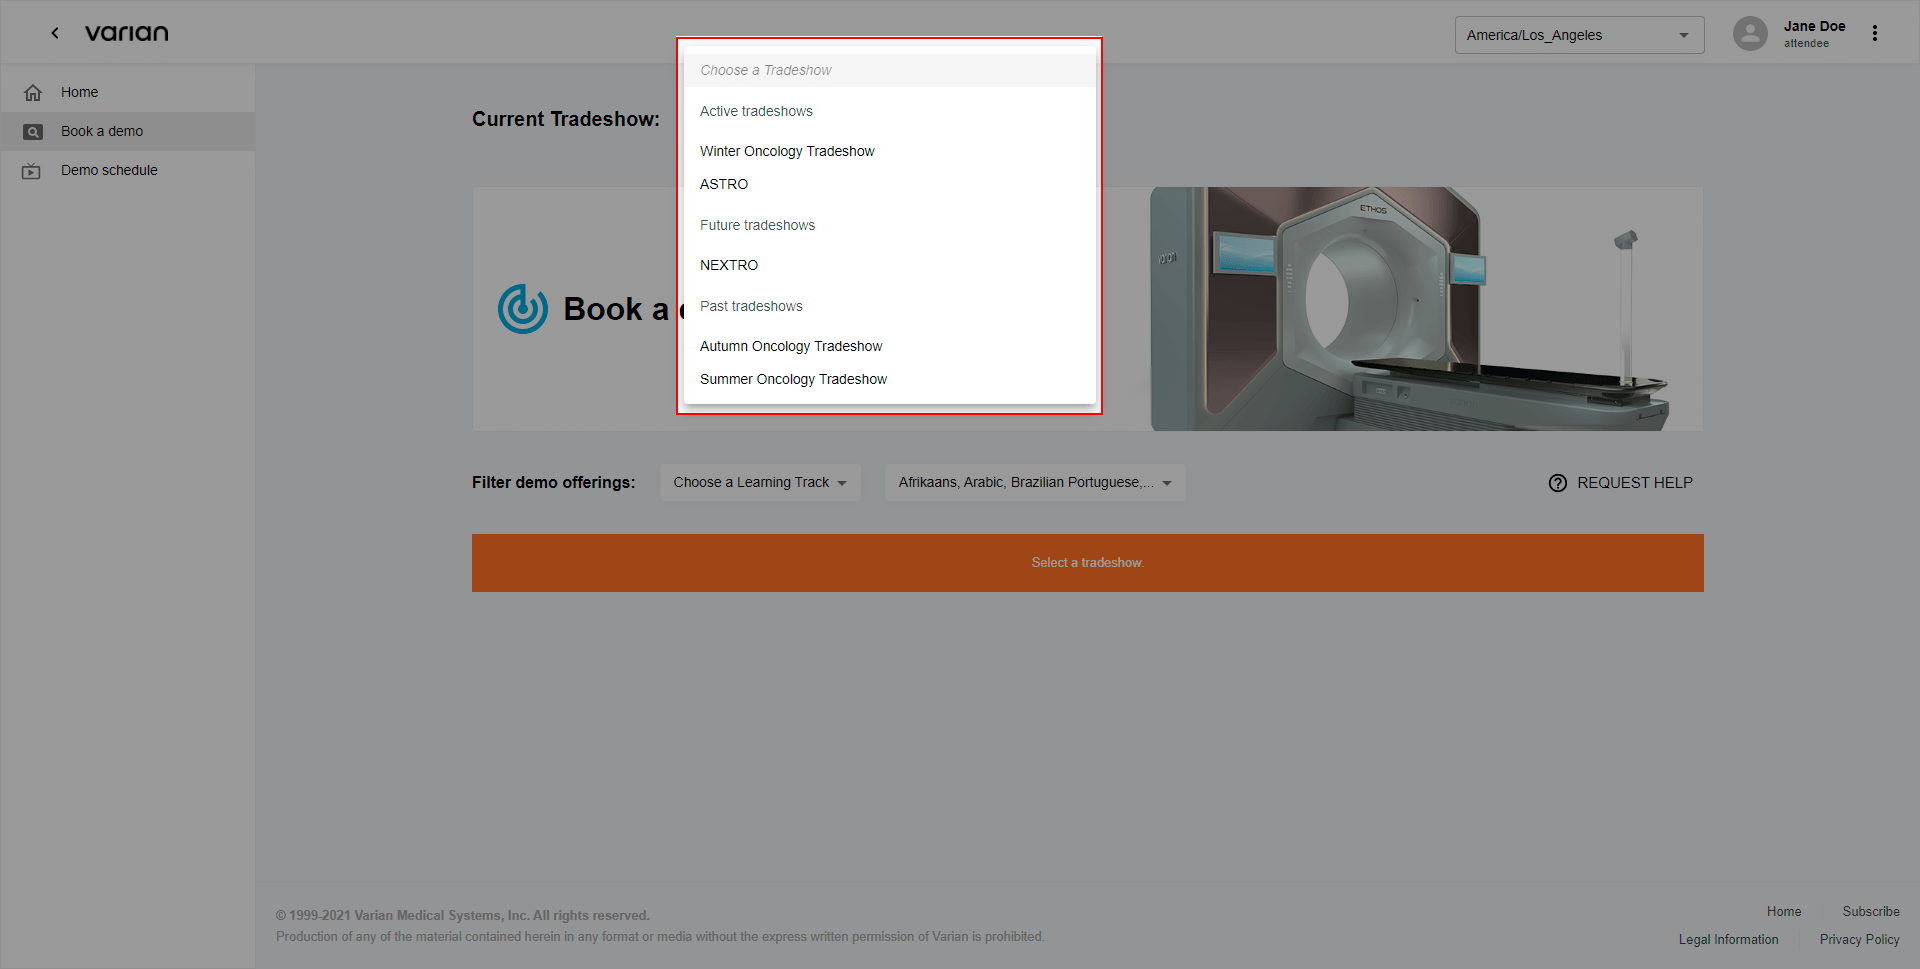
Choose Tradeshow
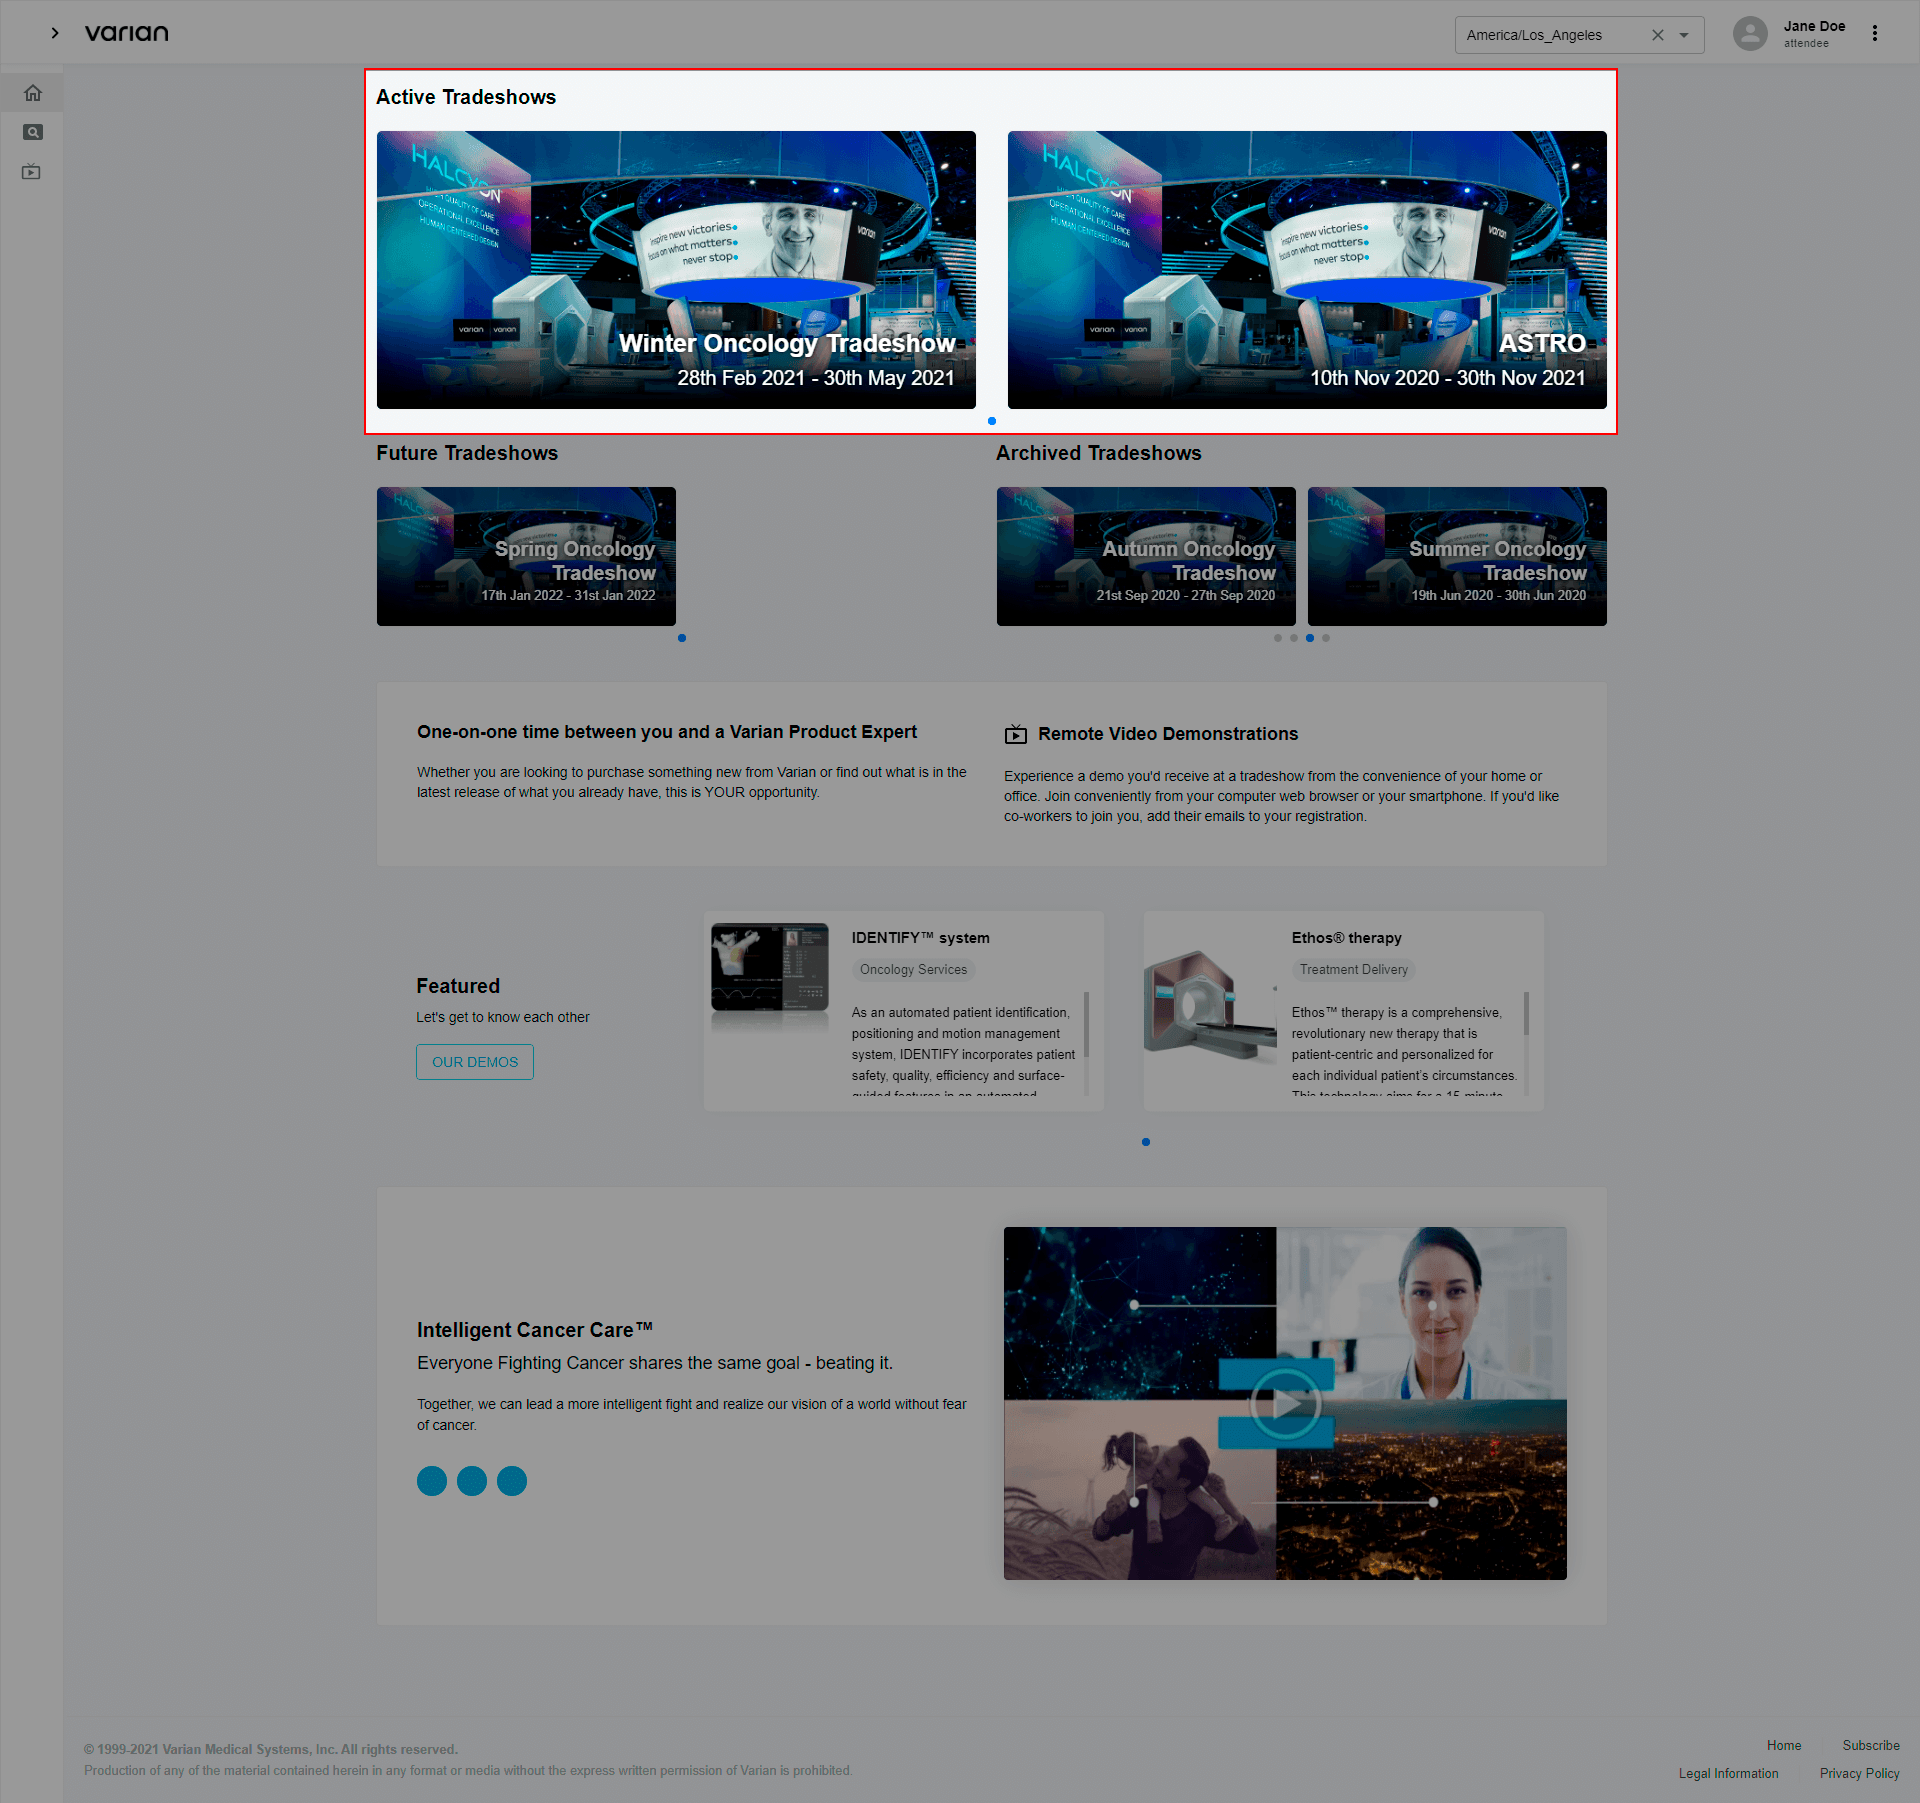
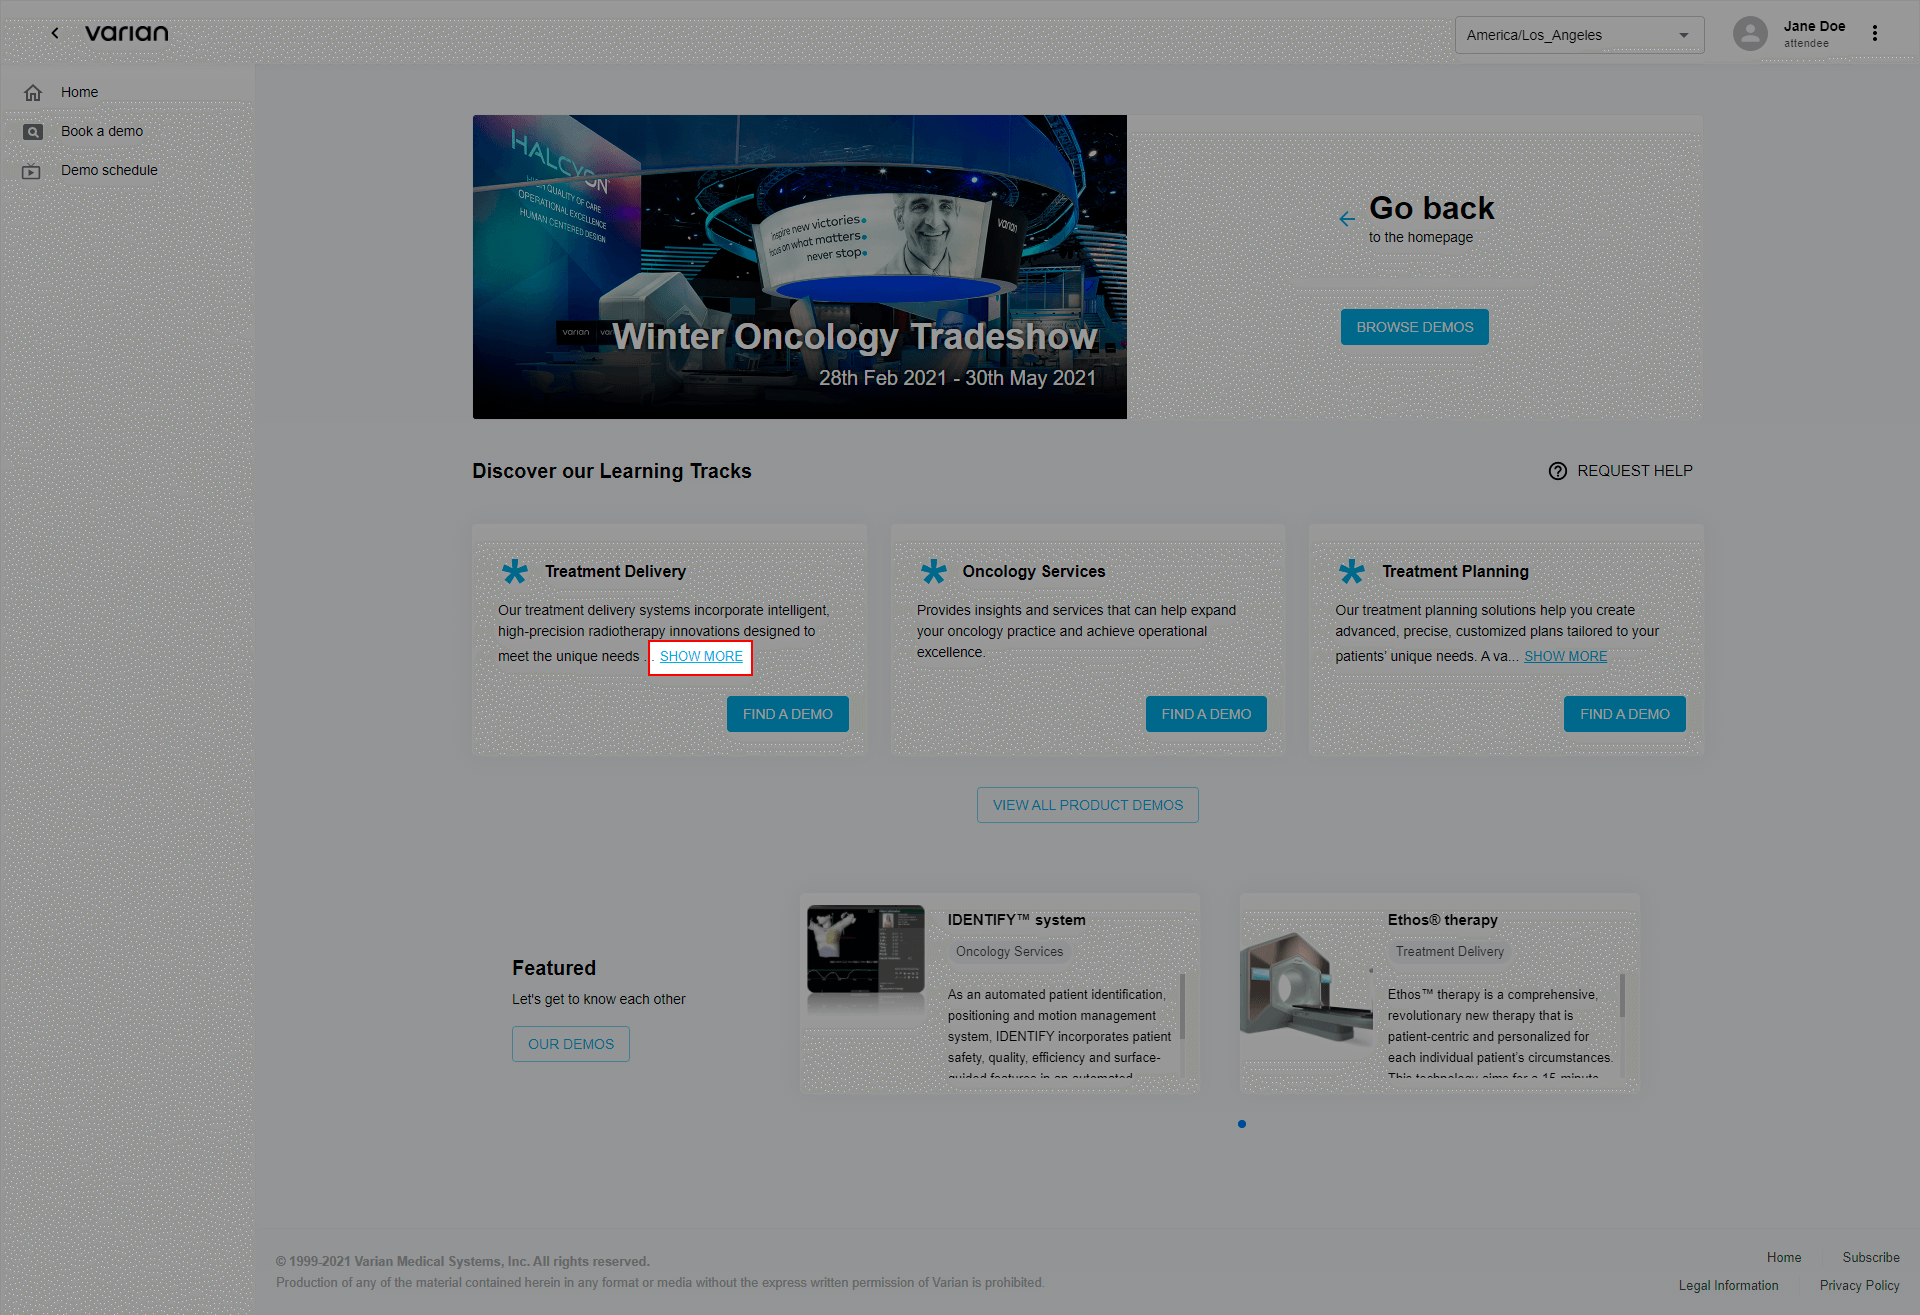
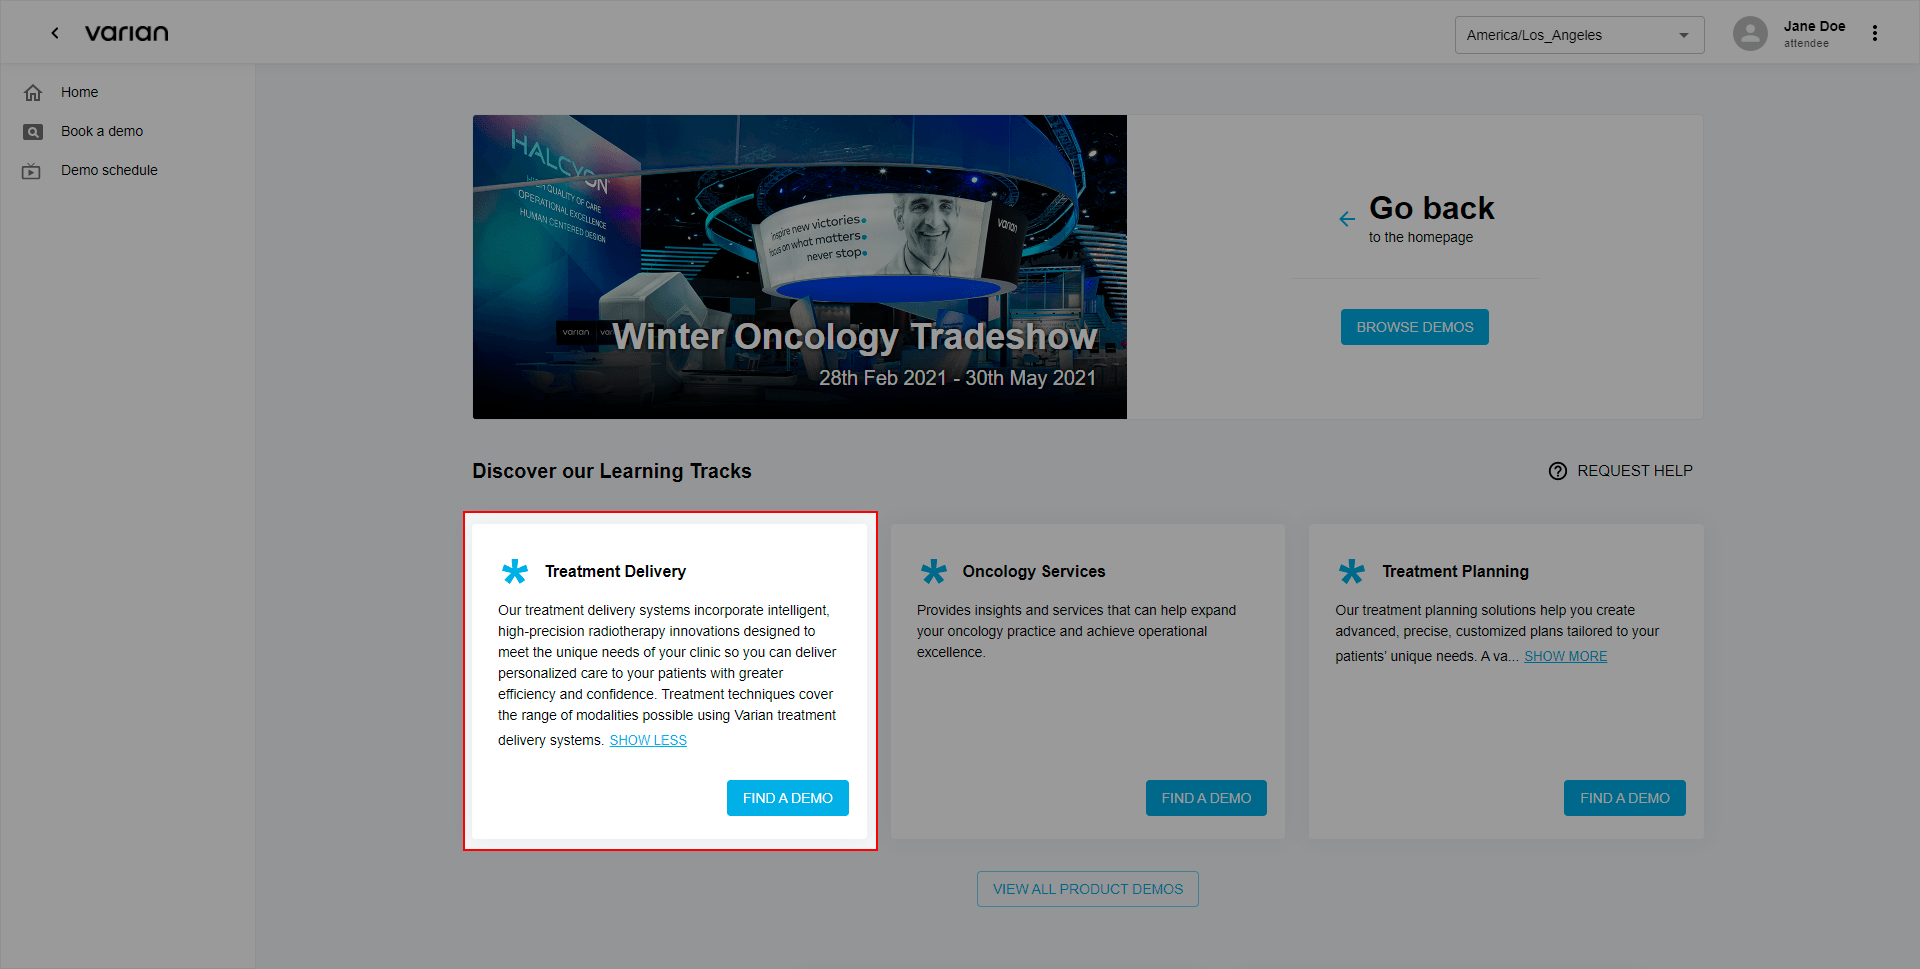
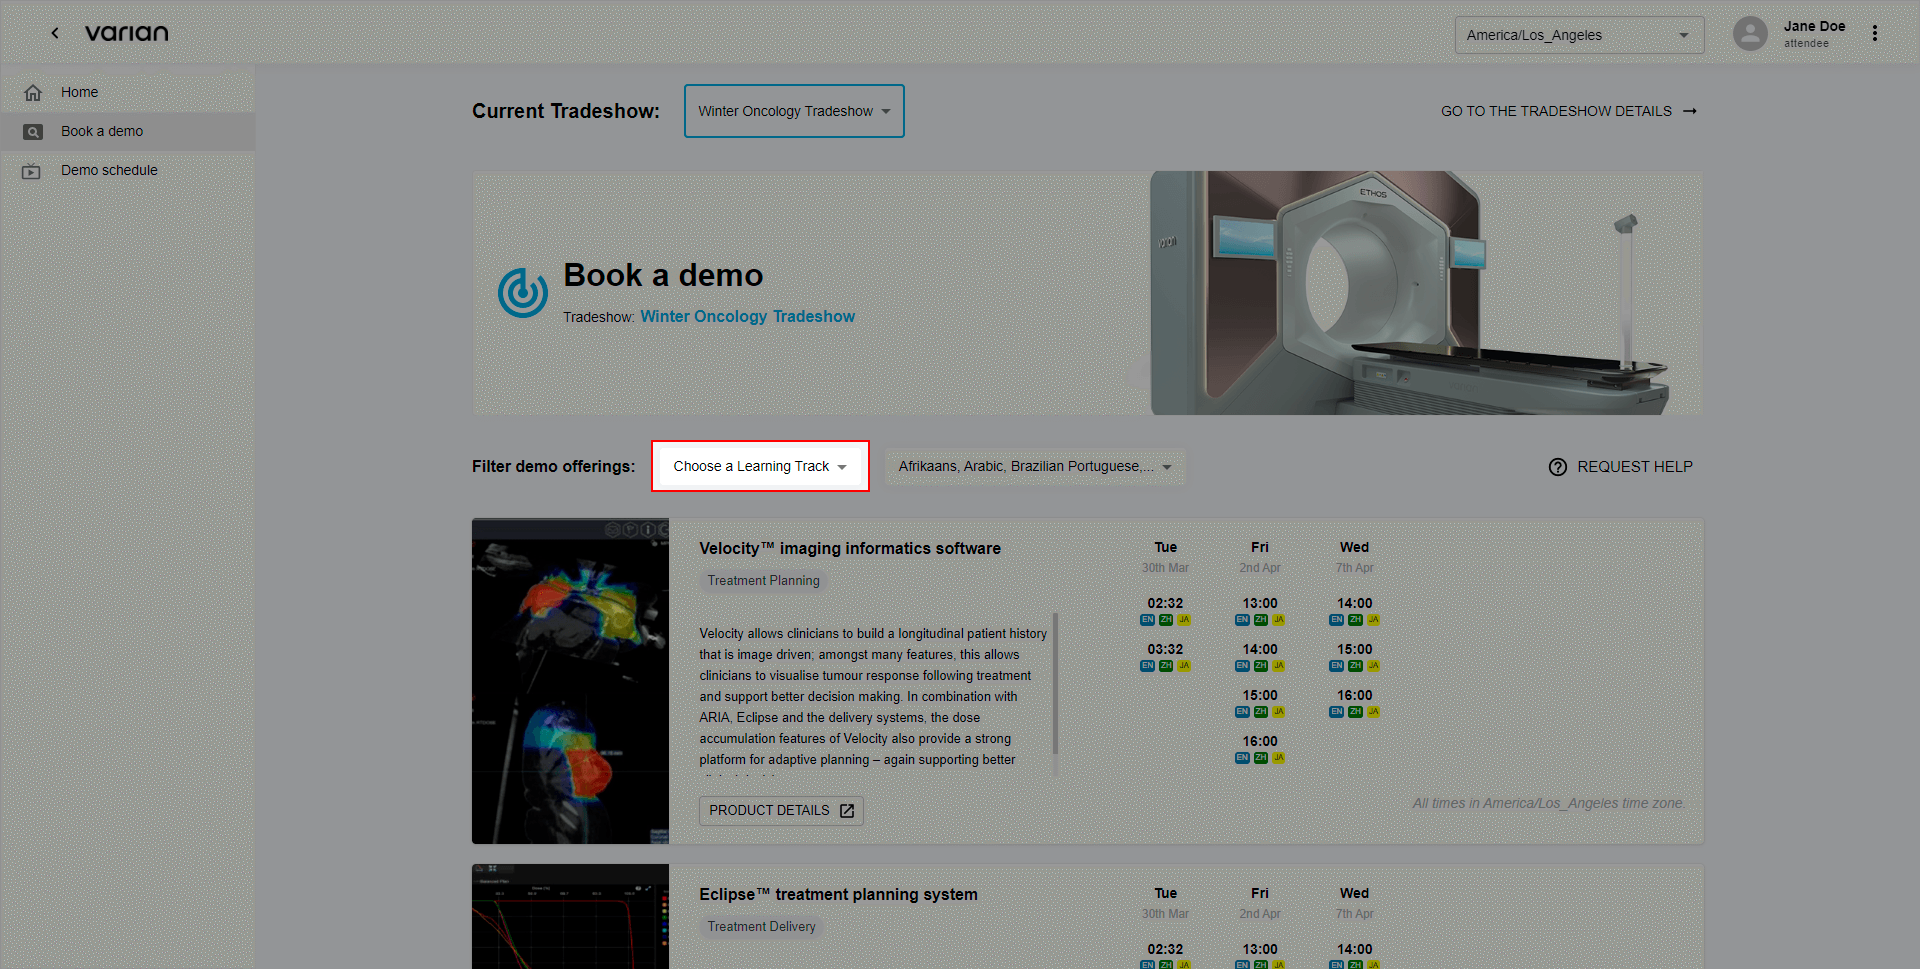
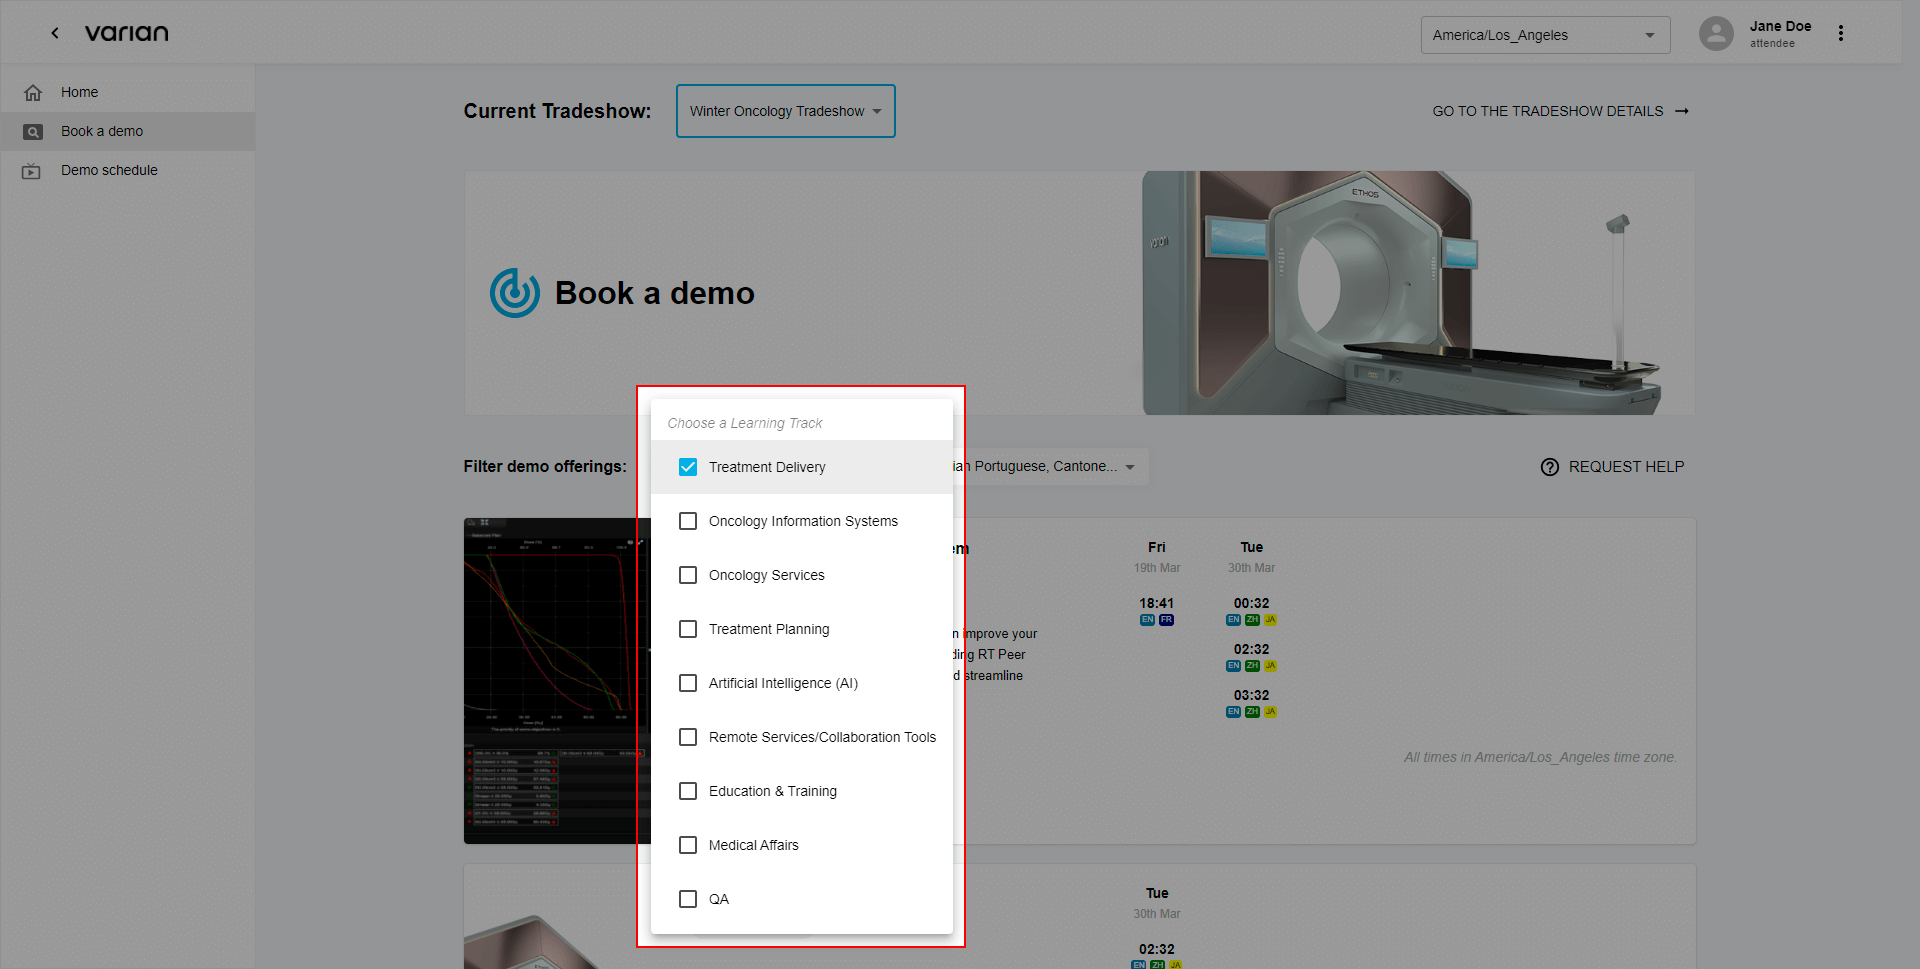
Choose Learning Track - Find a Demo
Learning Tracks are individual categories that our products are organized into. Learning Tracks will help define the scope of your interest for the relevant products.
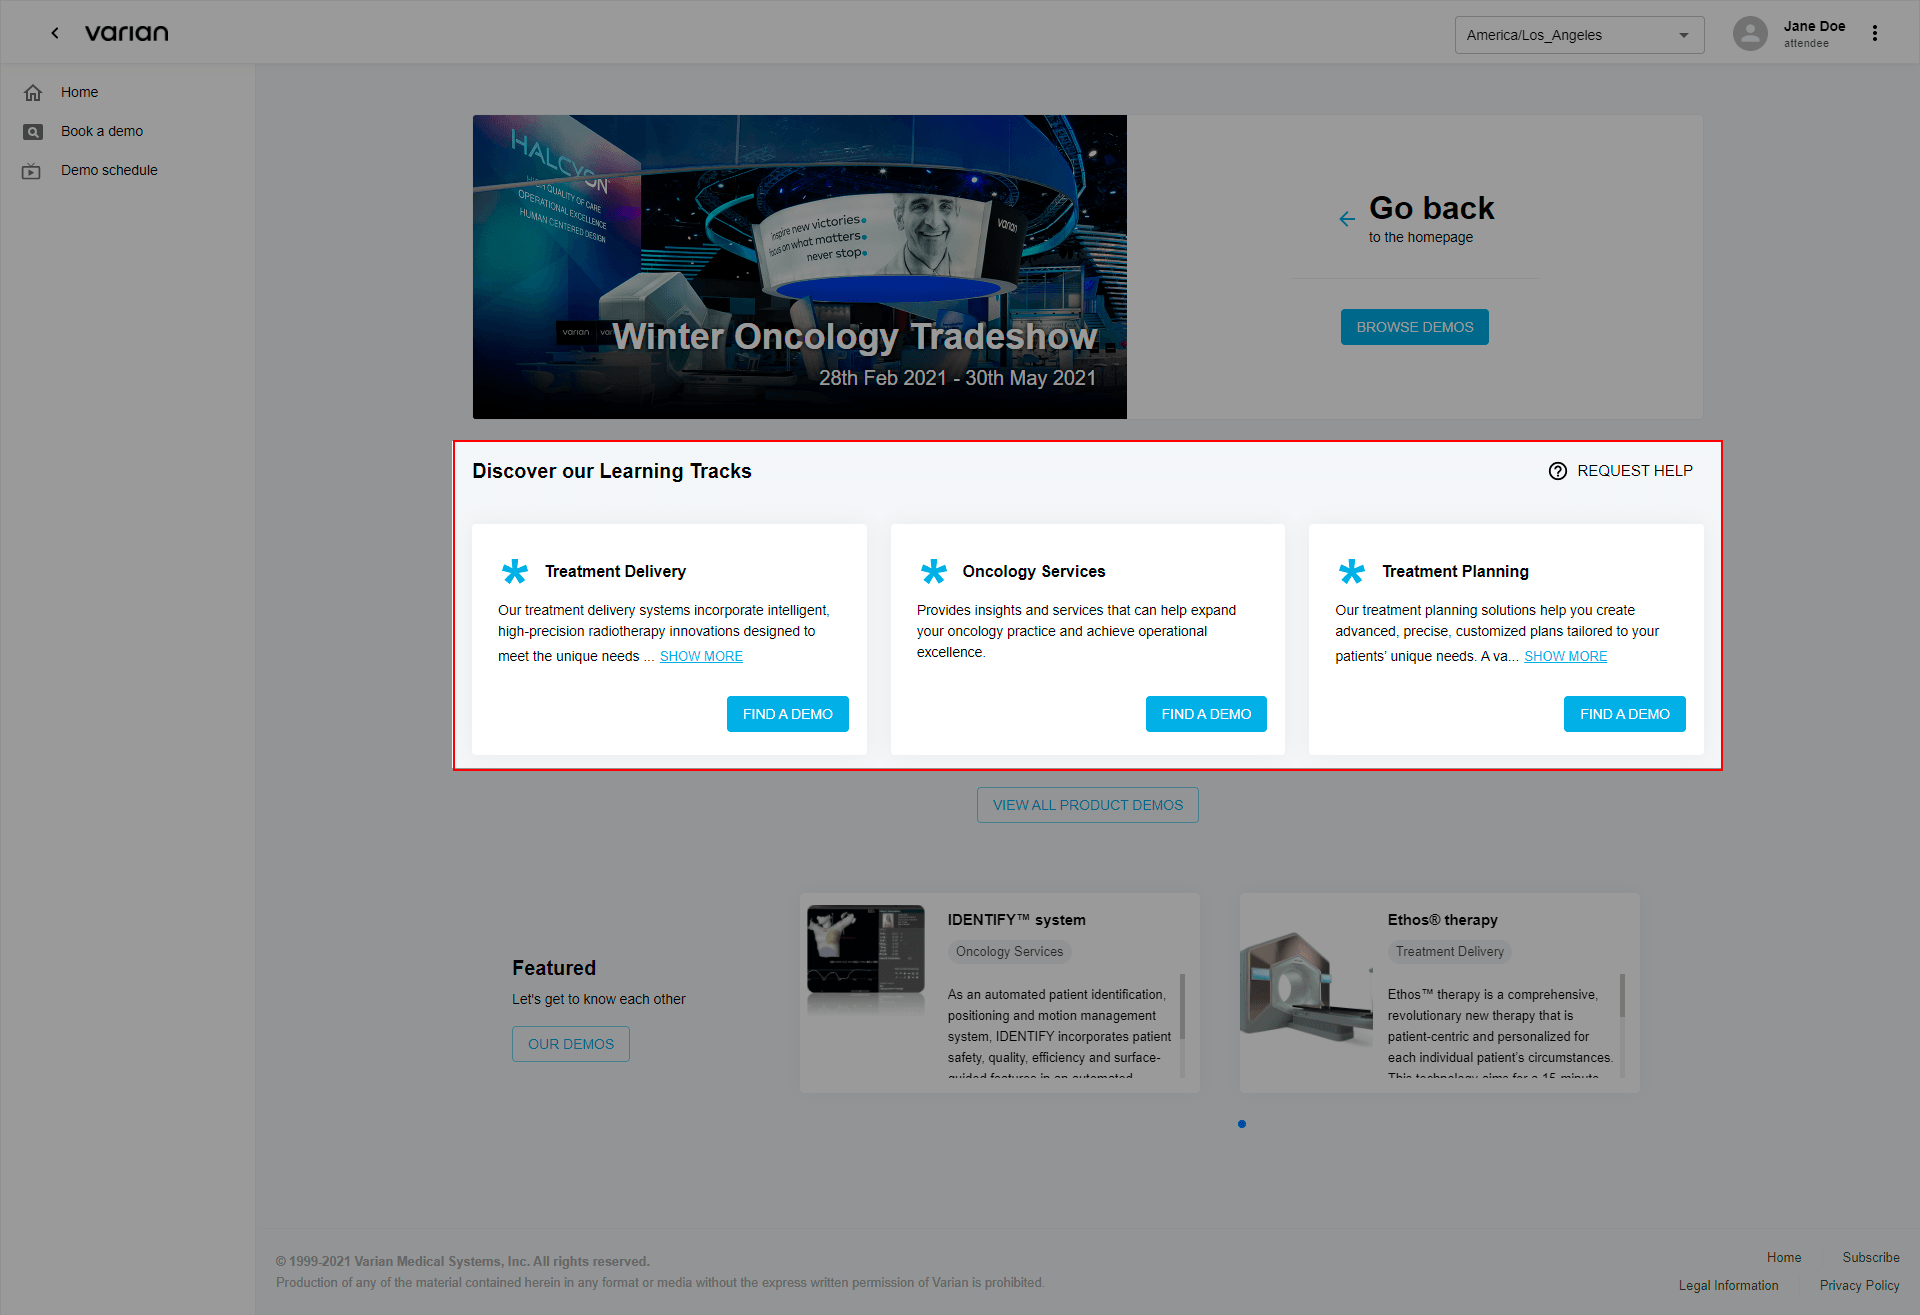
Click “Find a Demo” to proceed to schedule.

If you are not sure what learning track will be suitable for you, you can:
Request an assistance by clicking the “Request help” button and click the attached email address to send a message.
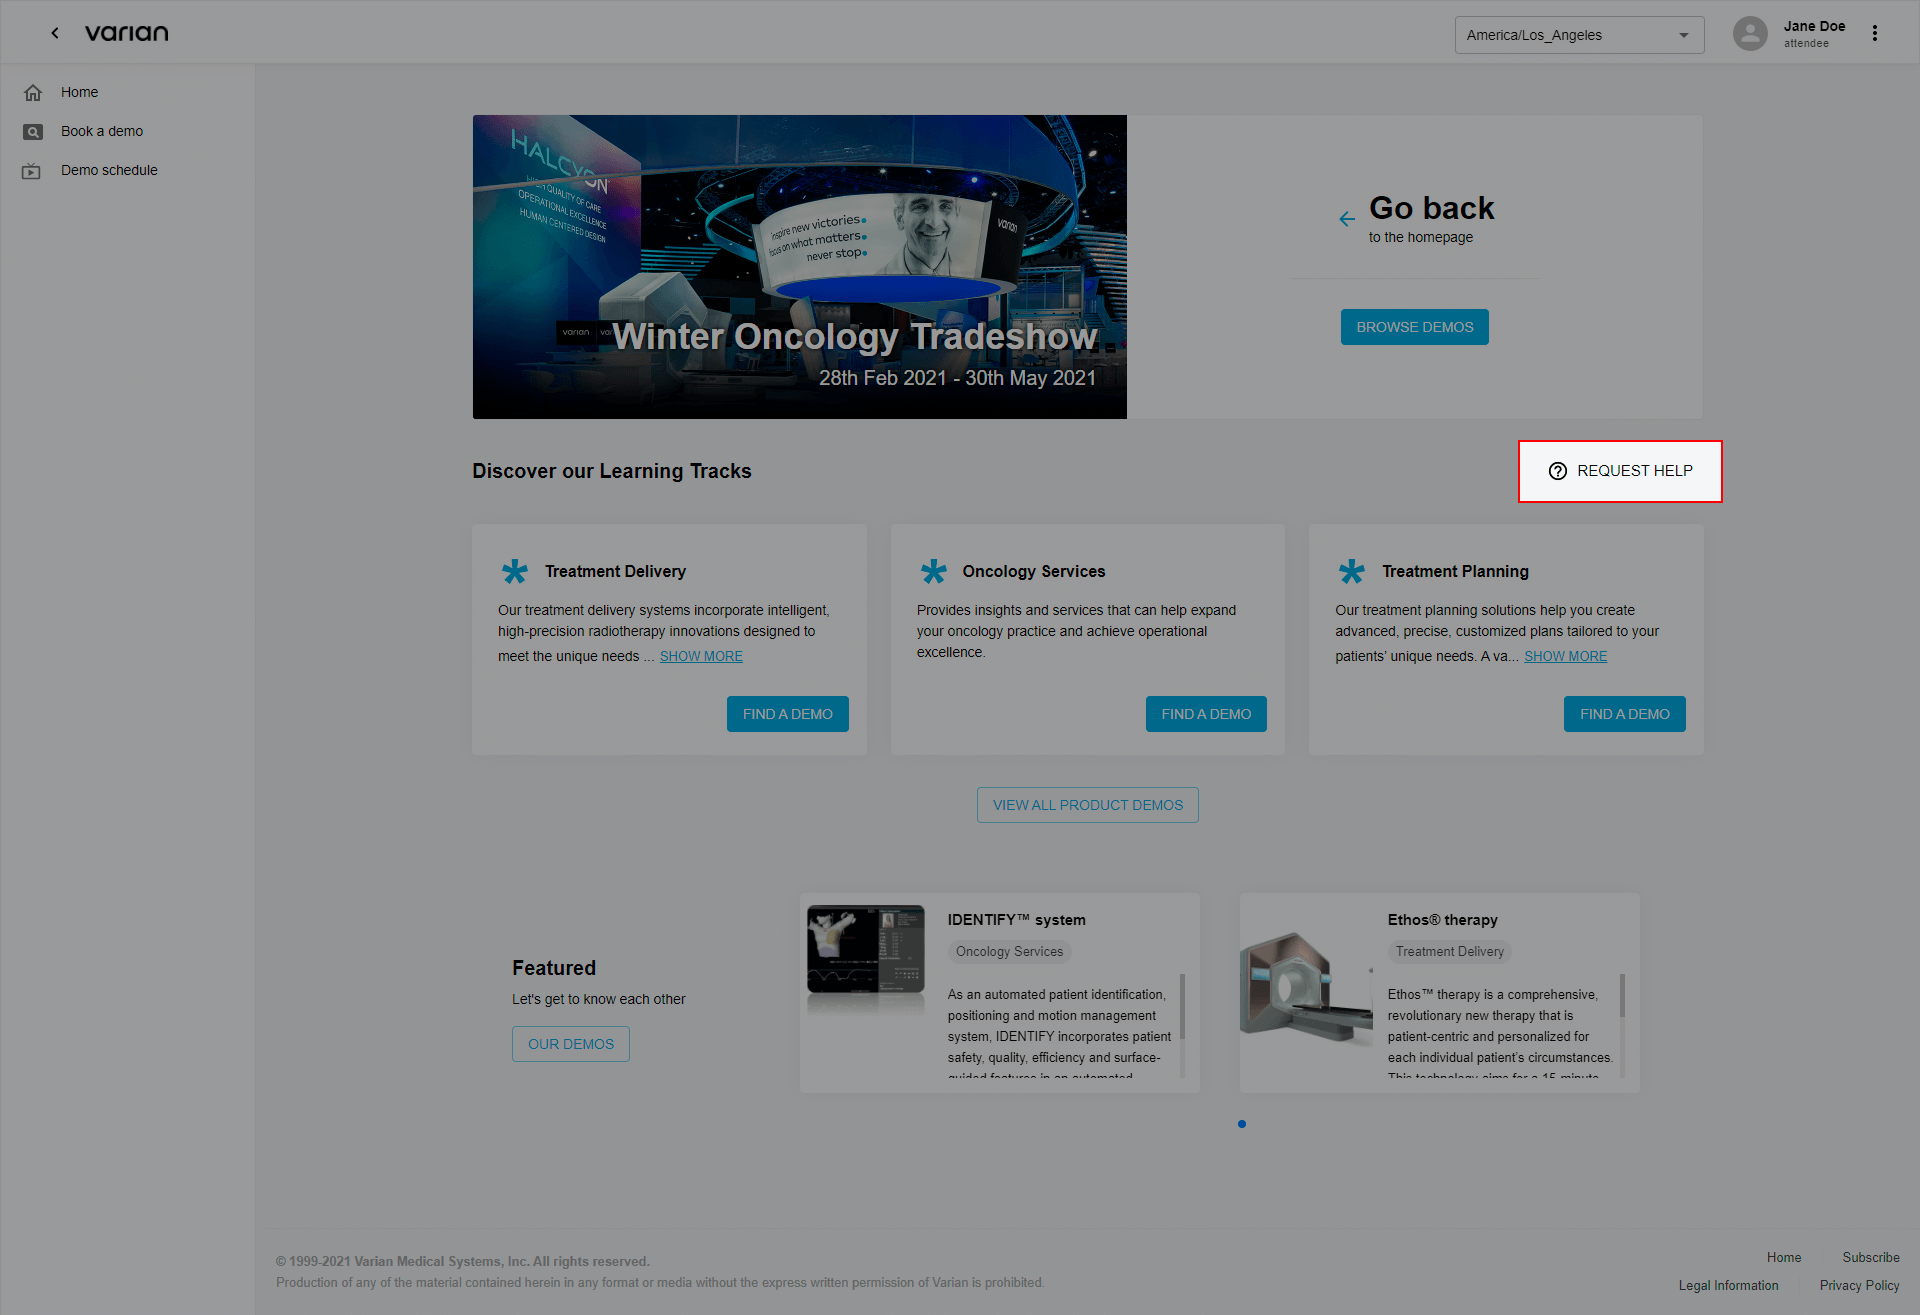

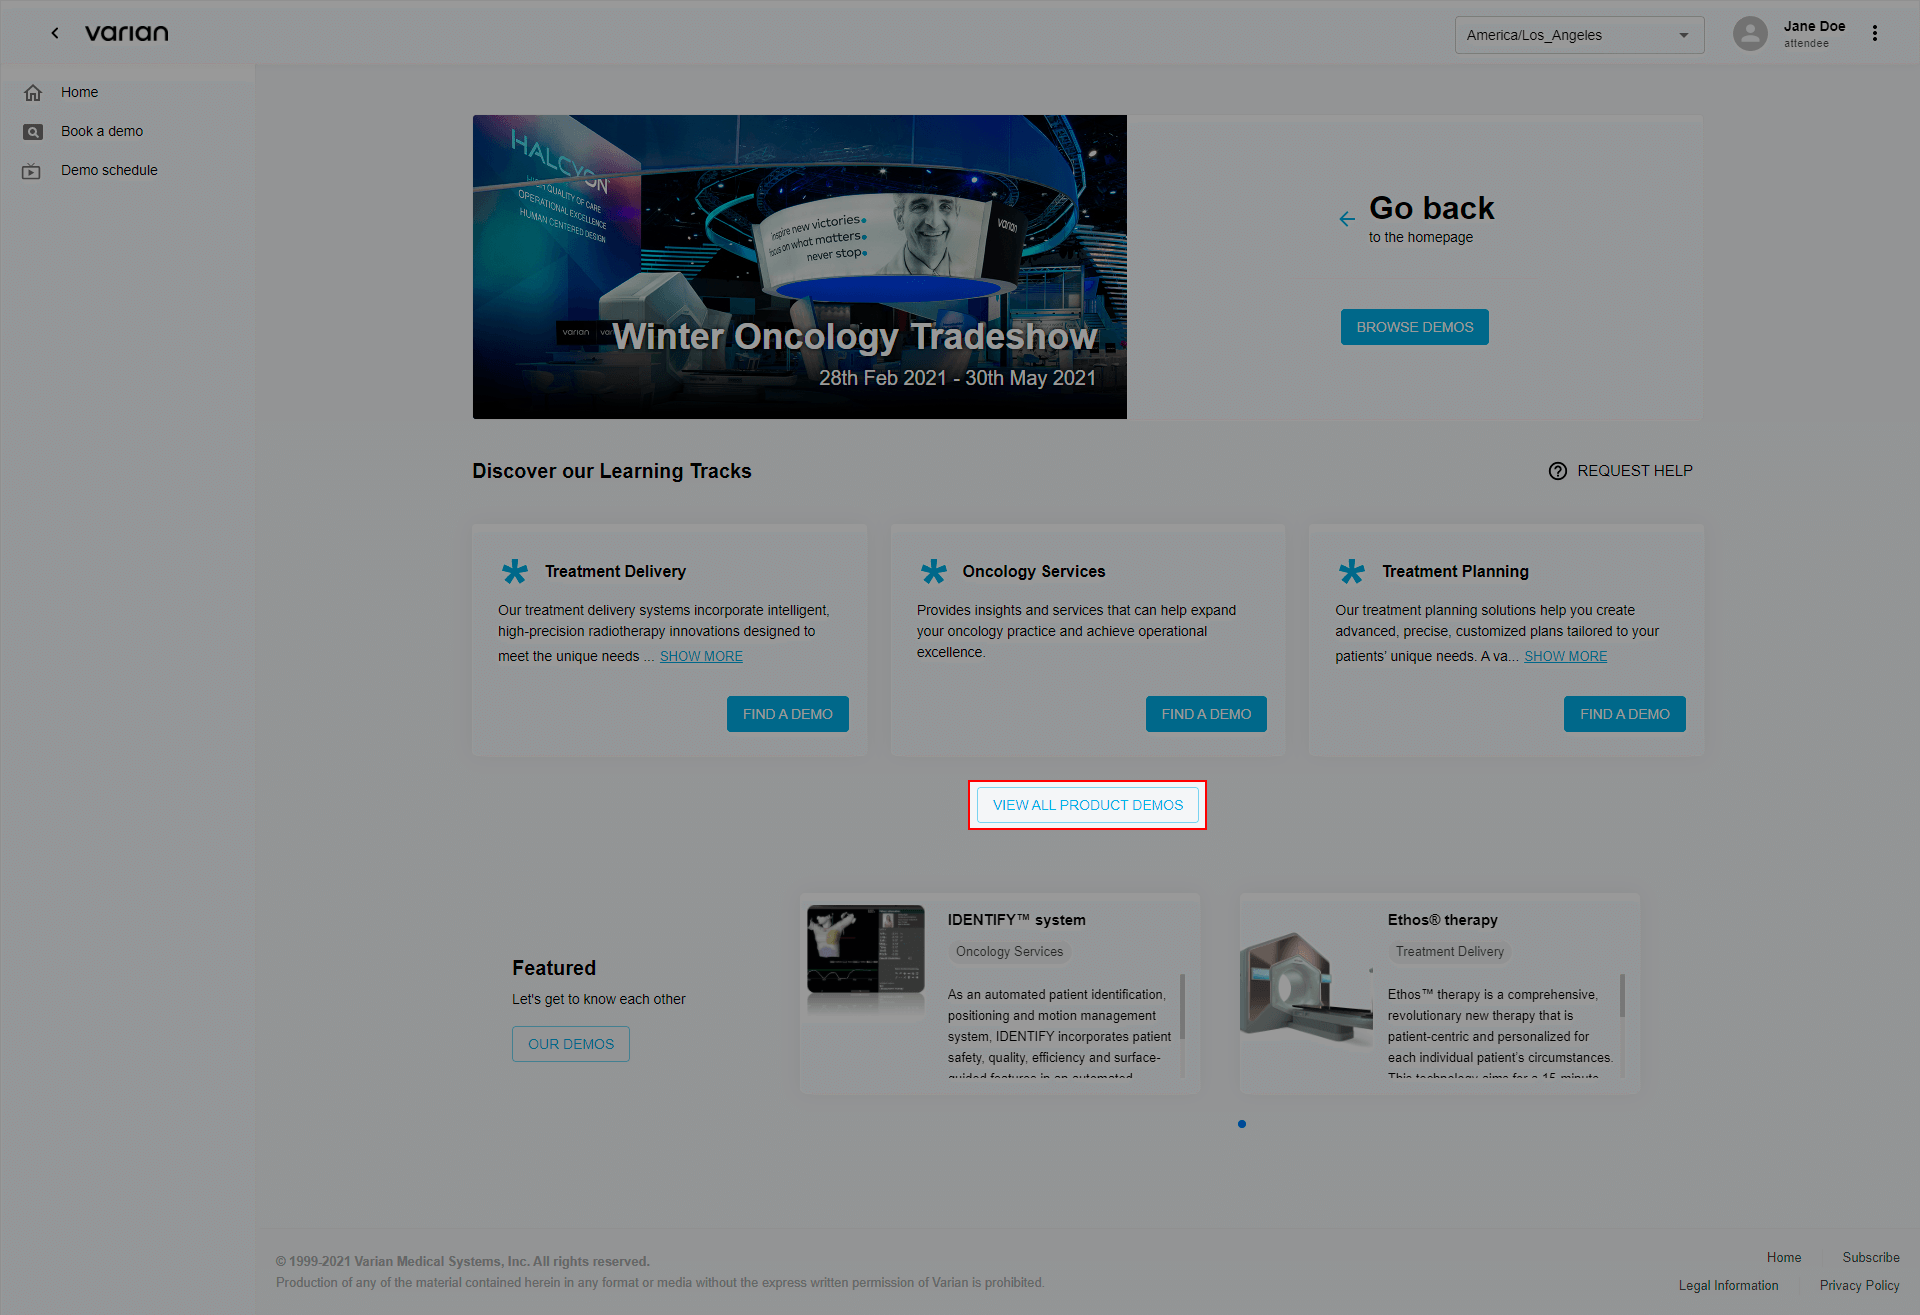
Display all learning tracks demos available by choosing the “View all product demos” button.
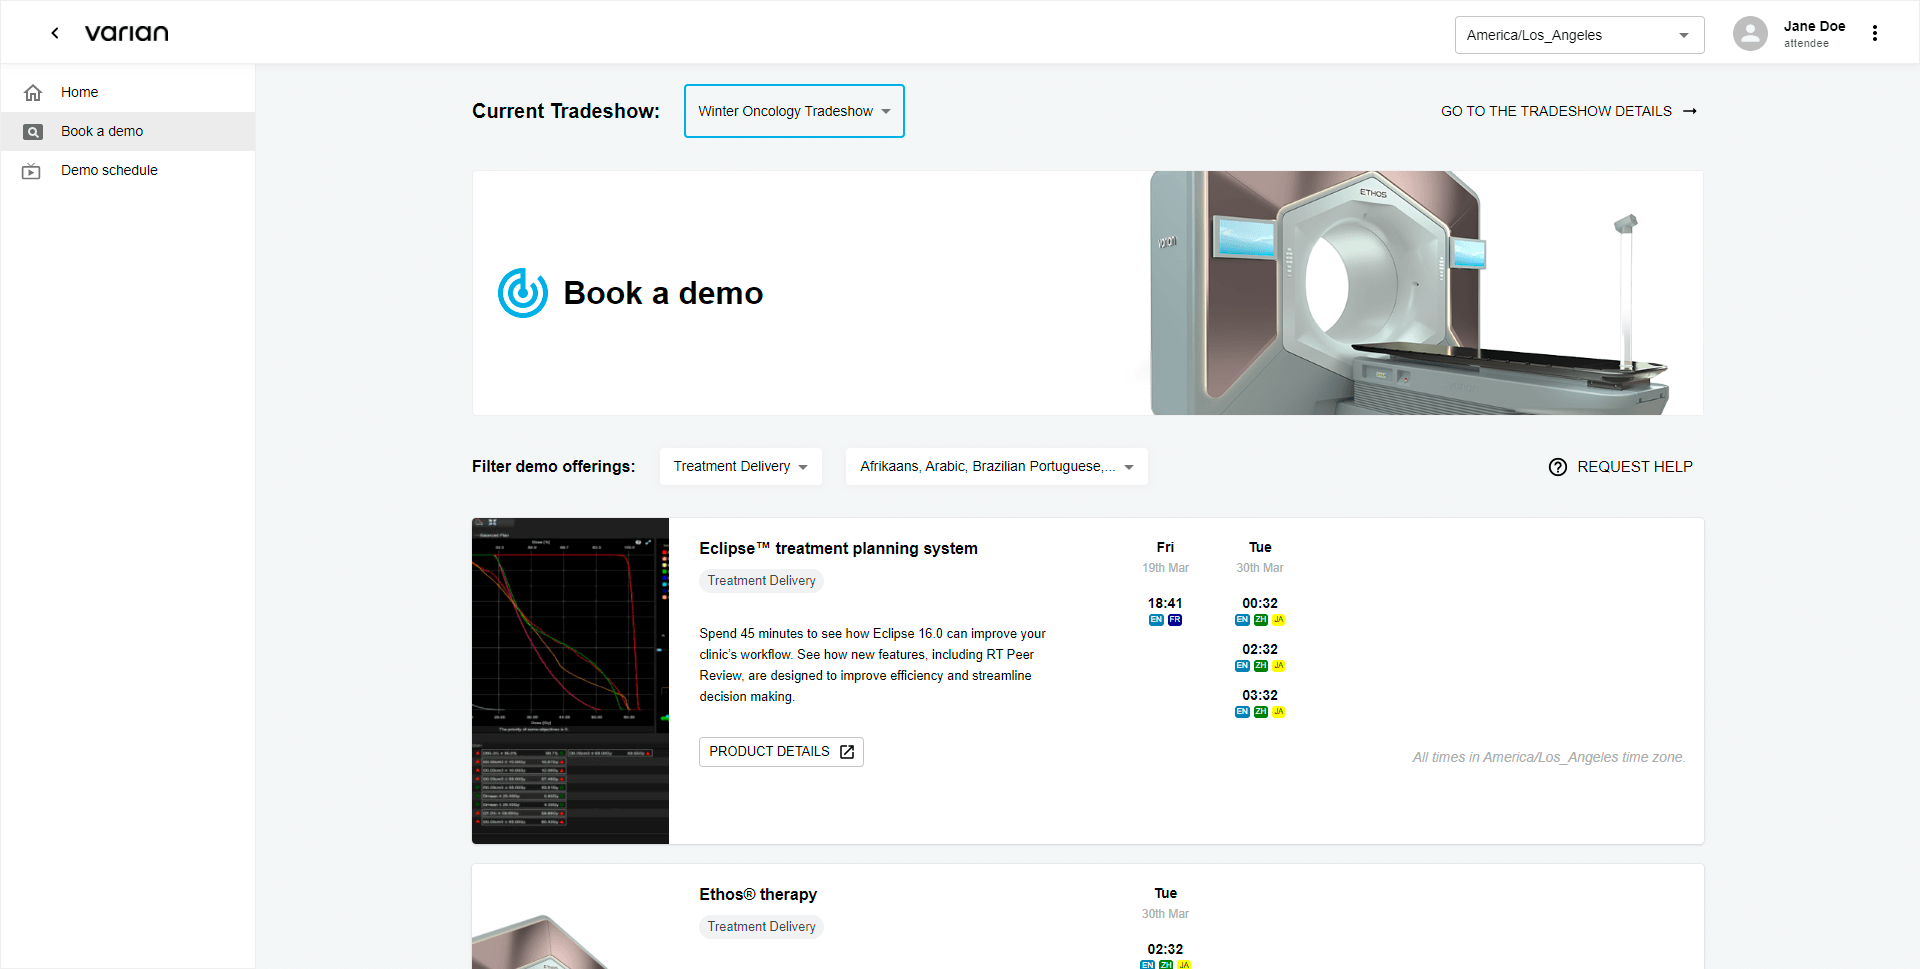
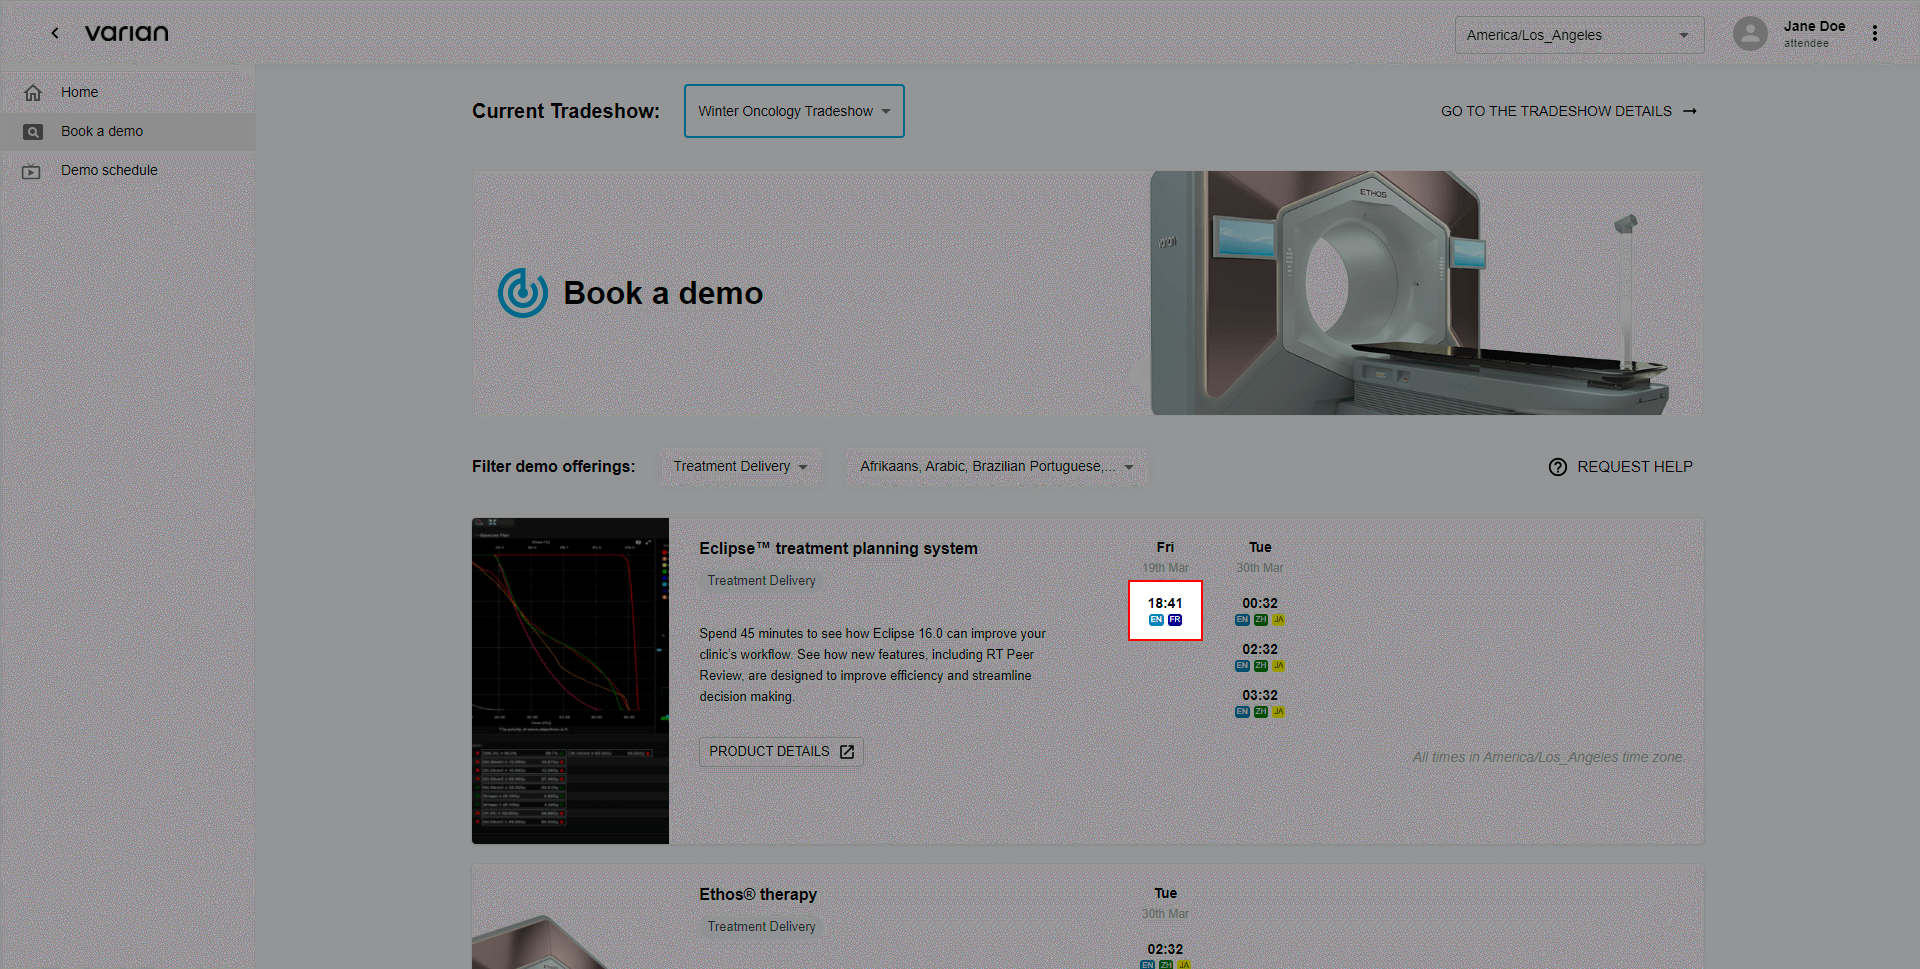
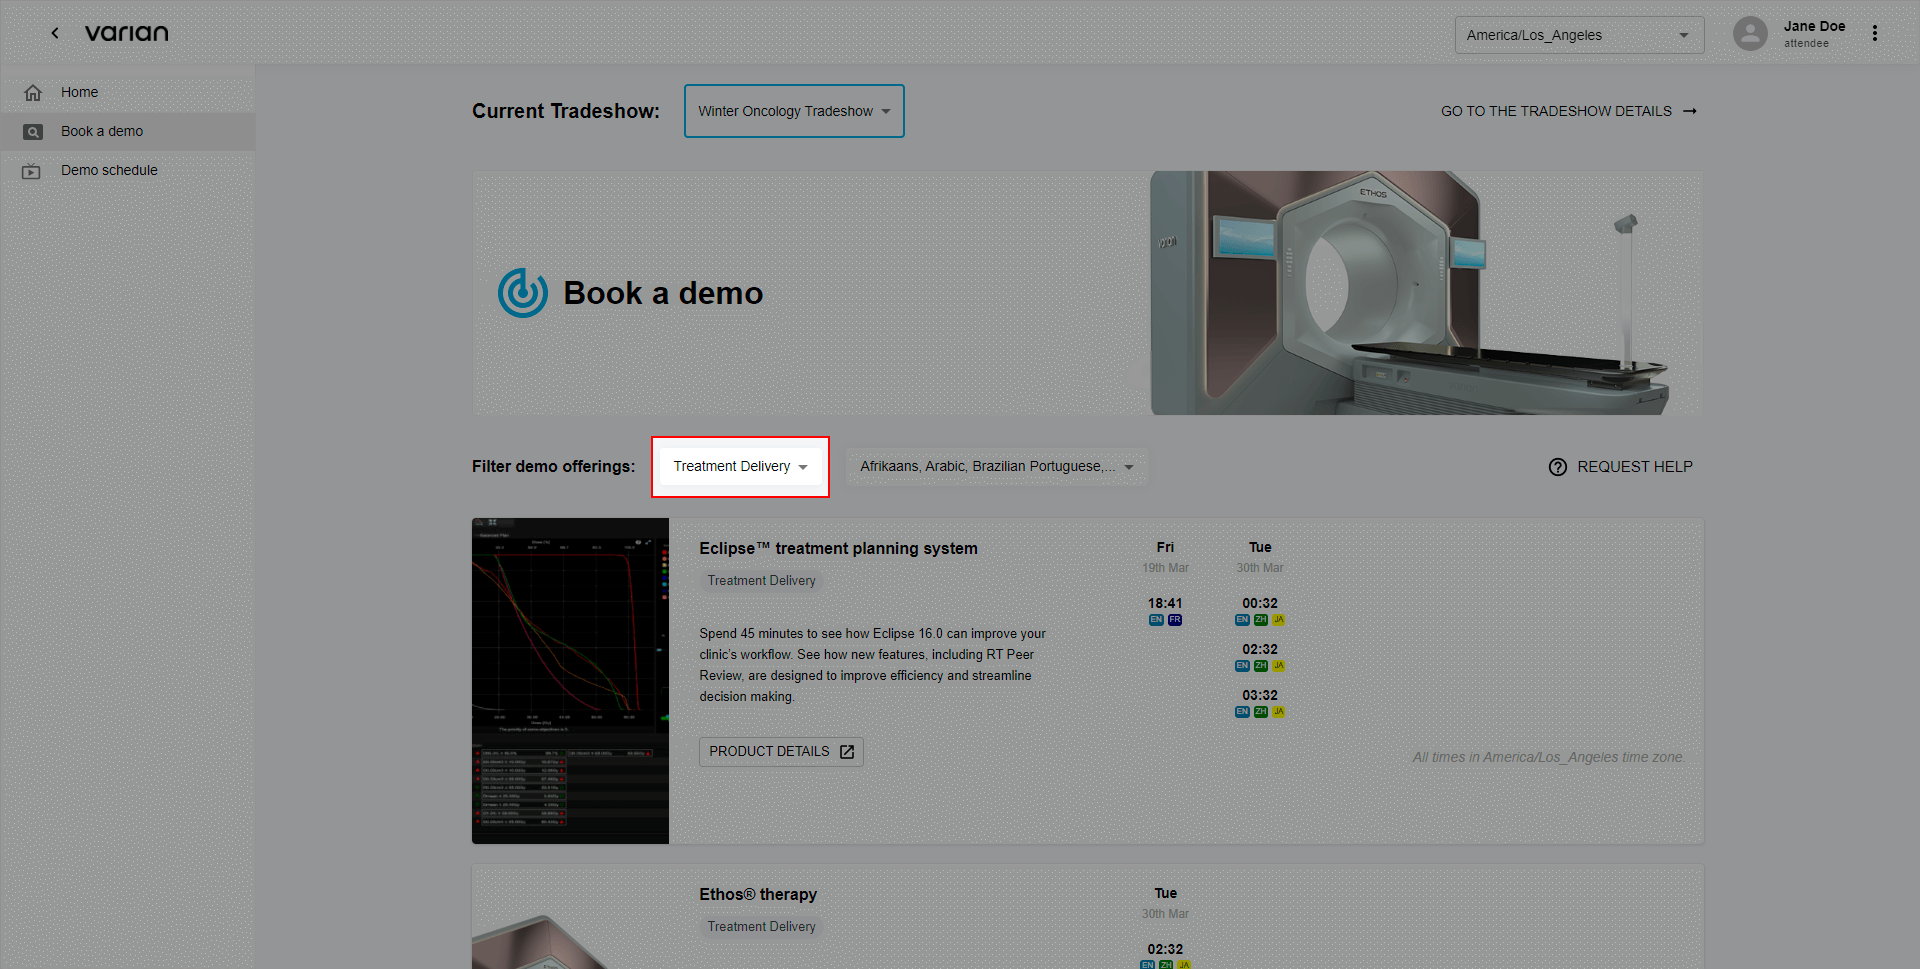
Pick Date and Time
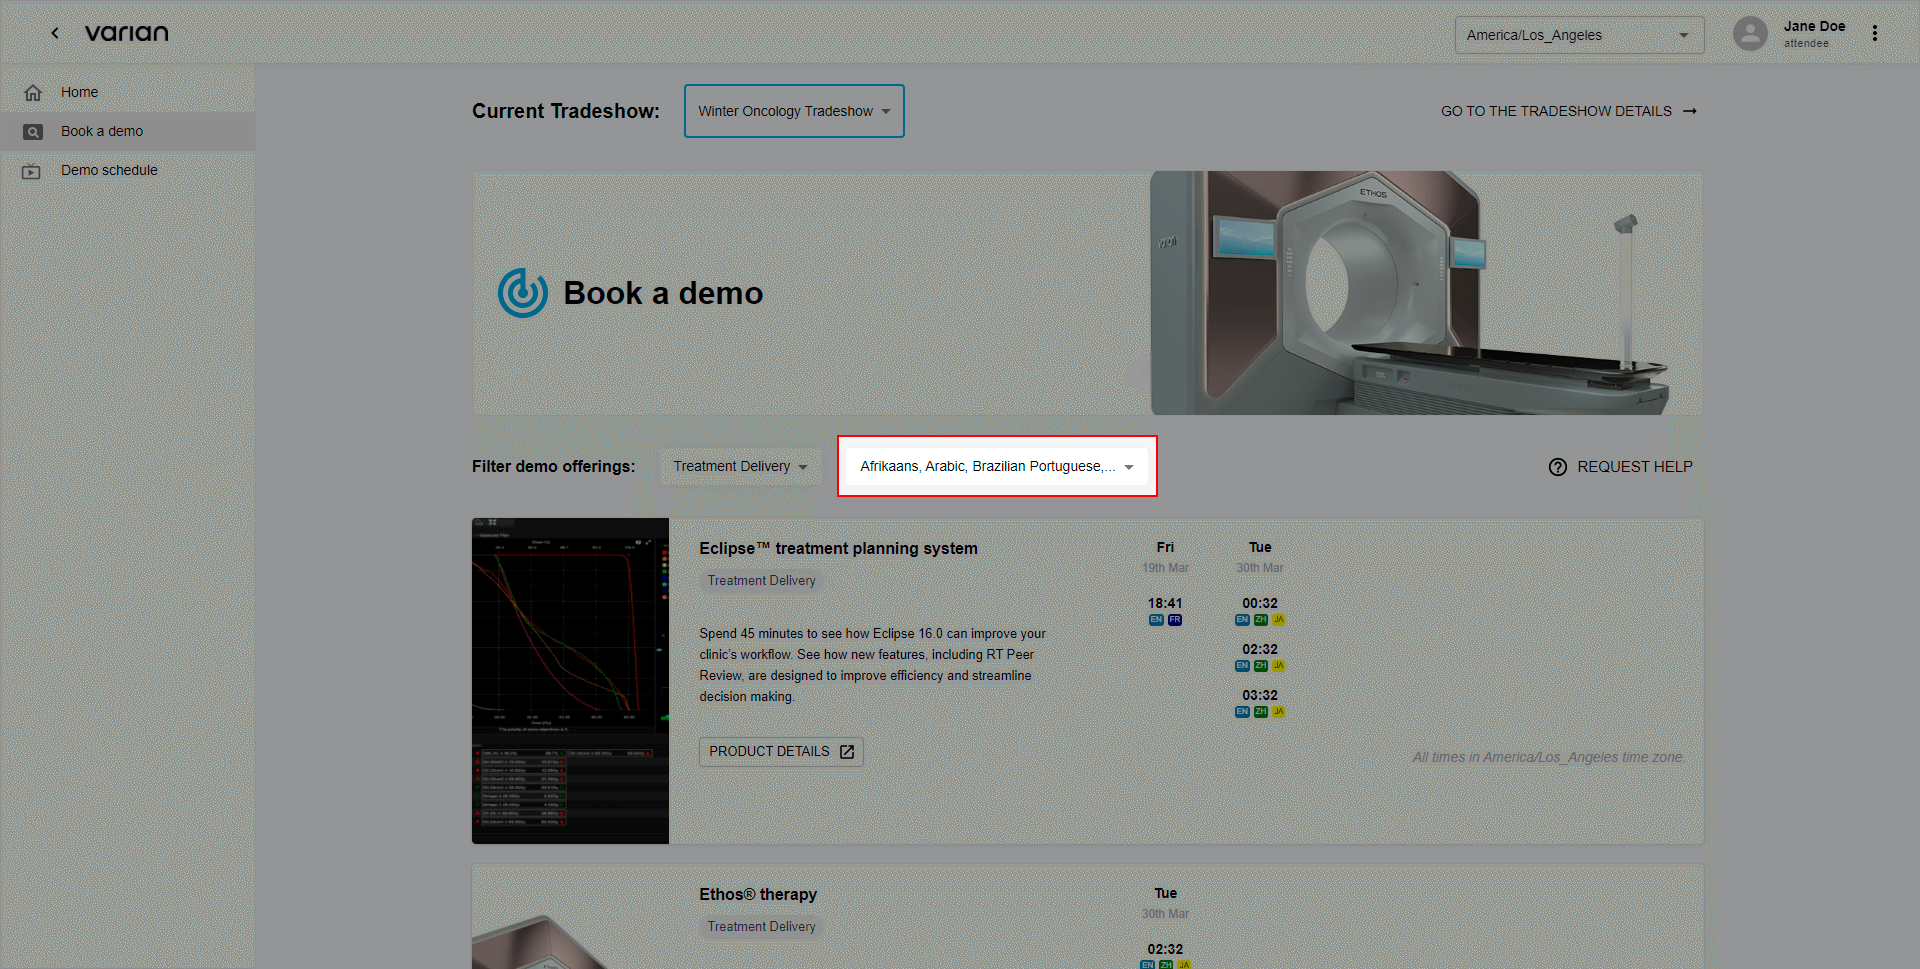
After completing previous steps you will be redirected to “Book a demo” page where you can proceed to schedule a demo. First step is picking a date and time.
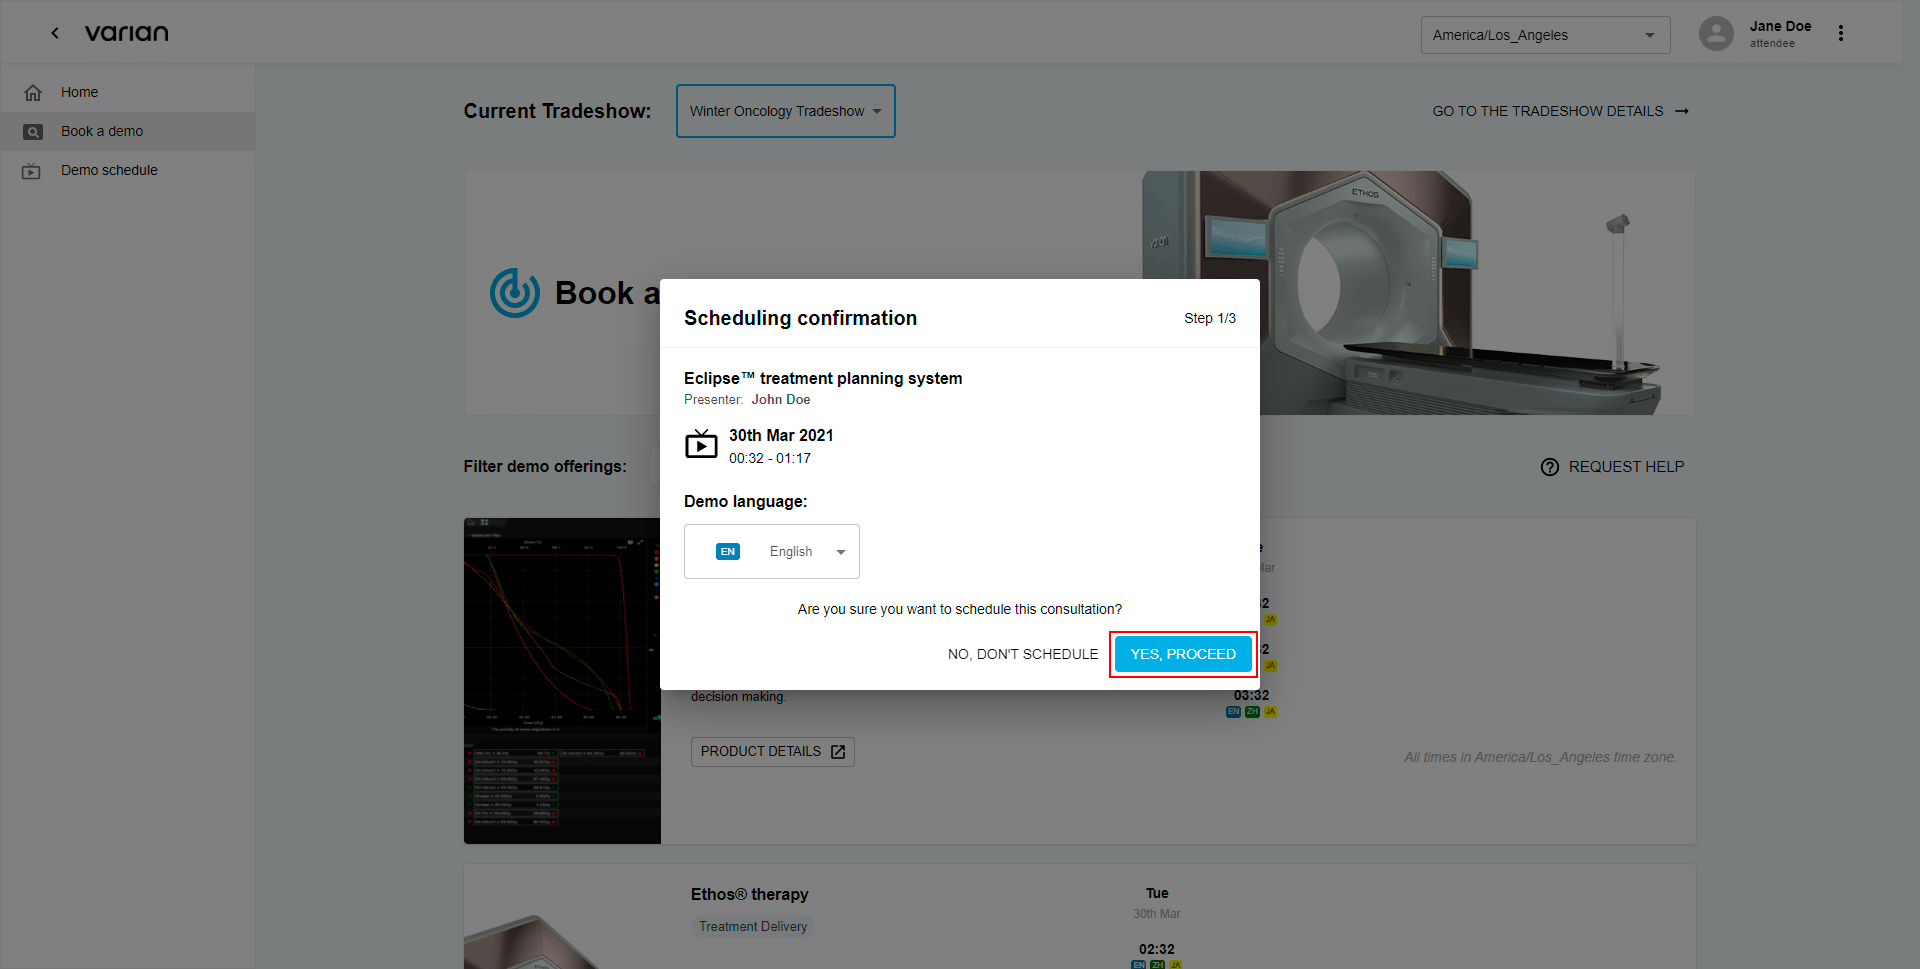
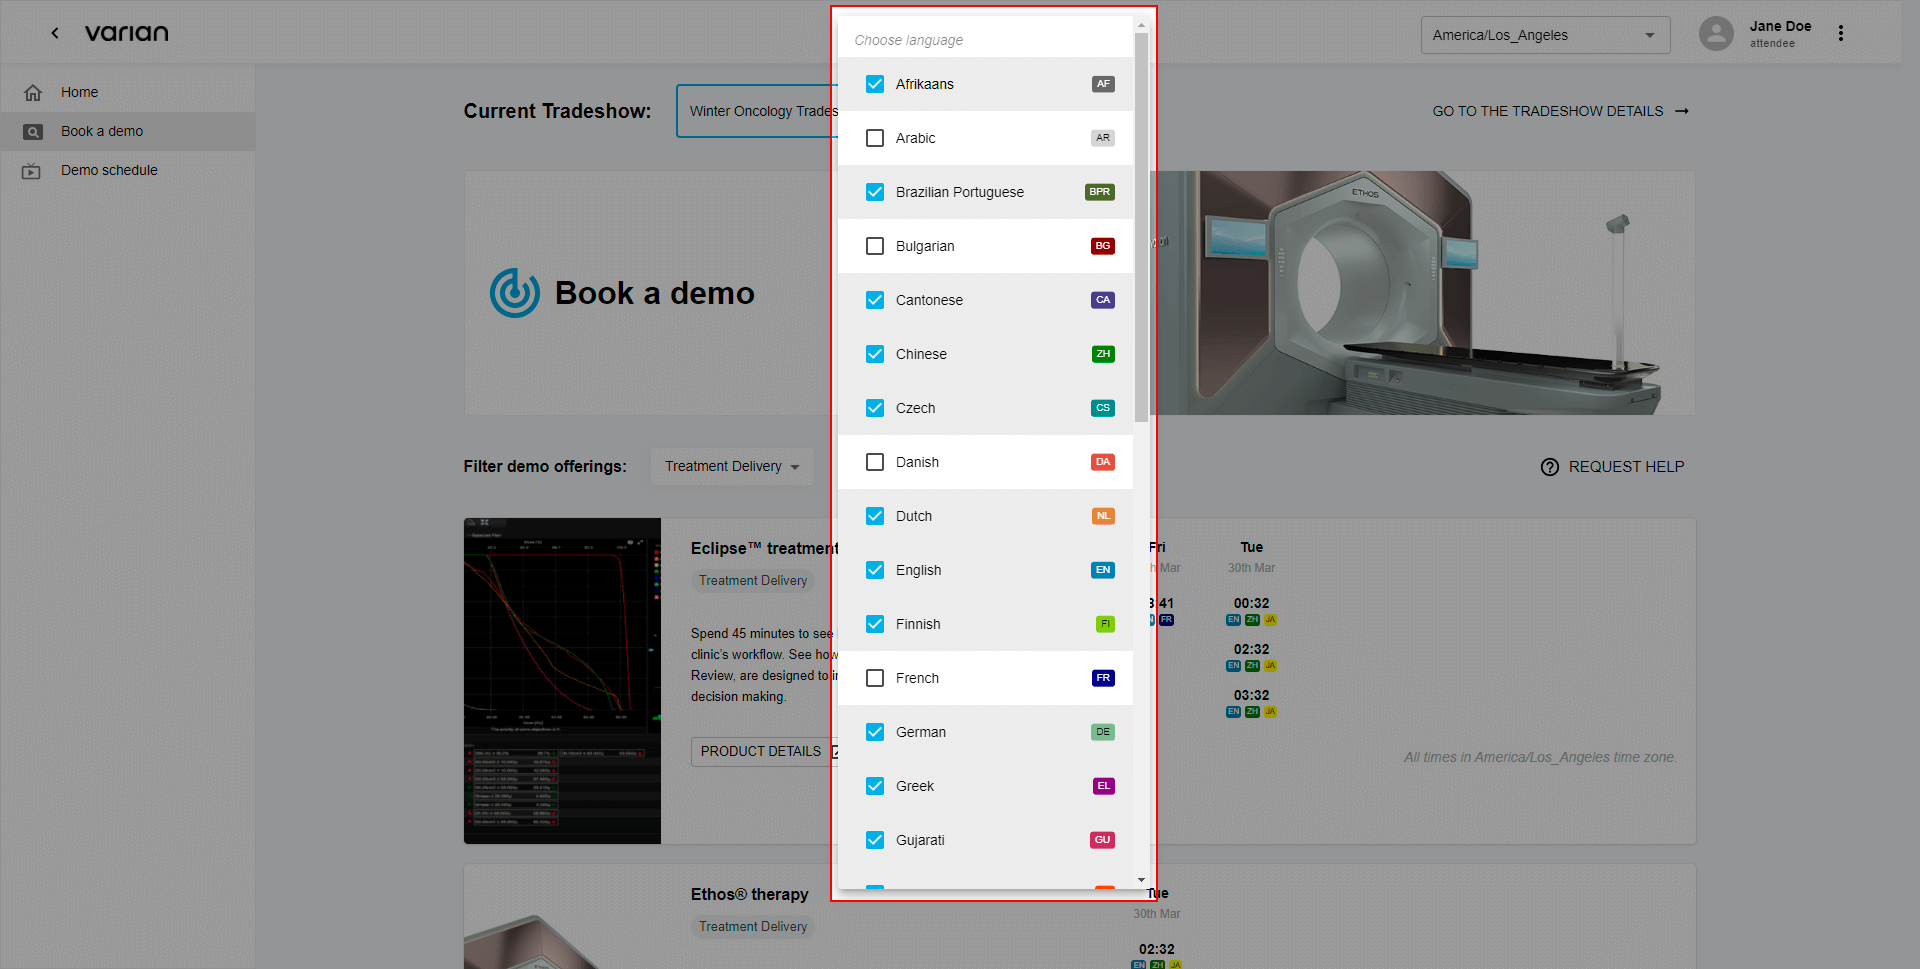
Scheduling confirmation 1/3: Demo Language
Choose your language using attached dropdown.
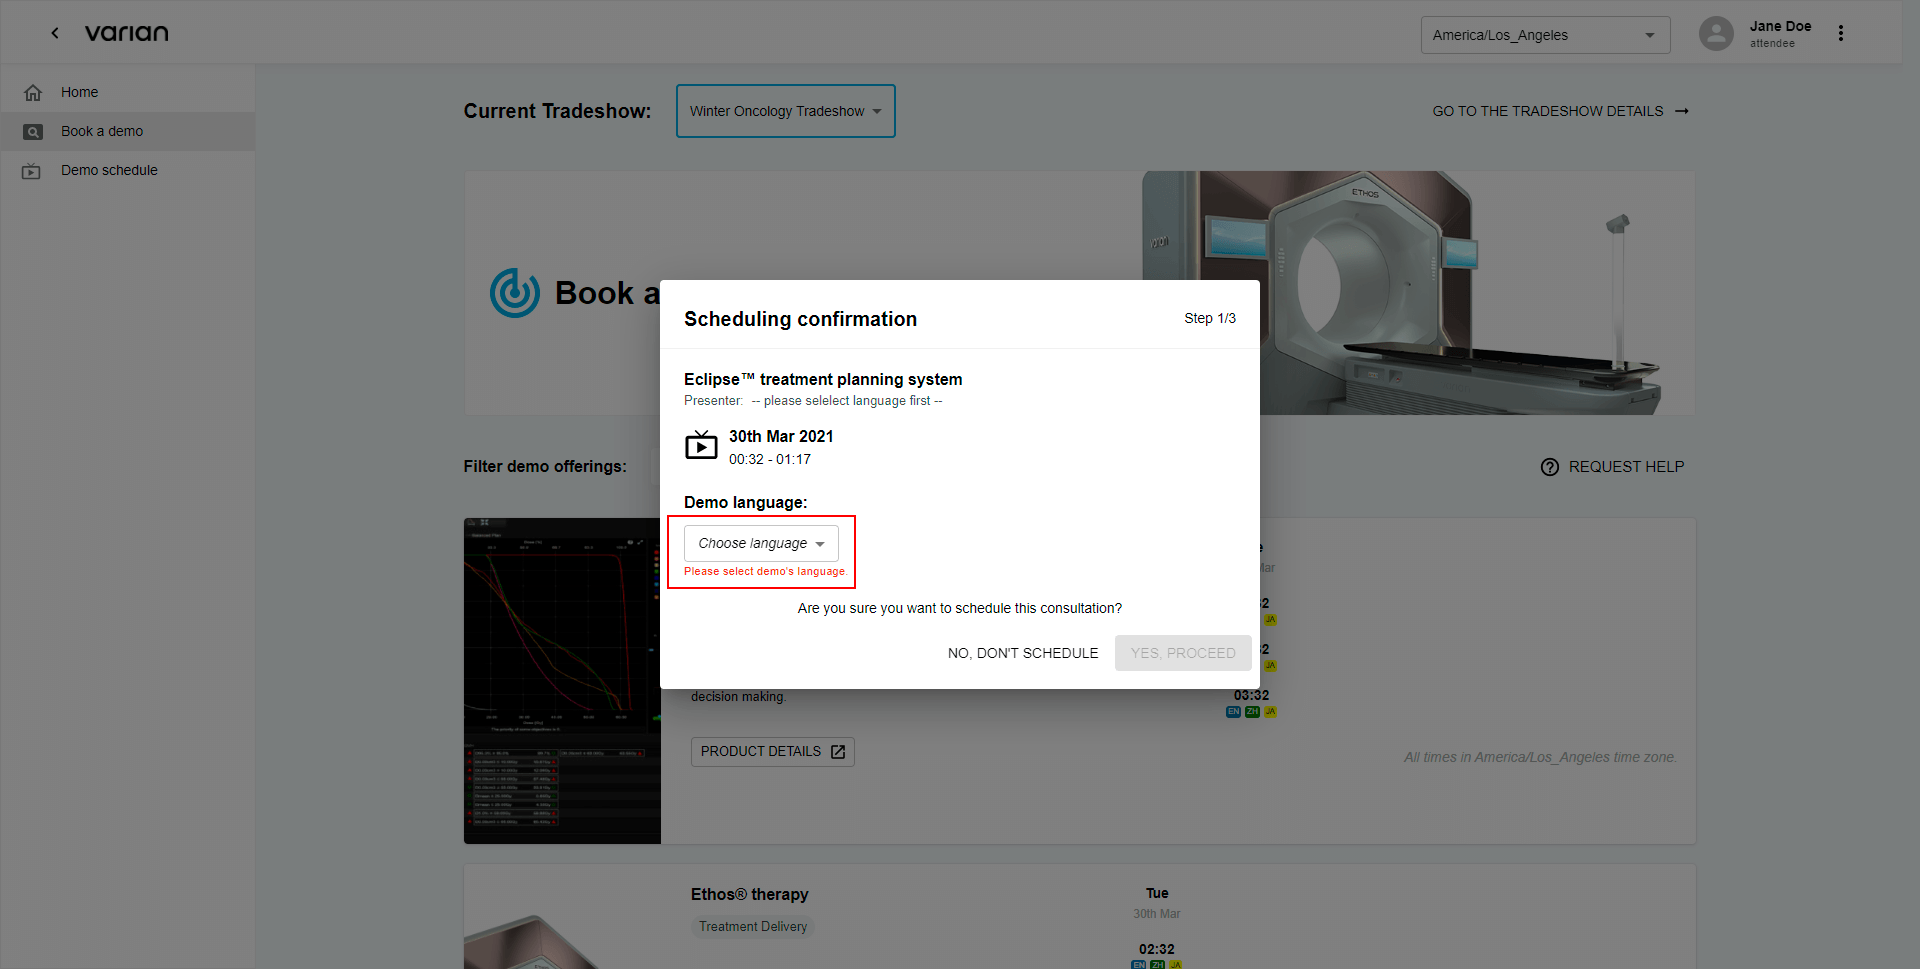
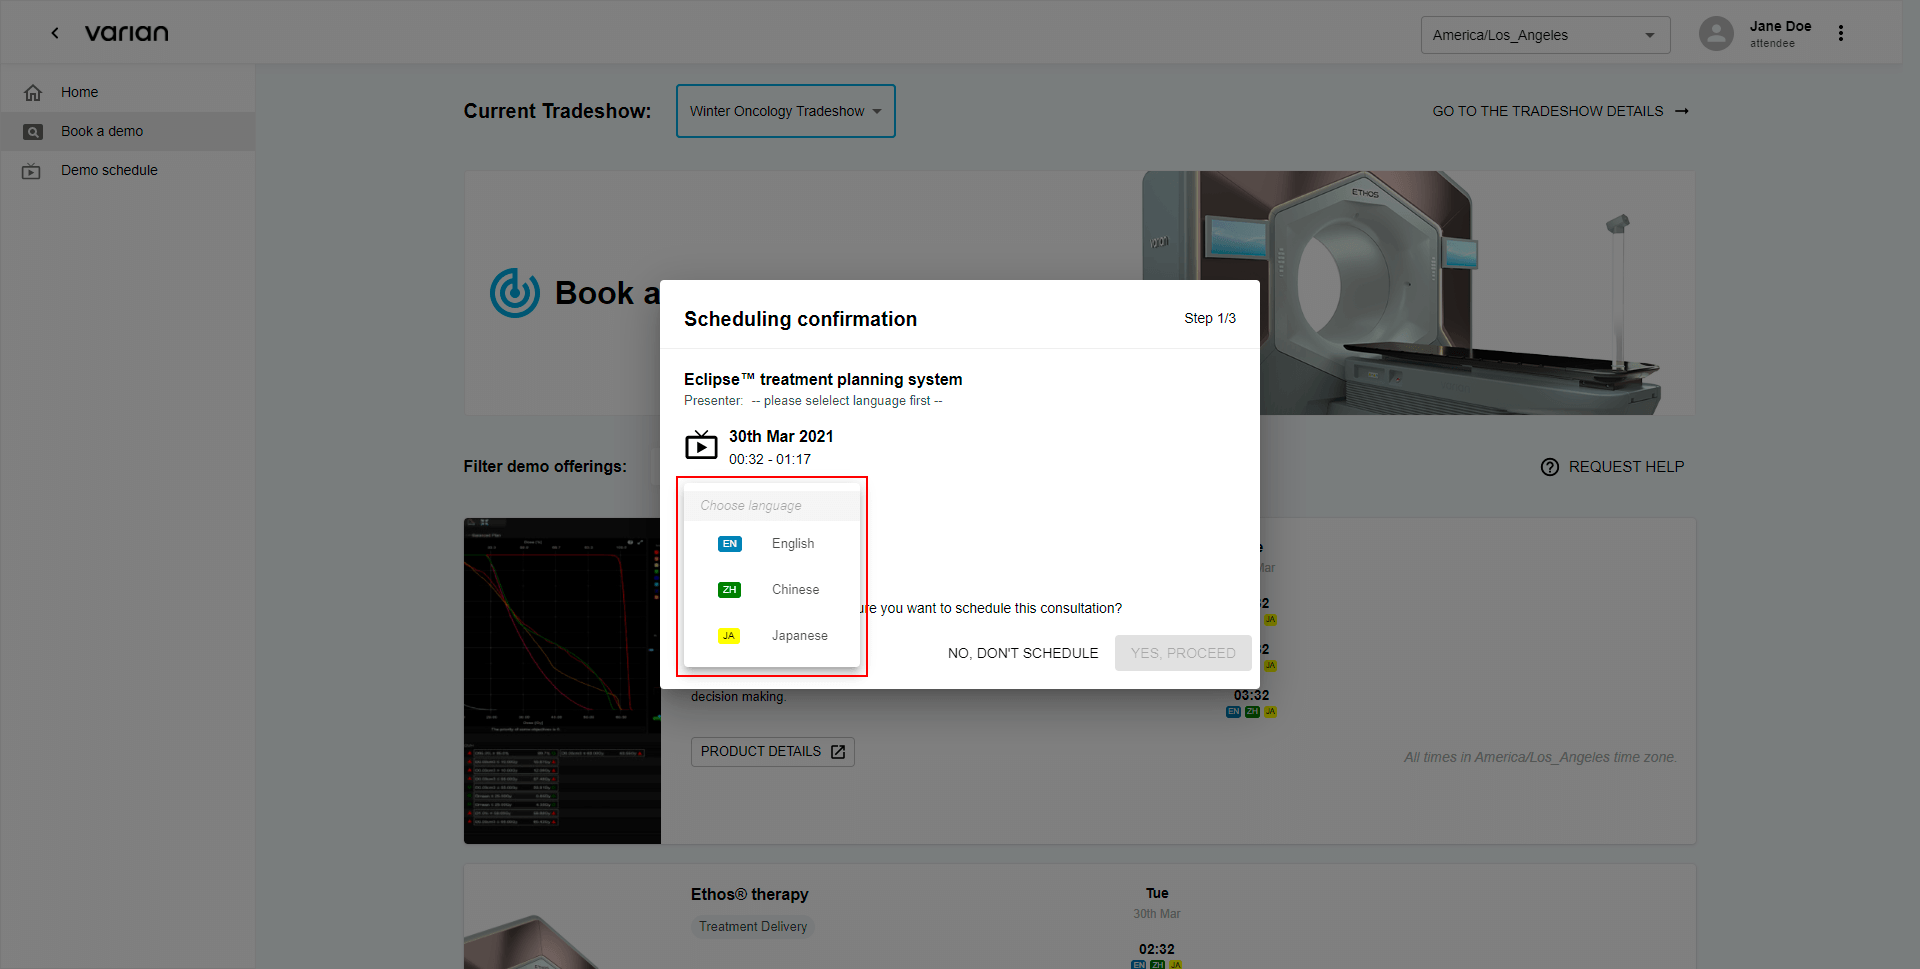
Click the “Yes, proceed” button to get to the following section.
Scheduling confirmation 2/3: Answer Questions
Answer attached questions...
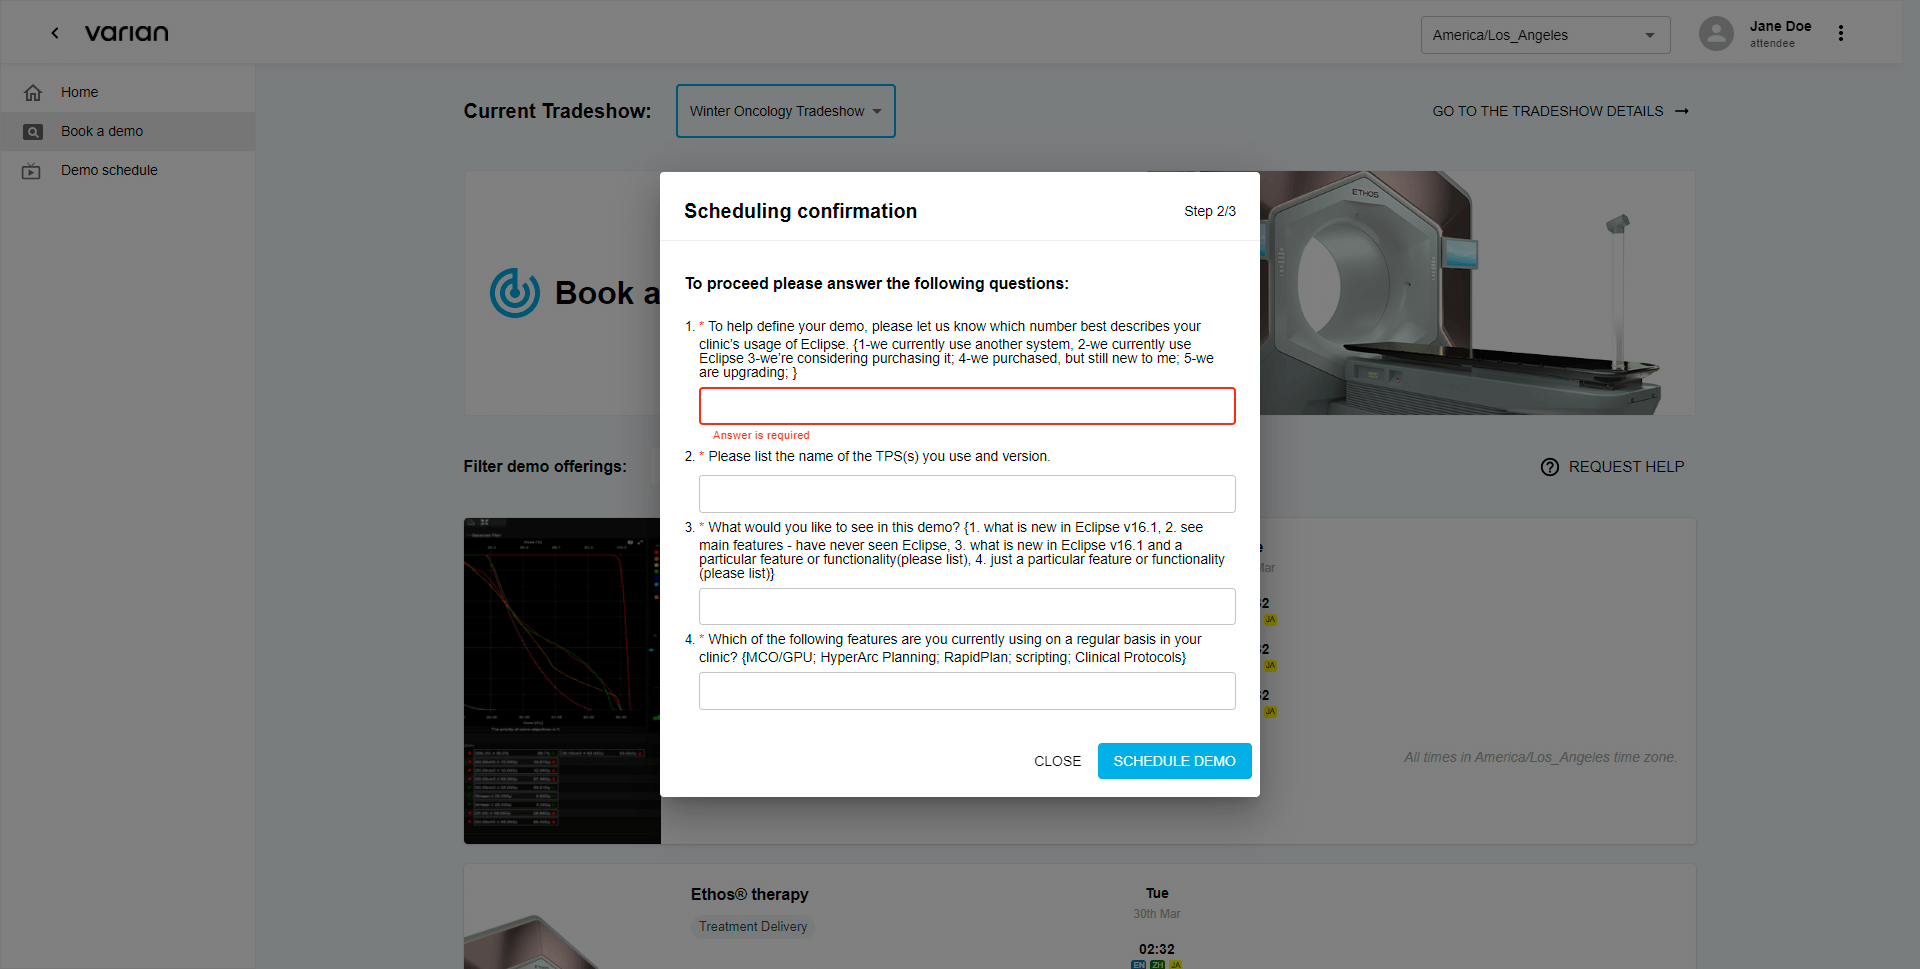
Click the “Schedule demo” button to proceed.

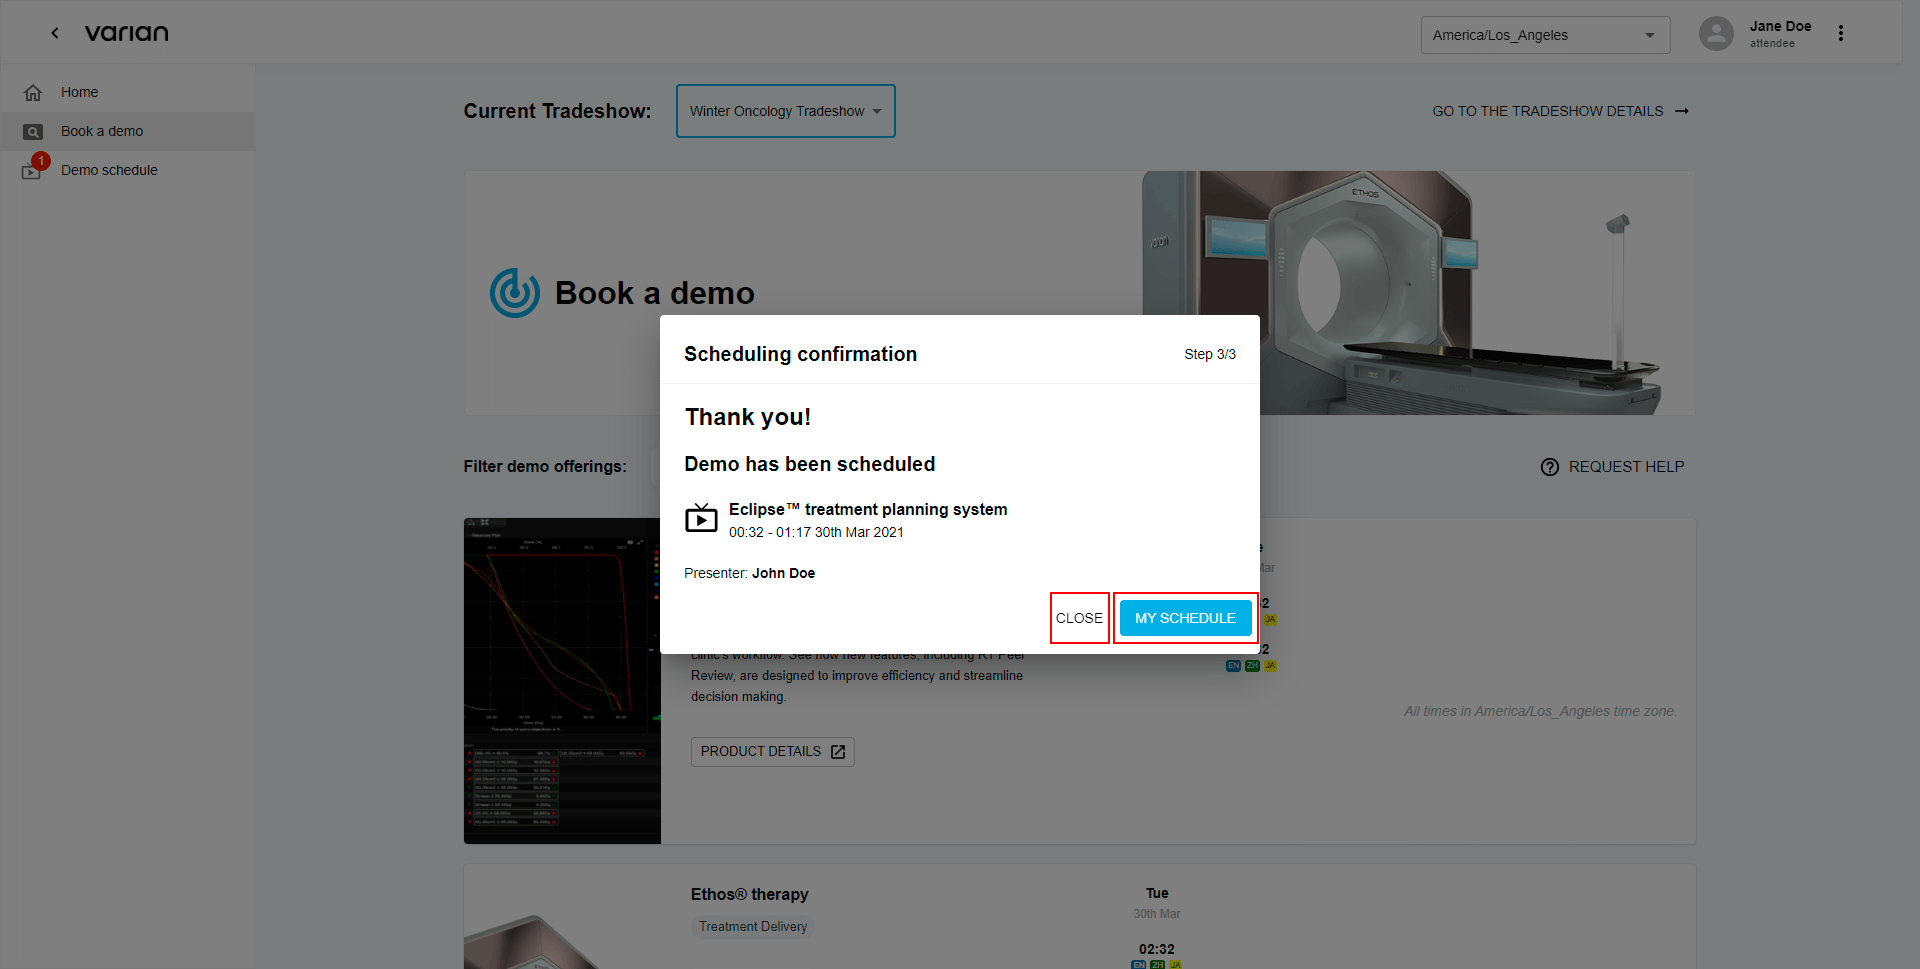
Scheduling confirmation 3/3: Close/Go to My Schedule
Congratulations! You just have scheduled your first demo. Now you can move to your schedule or simply close the window by clicking attached buttons.
1.1.2. Our Demos
To schedule a Demo using “Our Demos”.
Click “Our Demos”
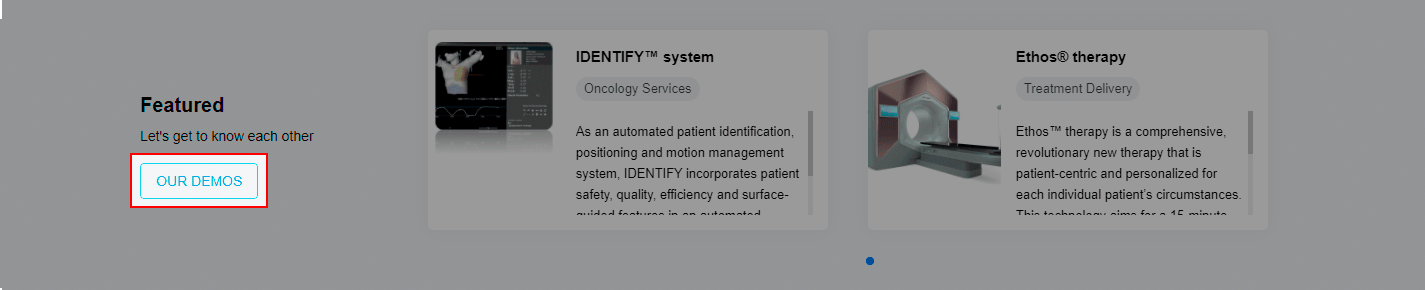
Click the button and you will be redirected to the “Book a demo” page to proceed.
Choose Tradeshow using dropdown
Pick Learning Track from the filter section
Pick Date and Time
Scheduling confirmation 1/3: Demo Language
Choose your language using attached dropdown.
Click the “Yes, proceed” button to get to the following section.
Scheduling confirmation 2/3: Answer Questions
Answer attached questions...
Click the “Schedule demo” button to proceed.
Scheduling confirmation 3/3: Close/Go to My Schedule
Congratulations! You just have scheduled your first demo. Now you can move to your schedule or simply close the window by clicking attached buttons.
1.2. “Book a demo” page
To proceed to the demo schedule using the “Book a demo” page, pick “Book a demo” position ofside nav.
Choose Tradeshow using dropdown
Pick Learning Track from the filter section
Pick Date and Time
Scheduling confirmation 1/3: Demo Language
Choose your language using attached dropdown.
Click the “Yes, proceed” button to get to the following section.
Scheduling confirmation 2/3: Answer Questions
Answer attached questions...
Click the “Schedule demo” button to proceed.
Scheduling confirmation 3/3: Close/Go to My Schedule
Congratulations! You just have scheduled your first demo. Now you can move to your schedule or simply close the window by clicking attached buttons. (varian-tds-book-a-demo-scheduling-confirmation-3_3.png)
2. My demo schedule management
To manage your demo schedule access your demo schedule page by choosing “Book a demo” side nav position.
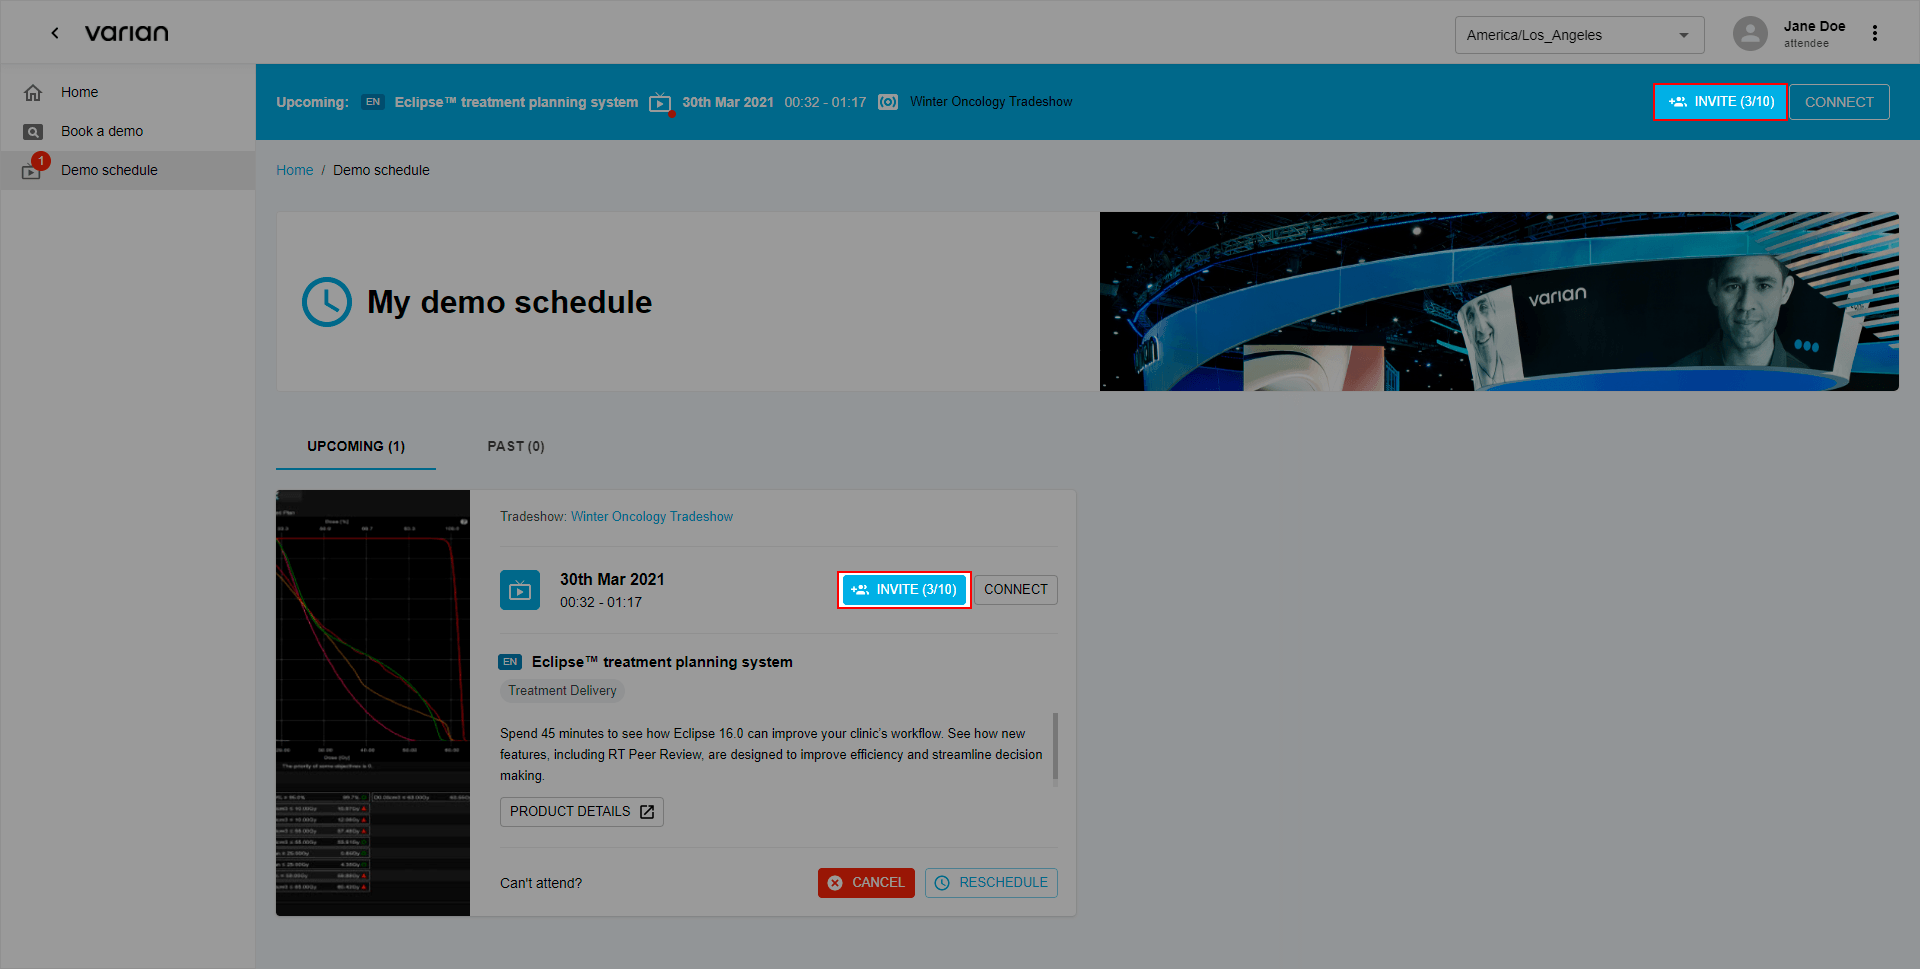
2.1. Invite
To maximize the benefits coming from meetings with our specialists, the system allows you to invite colleagues to a scheduled demo. To invite your coworkers:
Click on one of the “Invite” buttons visible.

Enter the email of the collaborator you want to invite
You can invite up to 8 colleagues from your clinic, separate email addresses by commas - and click 'Send invitations'.

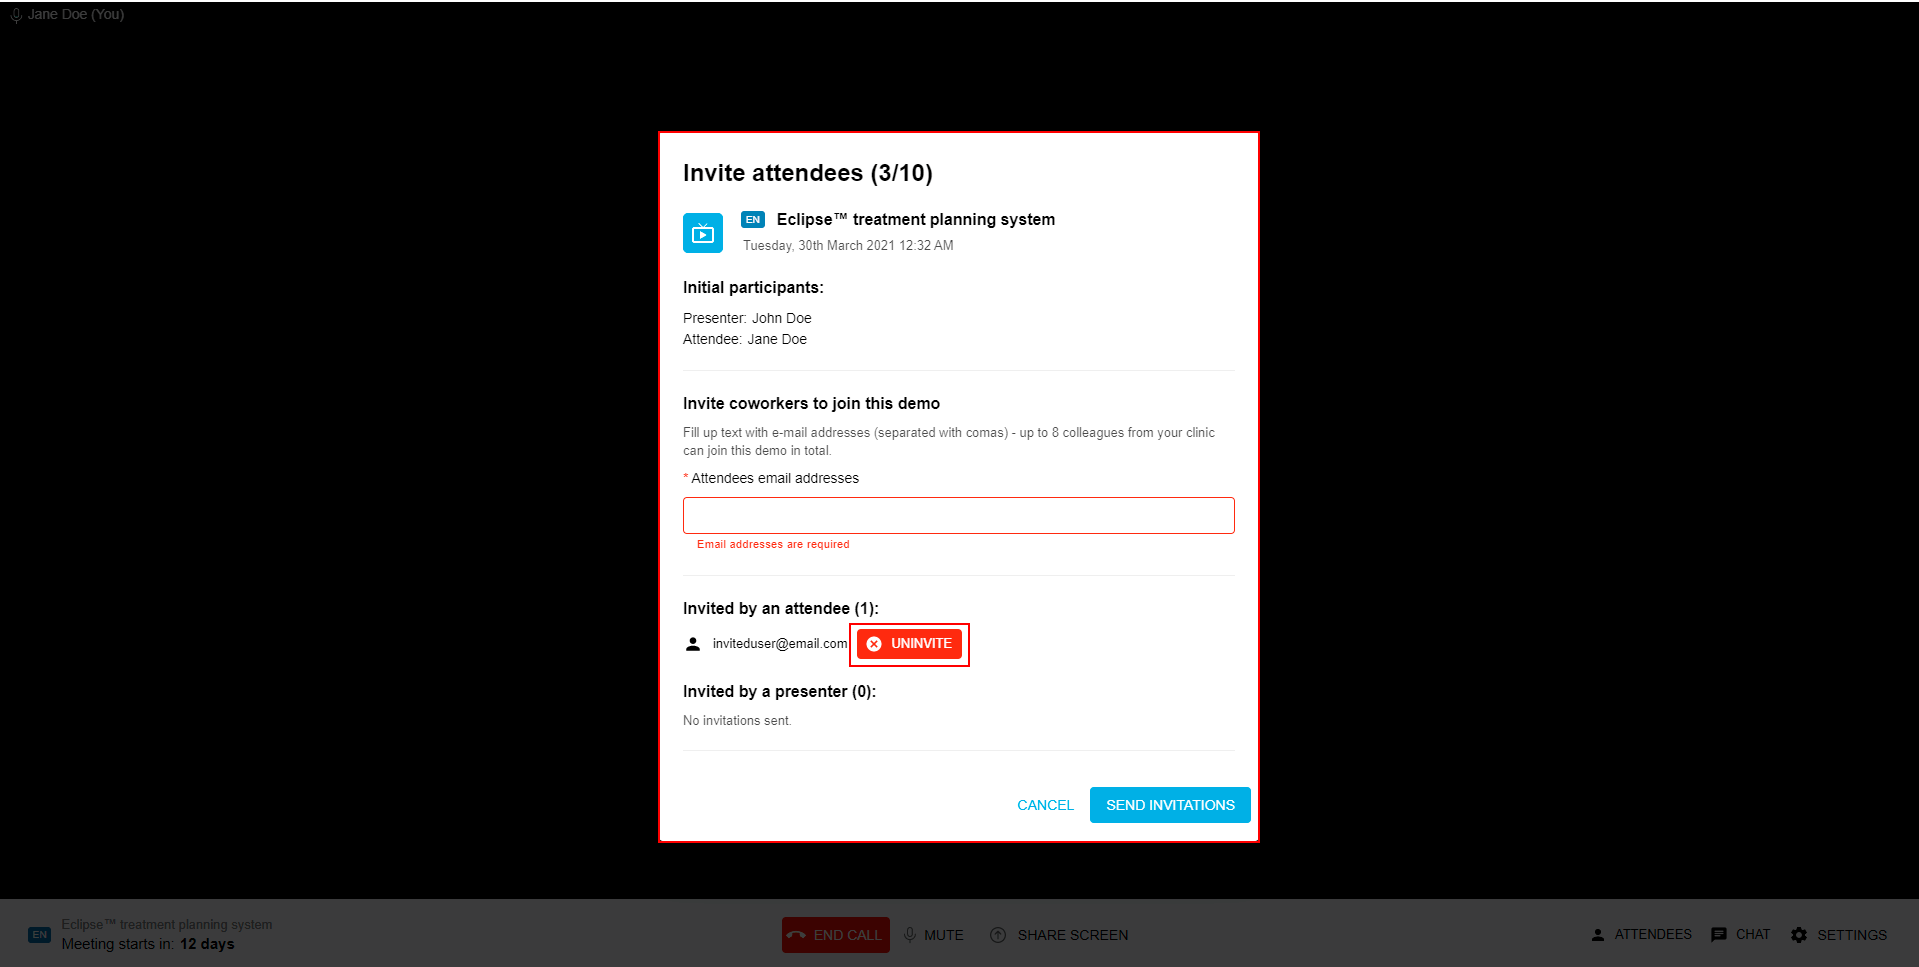
2.2. Uninvite
Click on one of the “Invite” buttons visible.
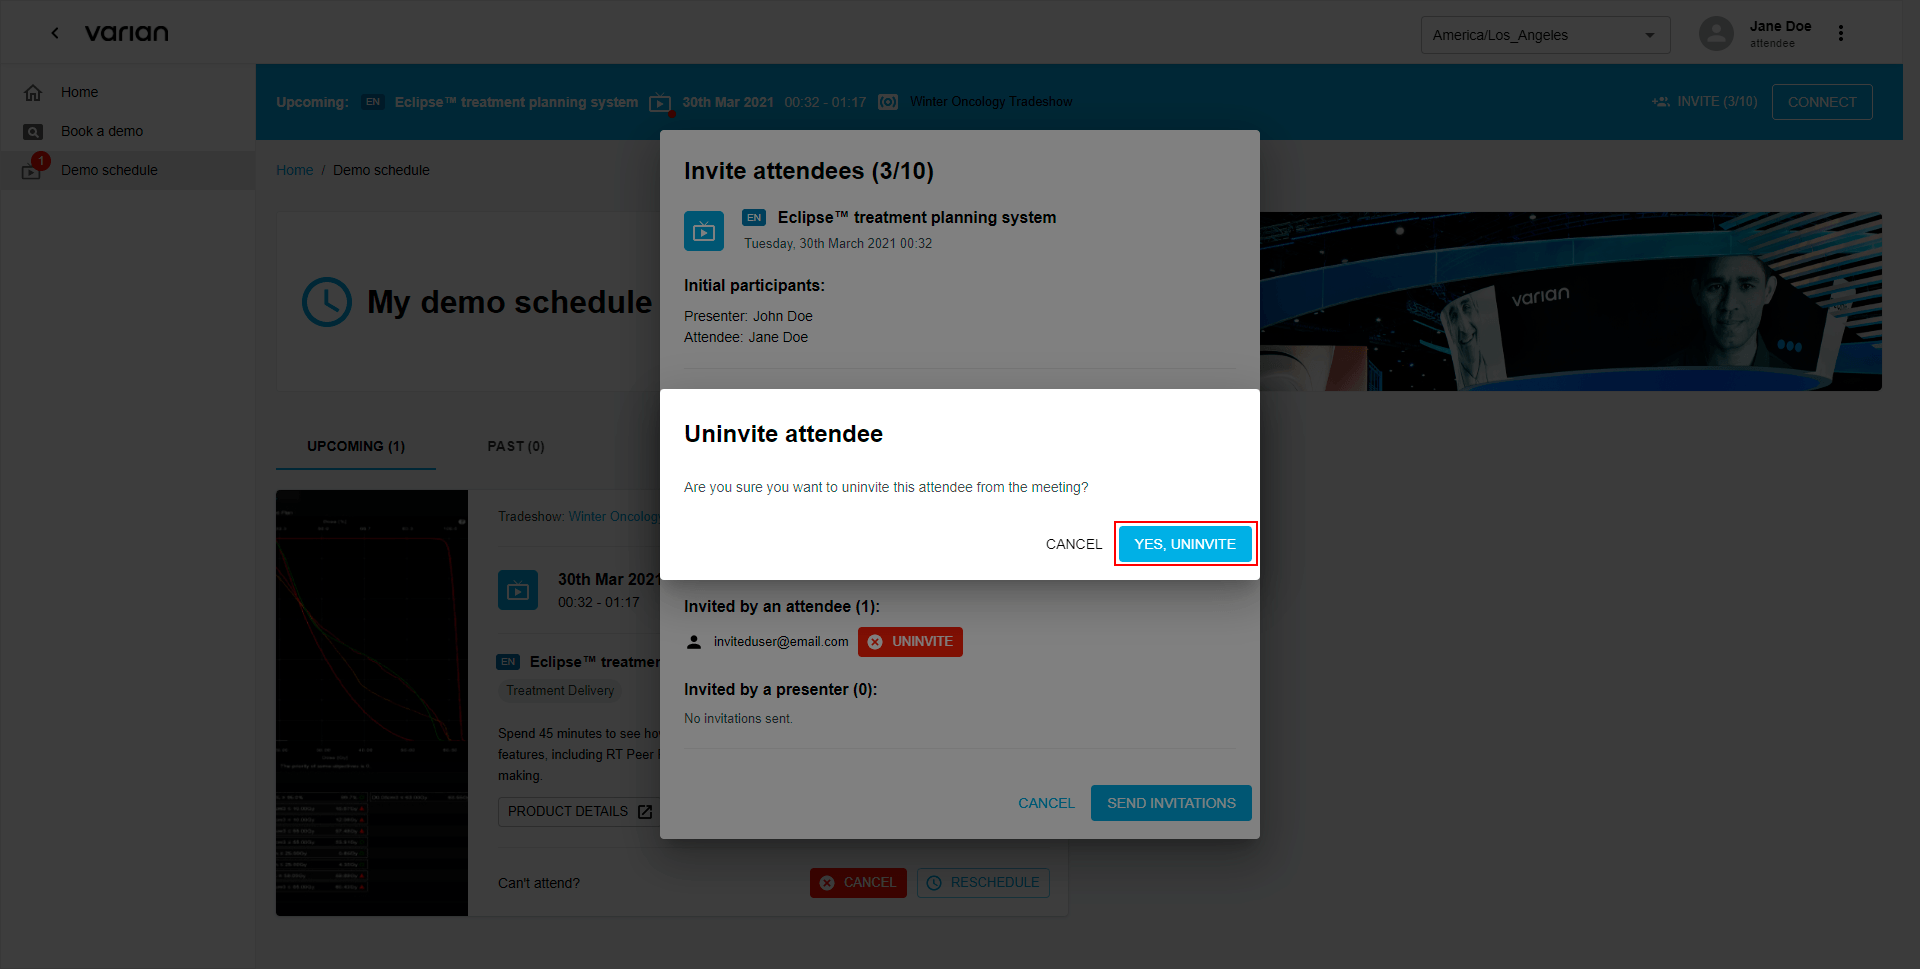
Click the “Uninvite” button.
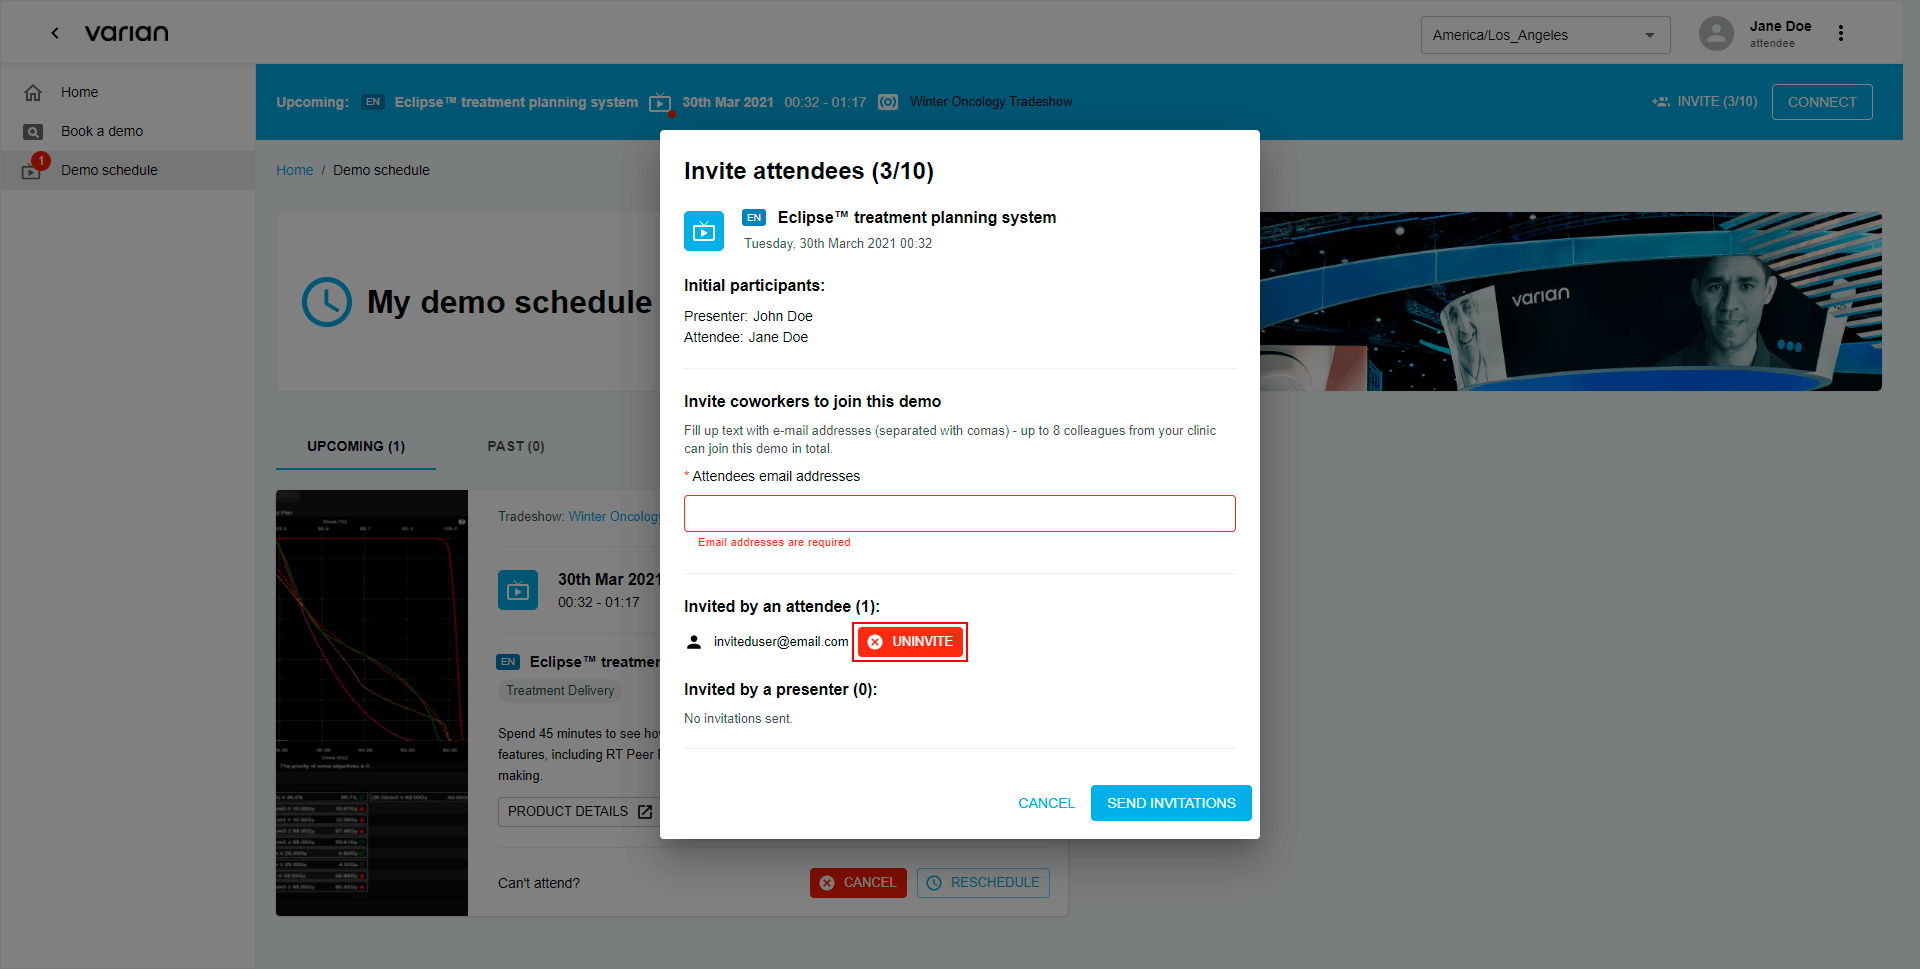
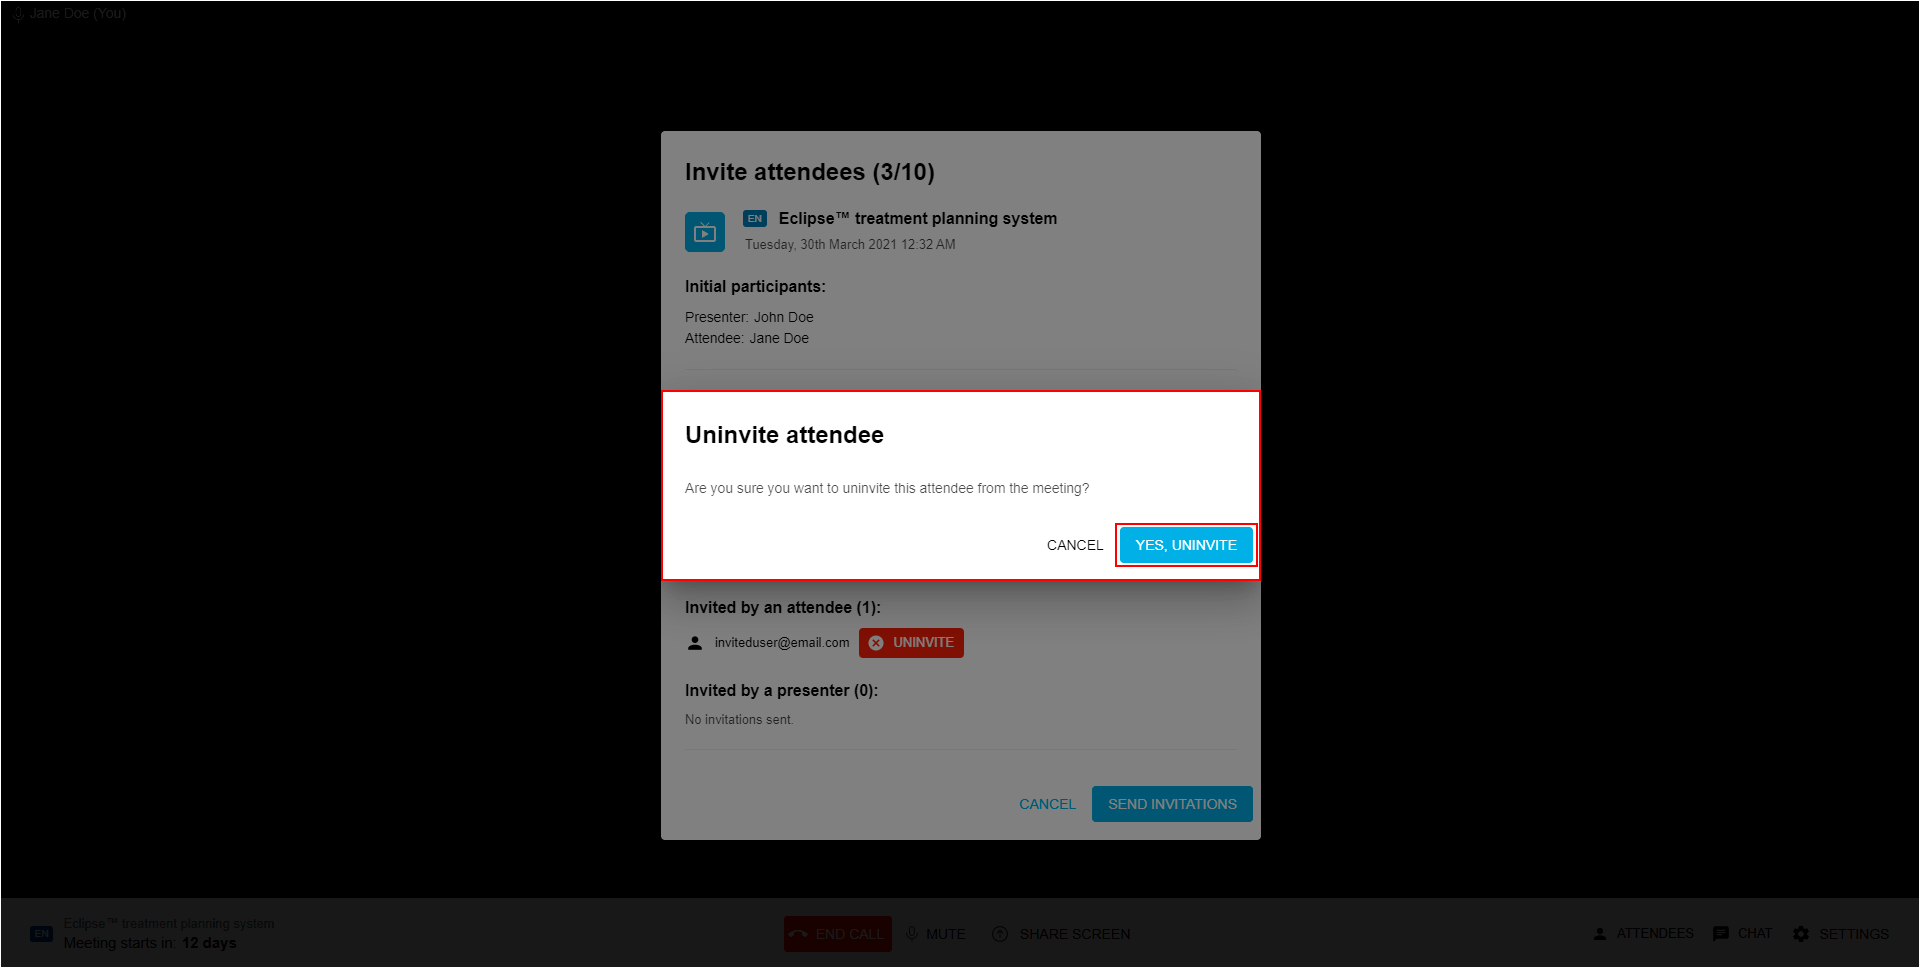
Confirm uninvite by choosing “Yes, uninvite” button.
2.3. Reschedule
After clicking the “Reschedule” button reschedule mode appears.

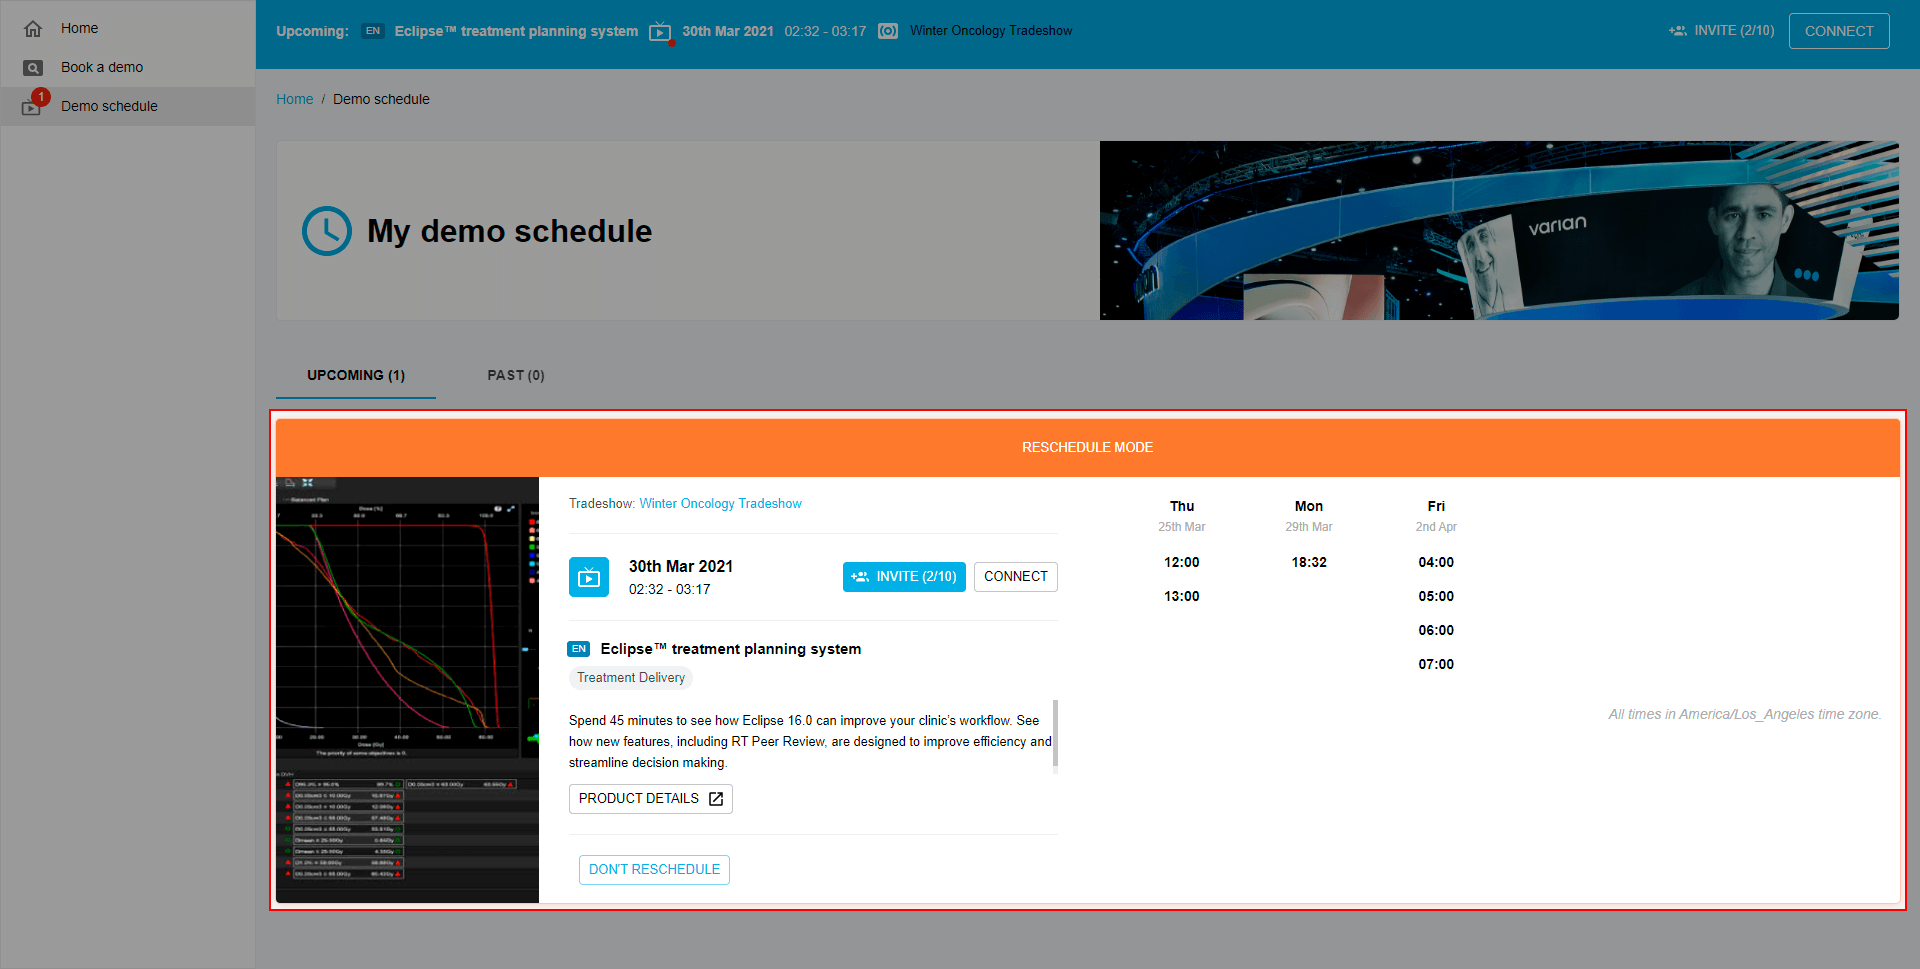
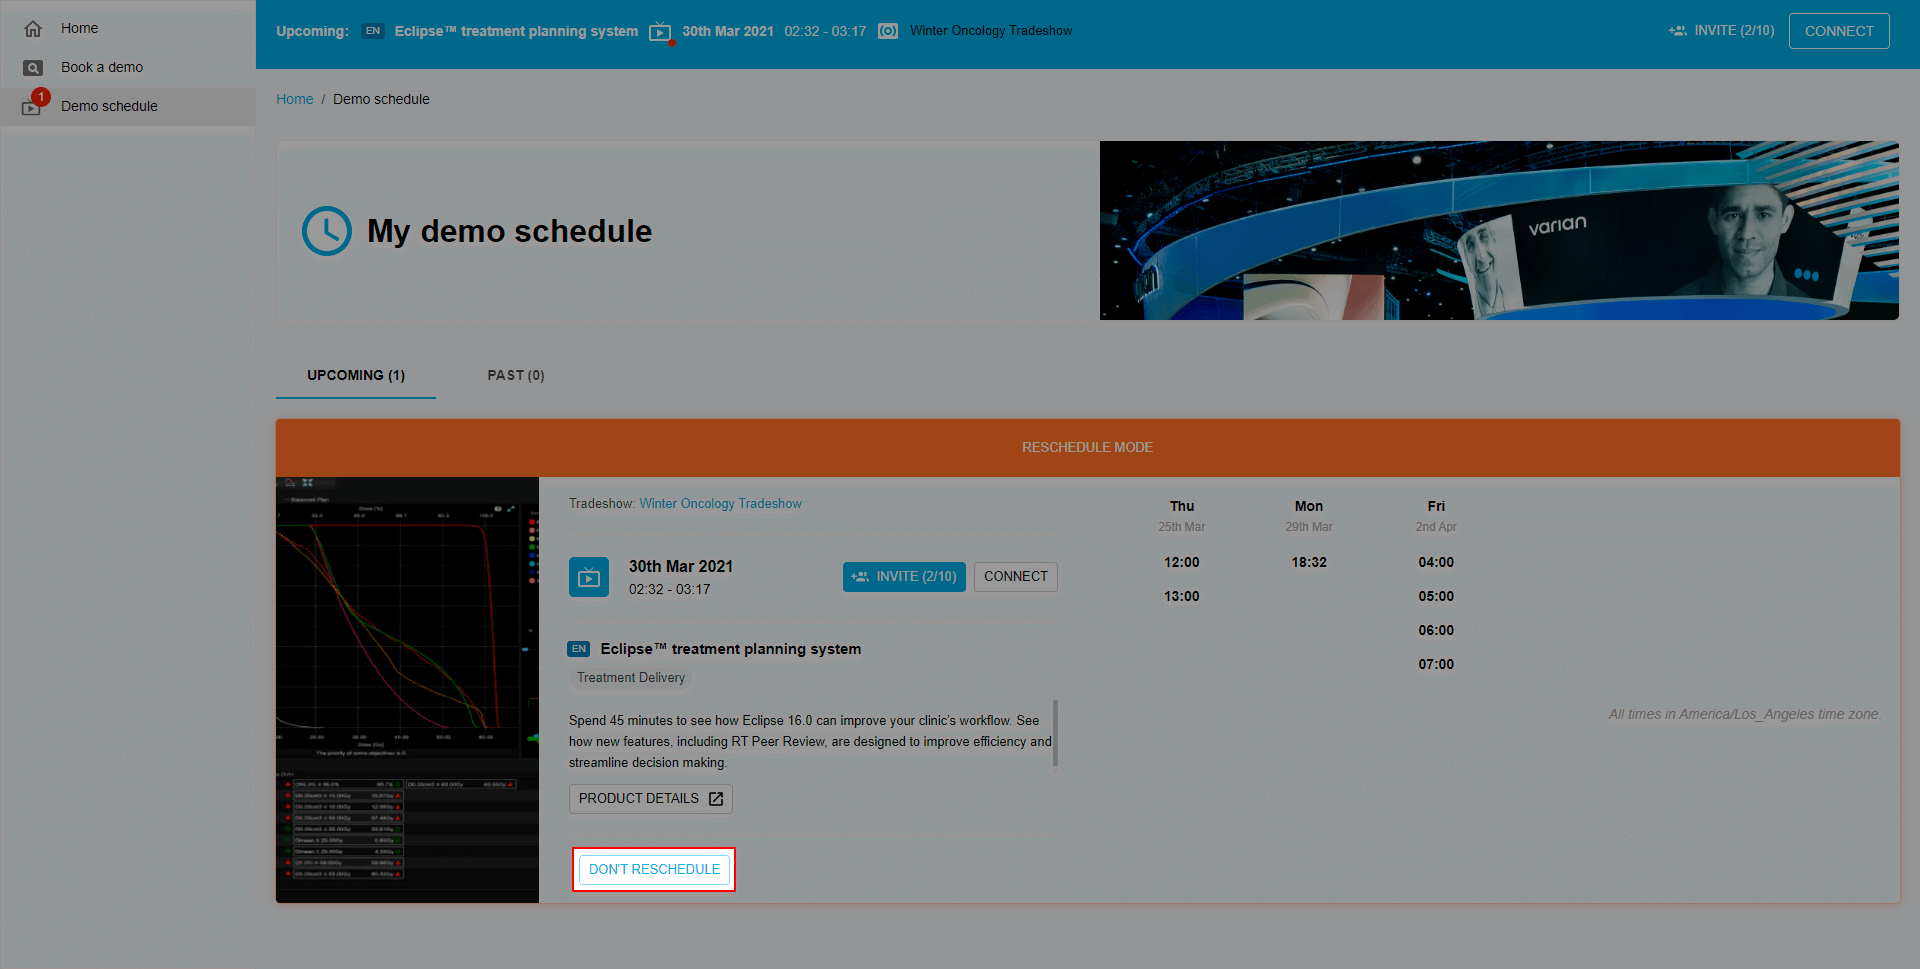
To exit reschedule mode click the “Don’t reschedule” button.
Choose date and time.
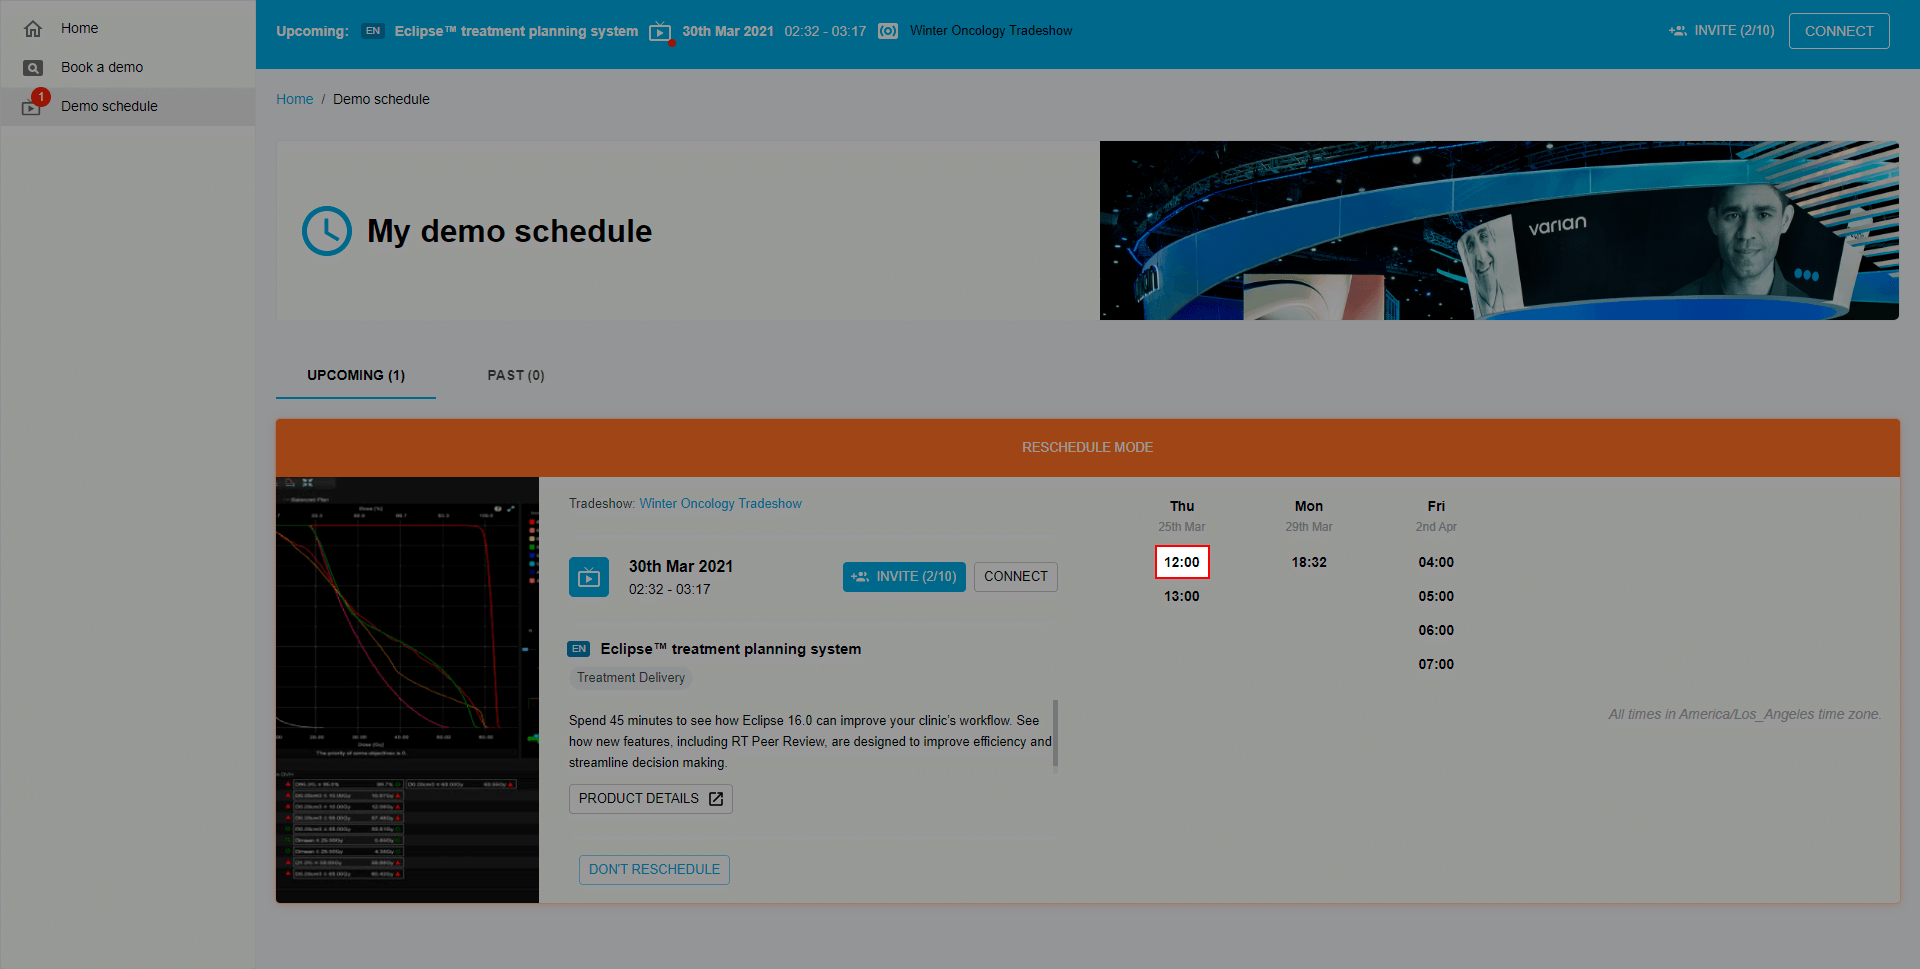
Confirm reschedule by clicking the “Yes, reschedule” button.

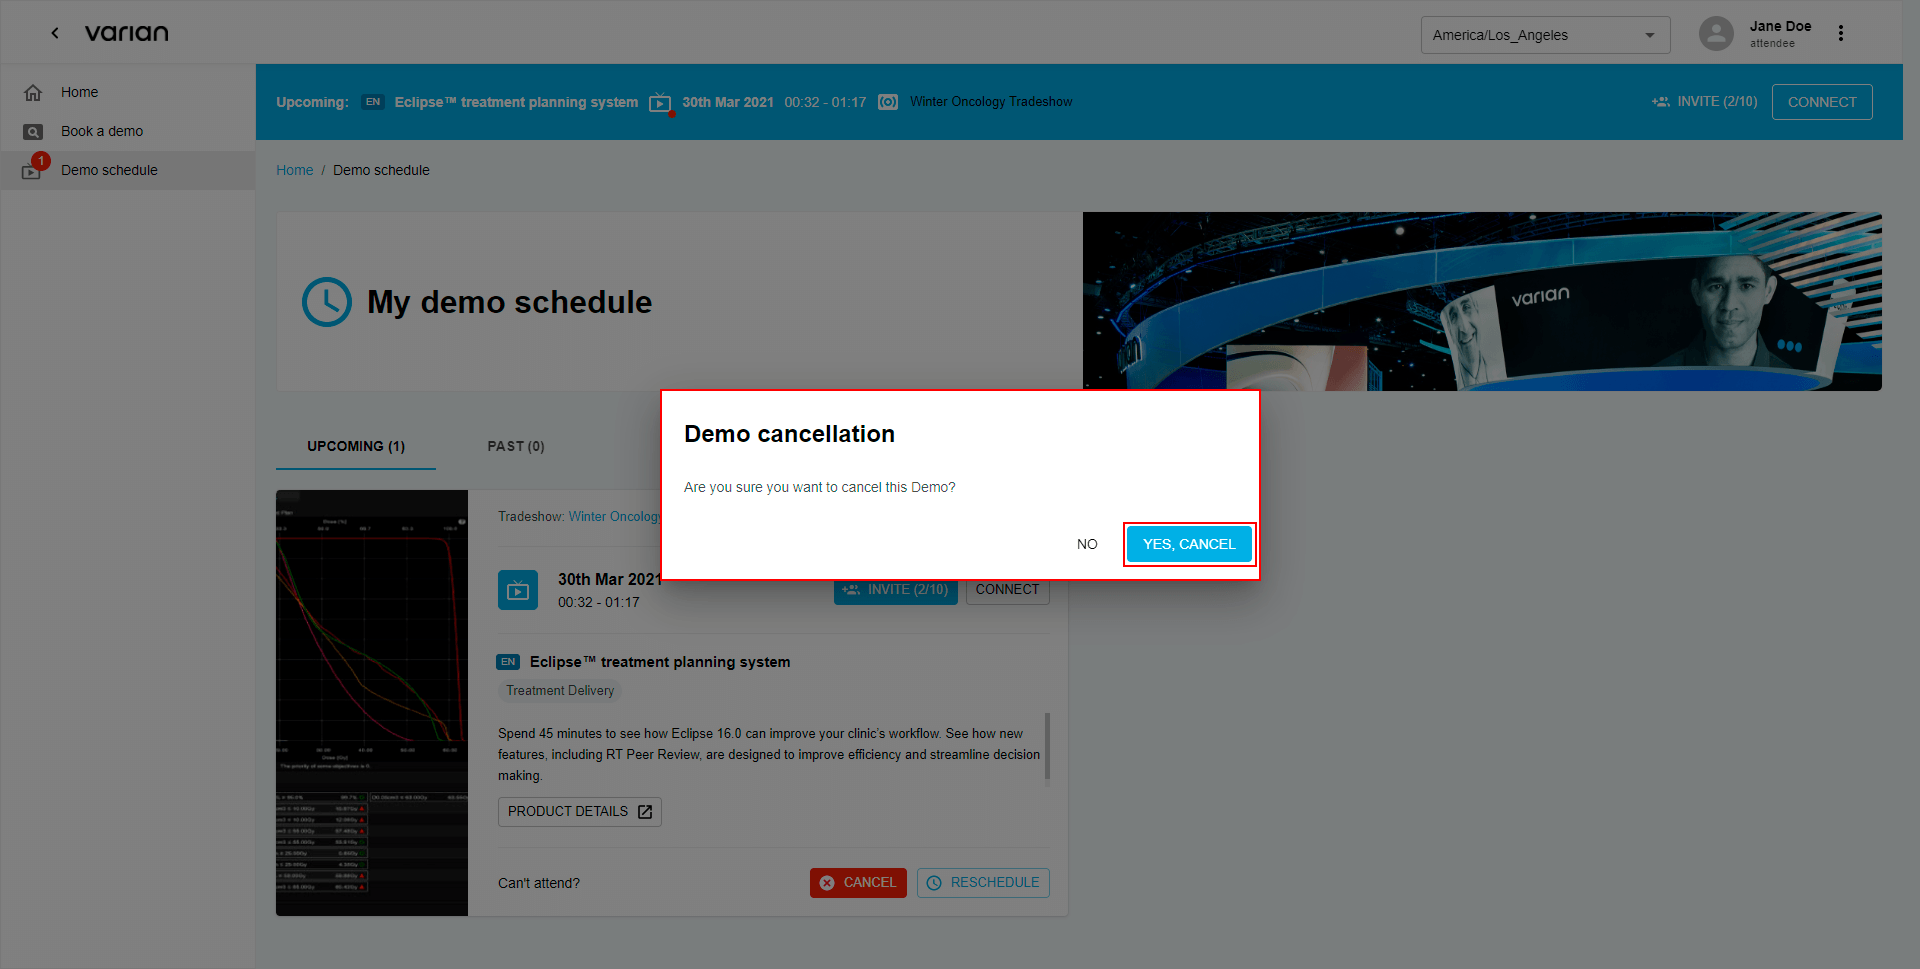
2.4. Cancel
Choose the “Cancel” button.
Confirm demo cancellation by clicking the “Yes, cancel” button.
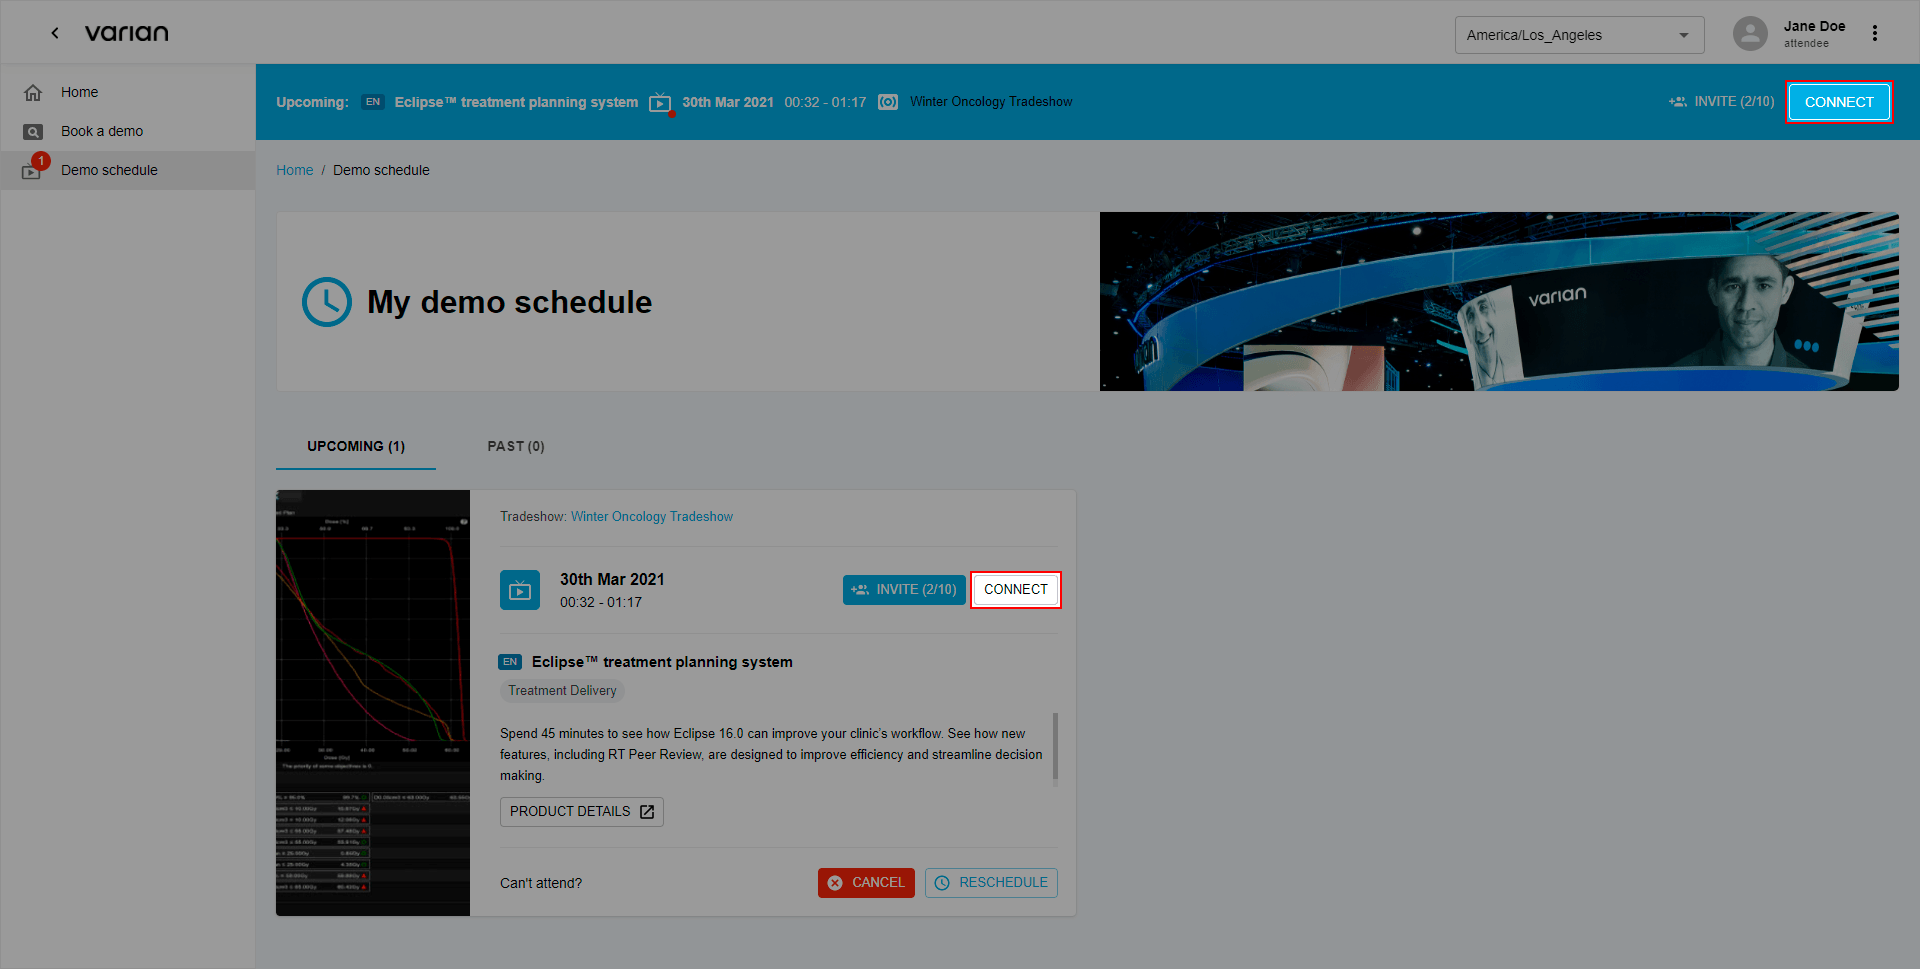
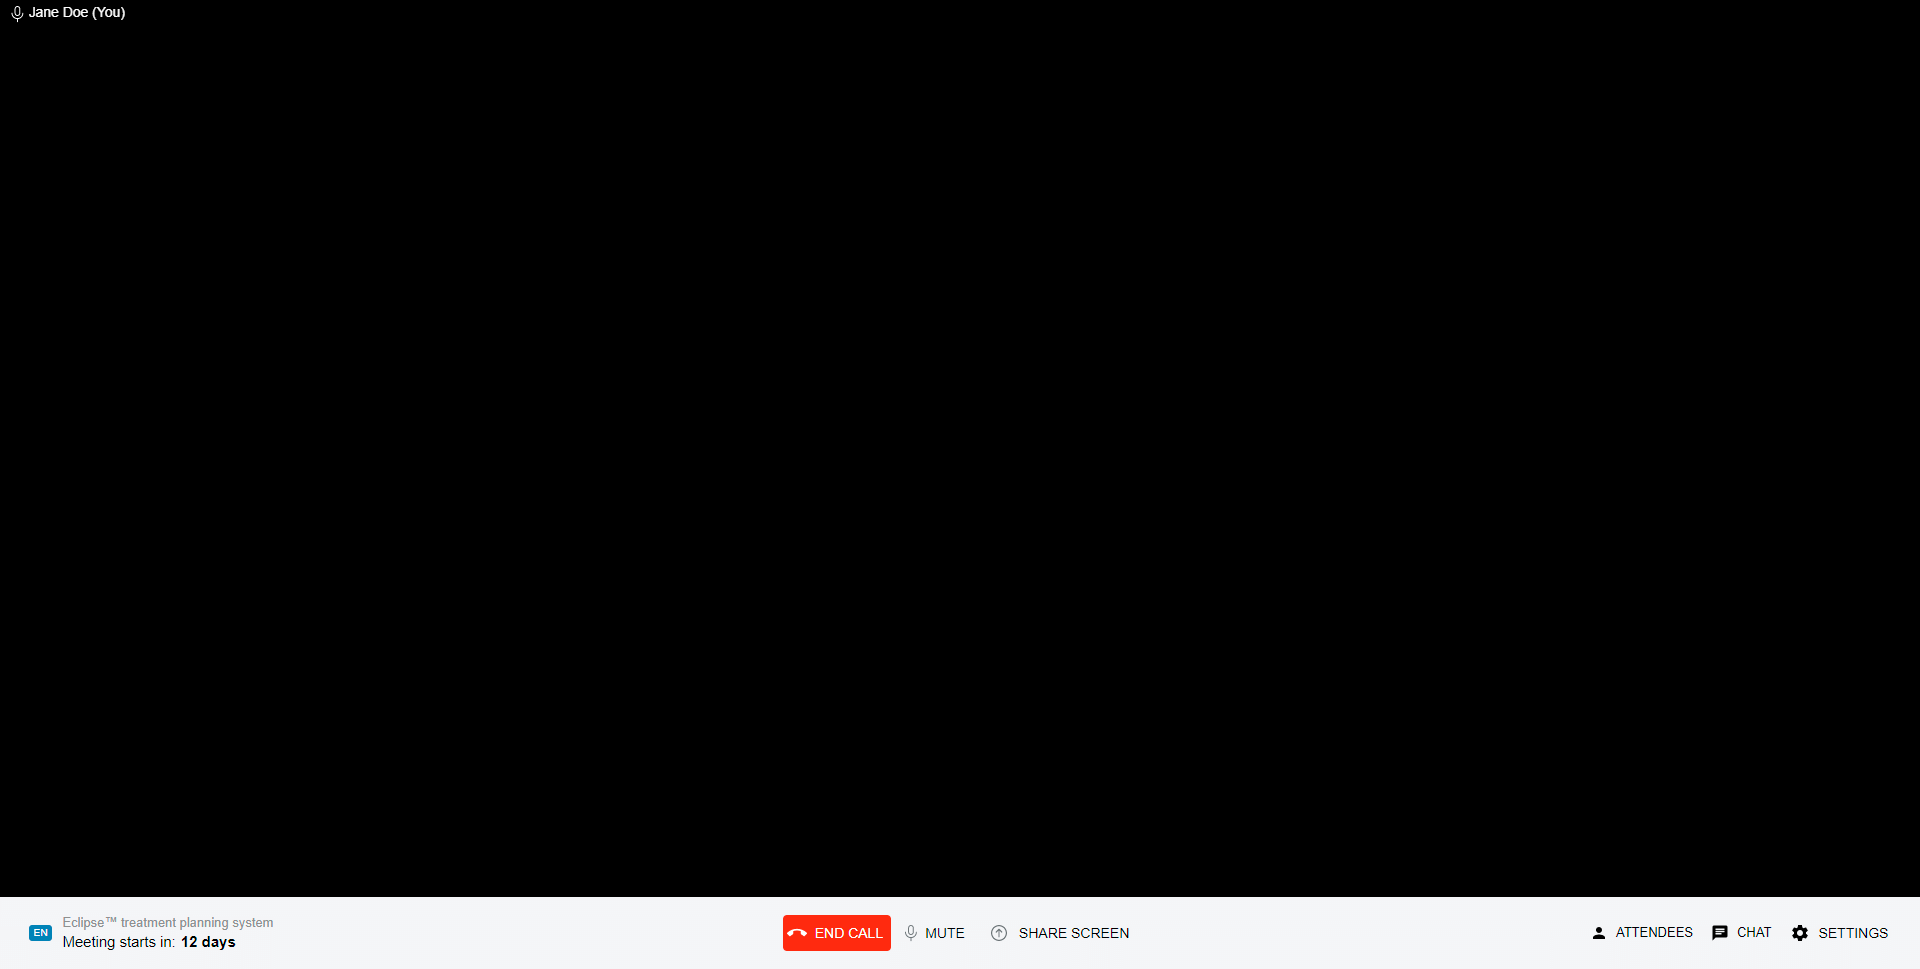
3. Demo meeting
3.1. Connect to Demo
To access your scheduled demo go to “Book a demo” page by choosing “Book a demo” side nav position and click one of the “Connect” buttons.
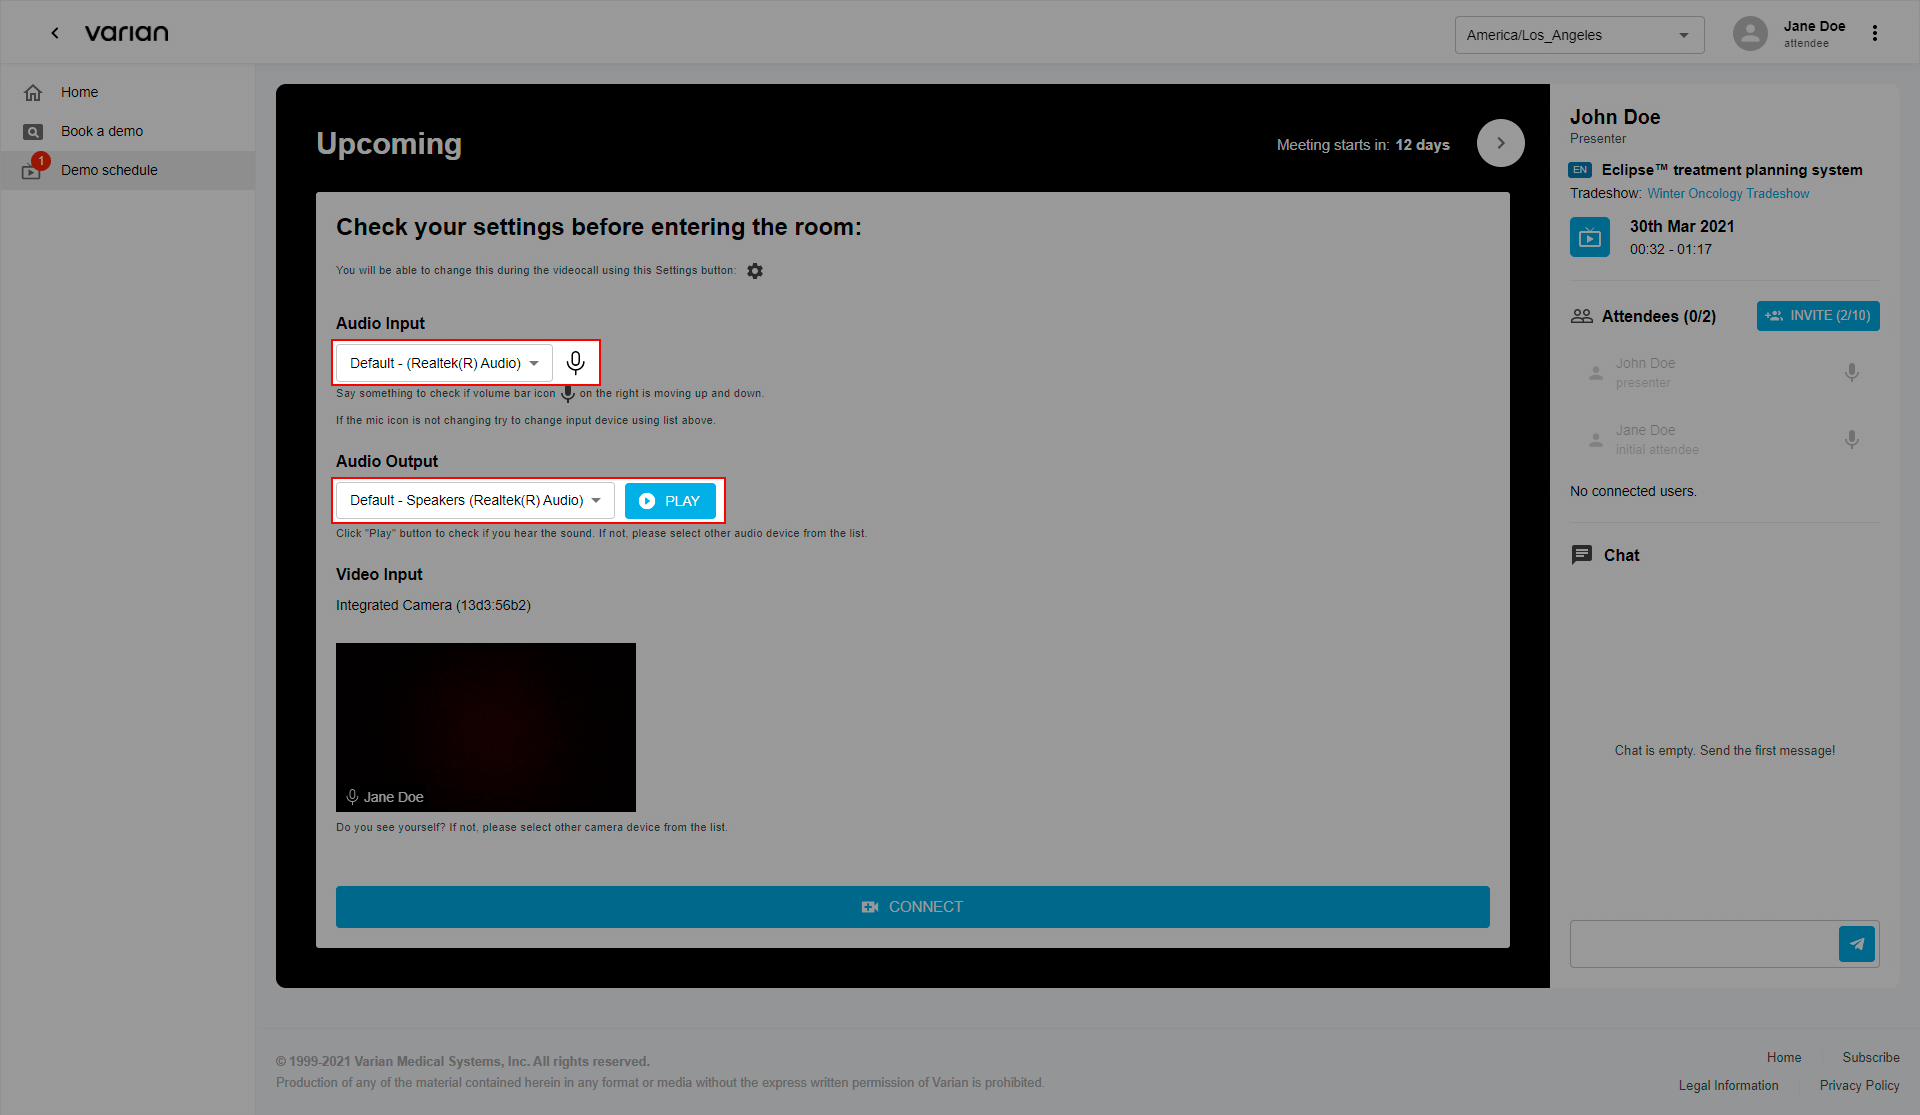
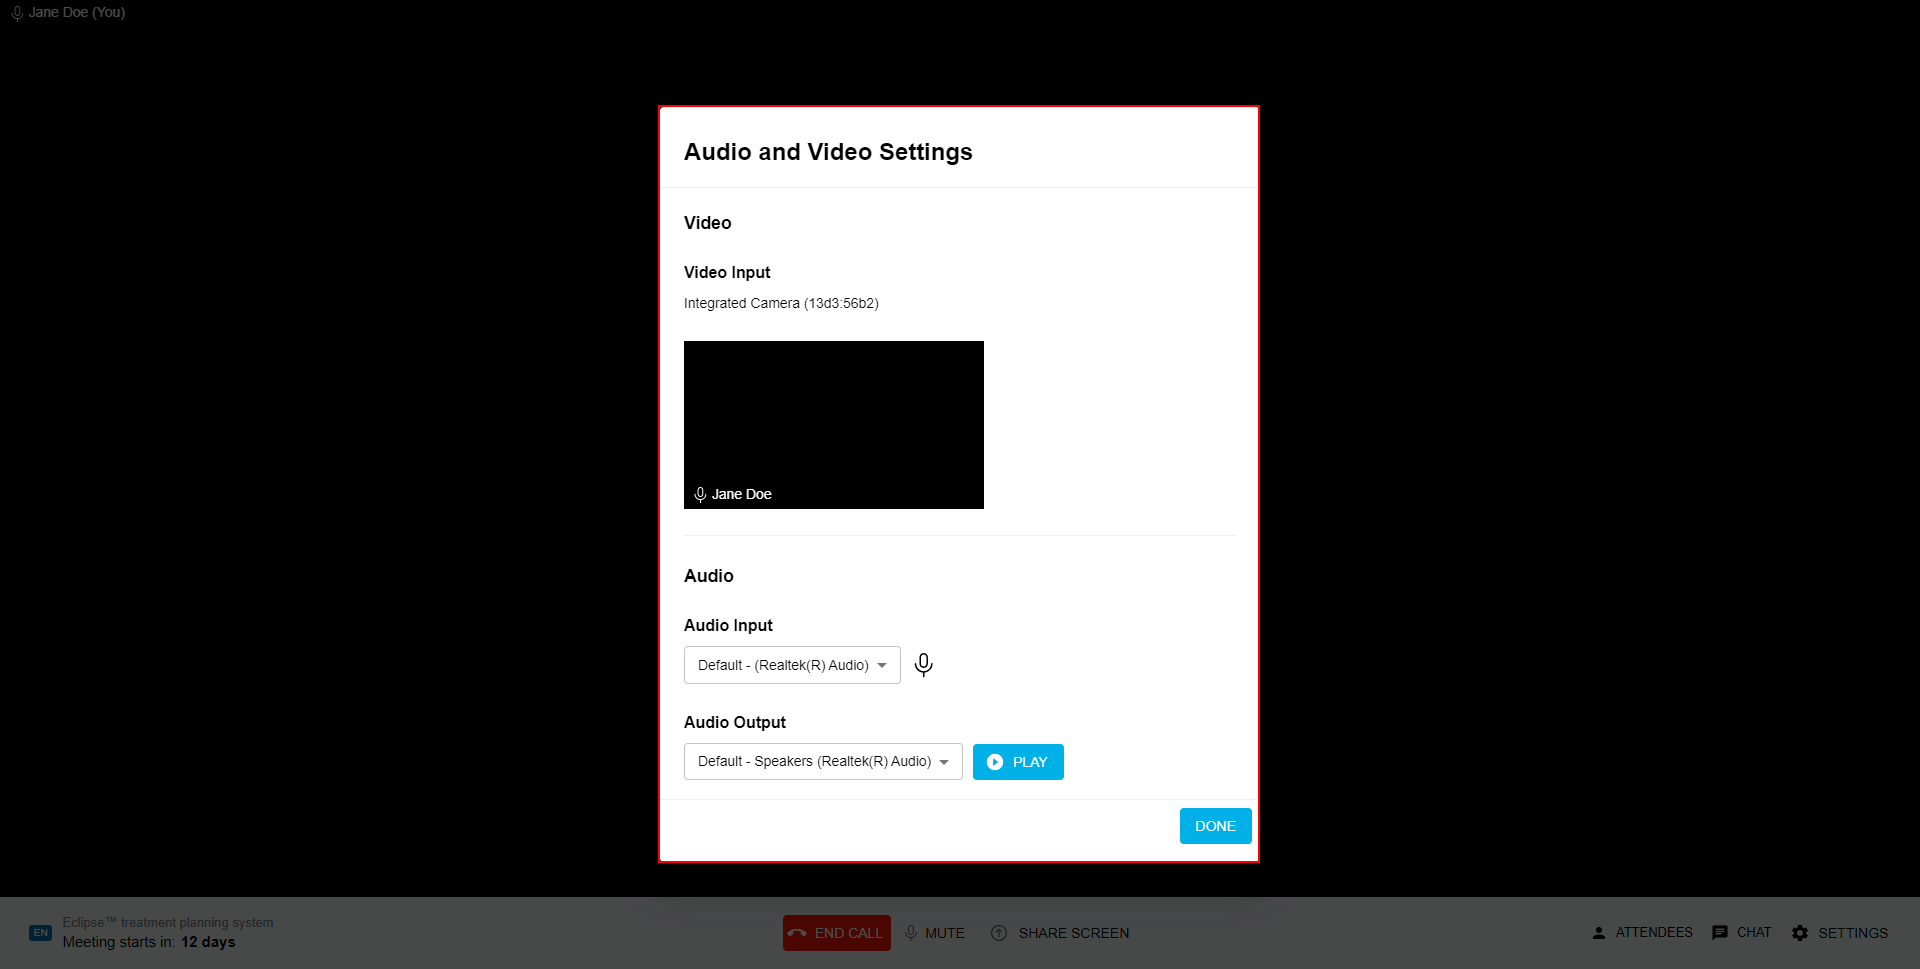
3.2. Check your settings
Before entering the room check your audio and video settings.

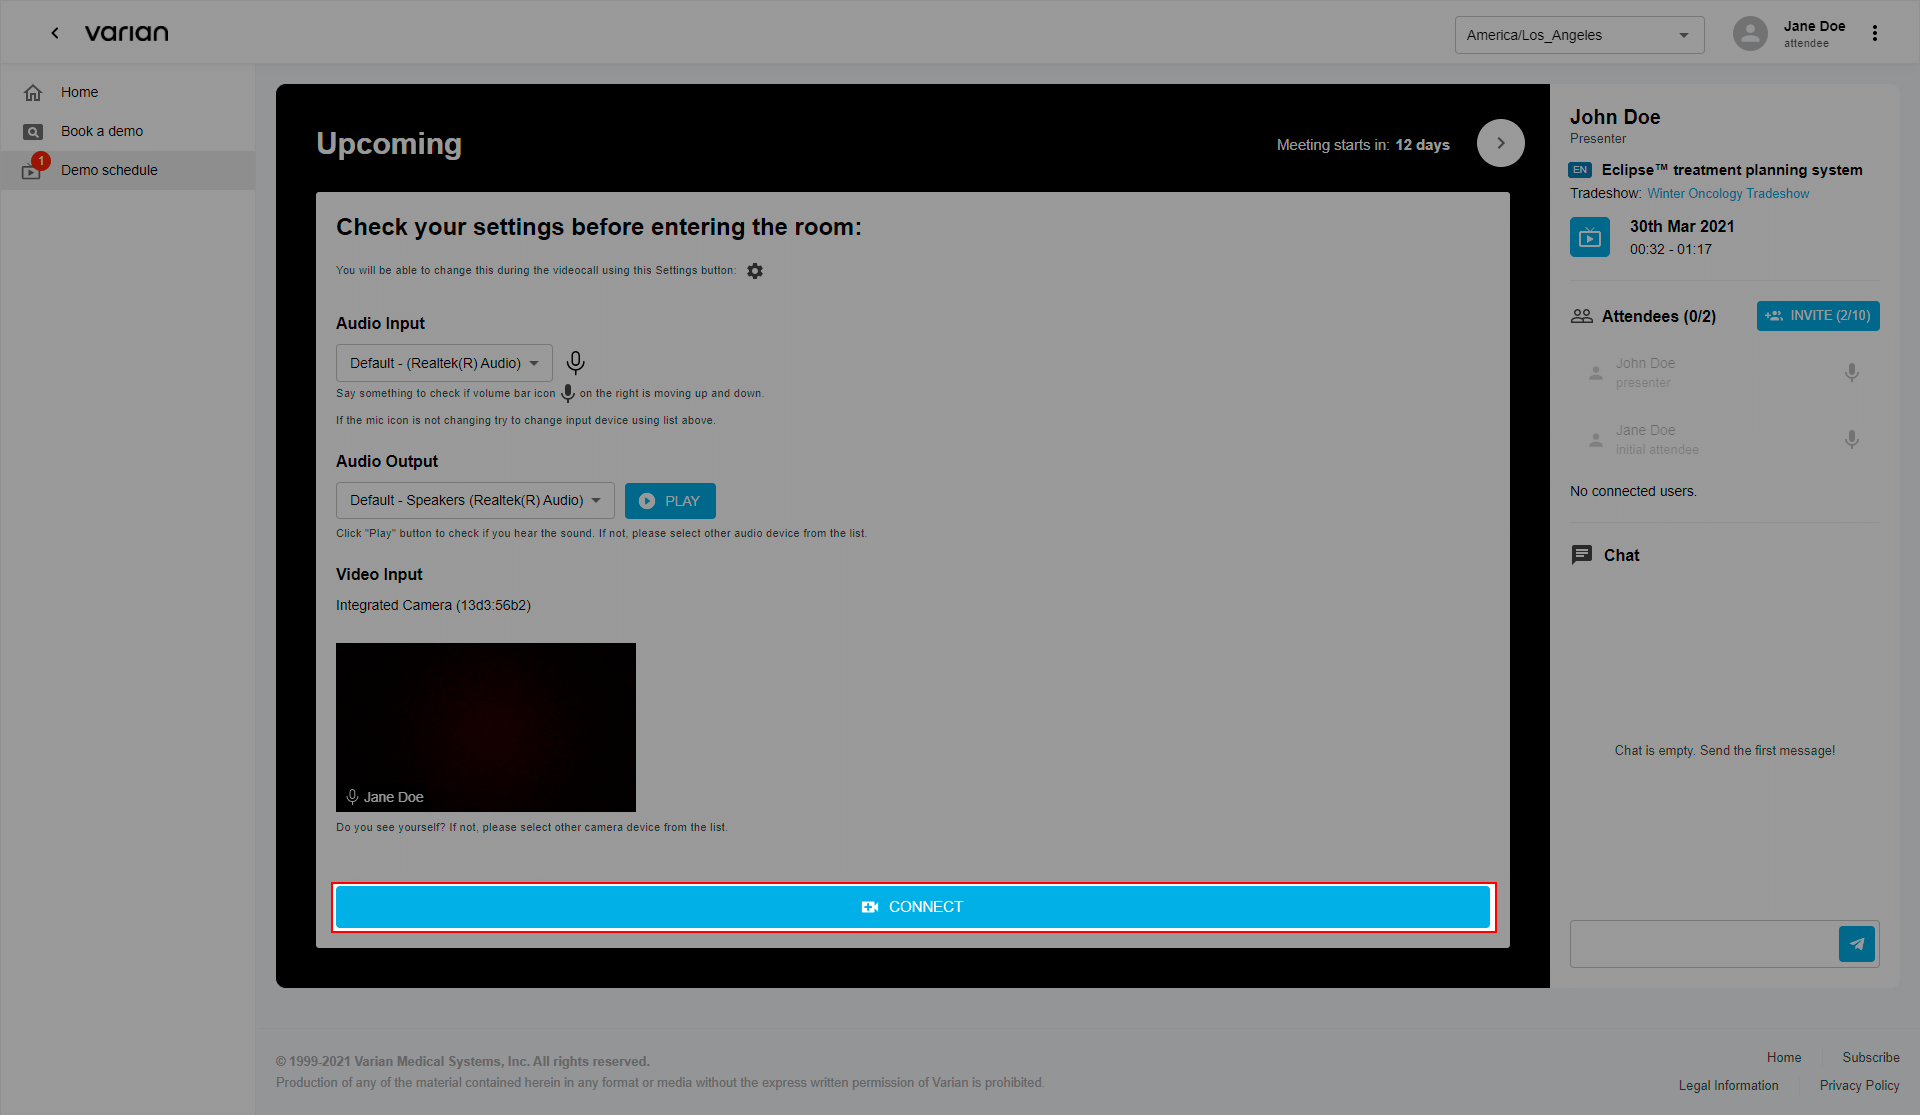
3.3. Connect
To connect to Demo click the “Connect” button.
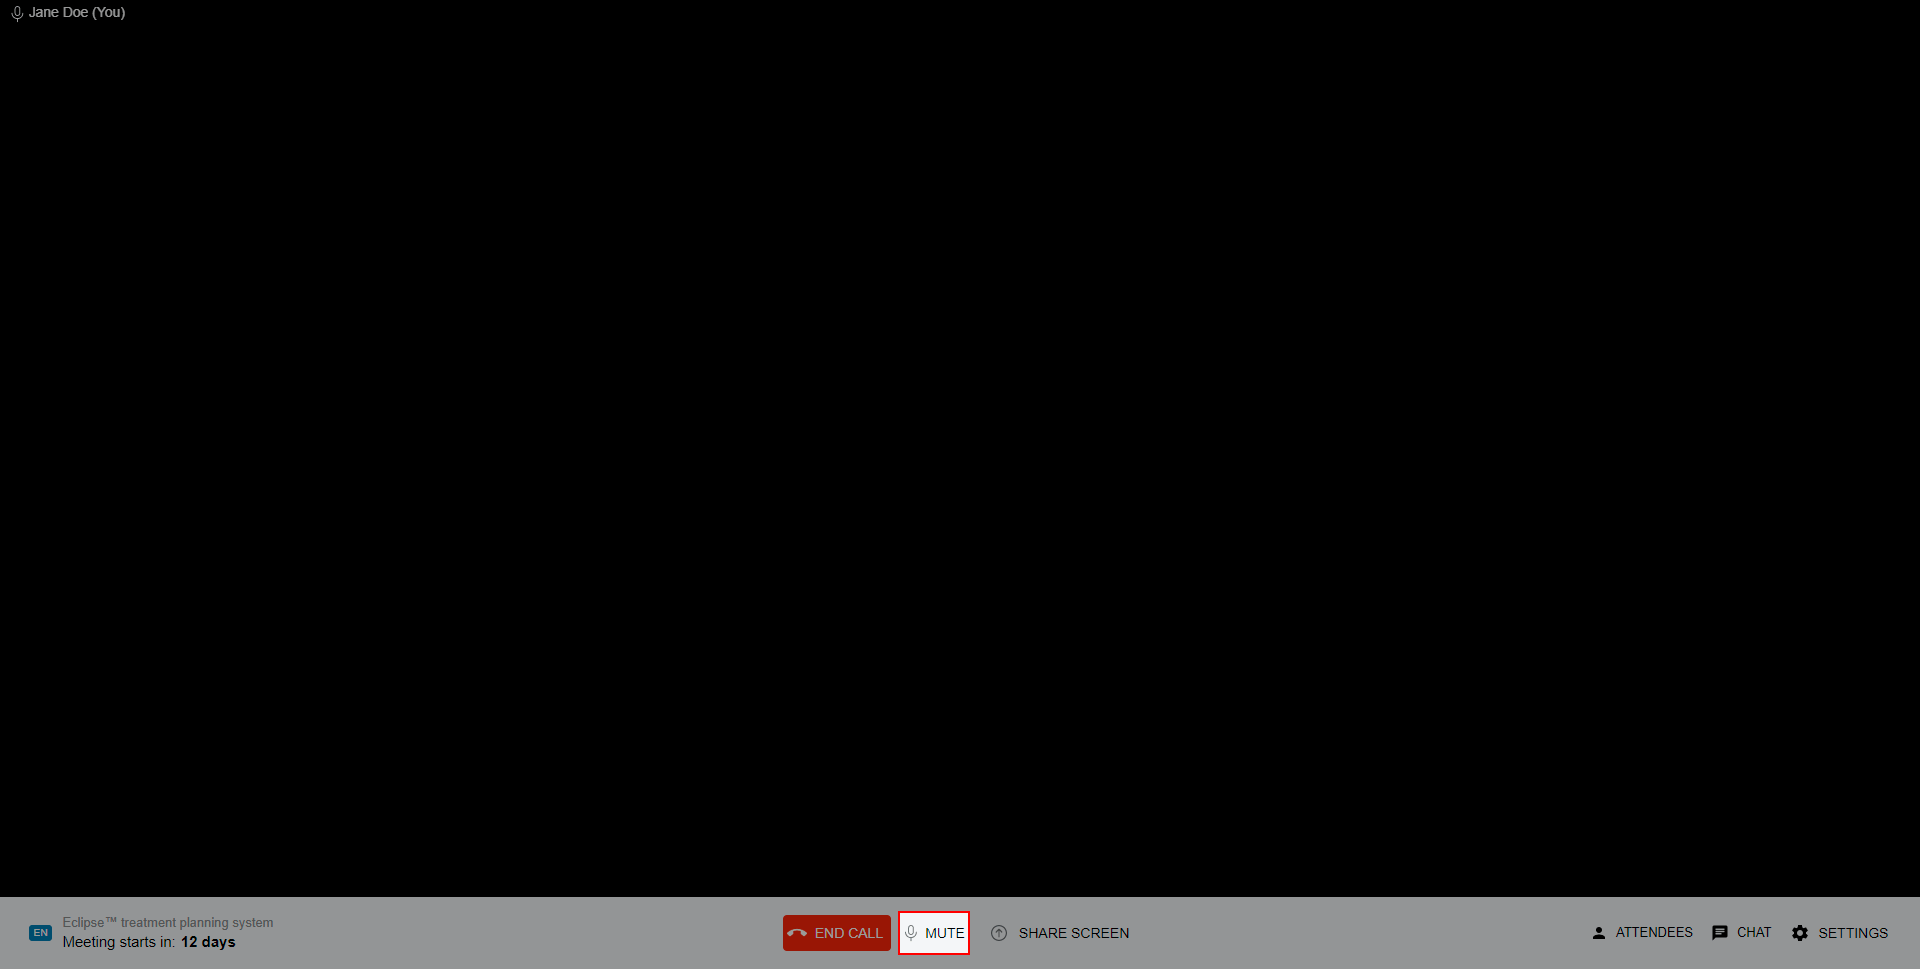
3.4. Mute/Unmute
To “Mute/Unmute” yourself click the “Mute” button.

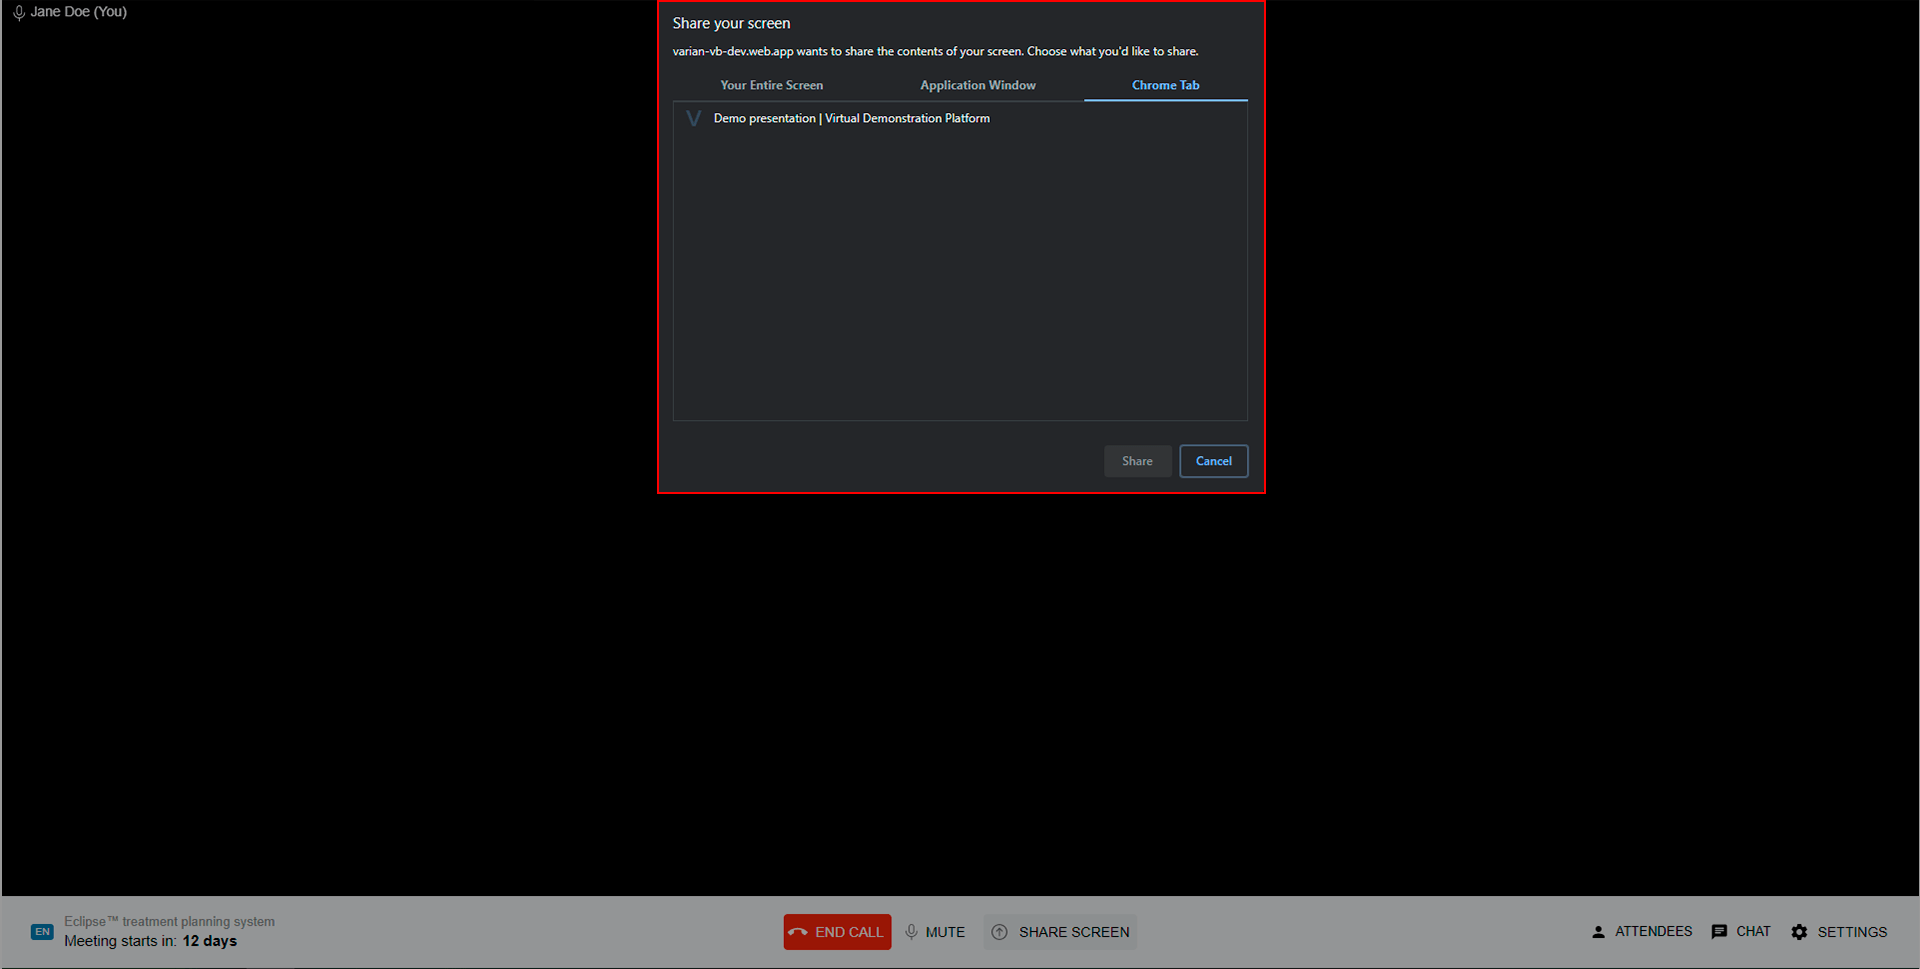
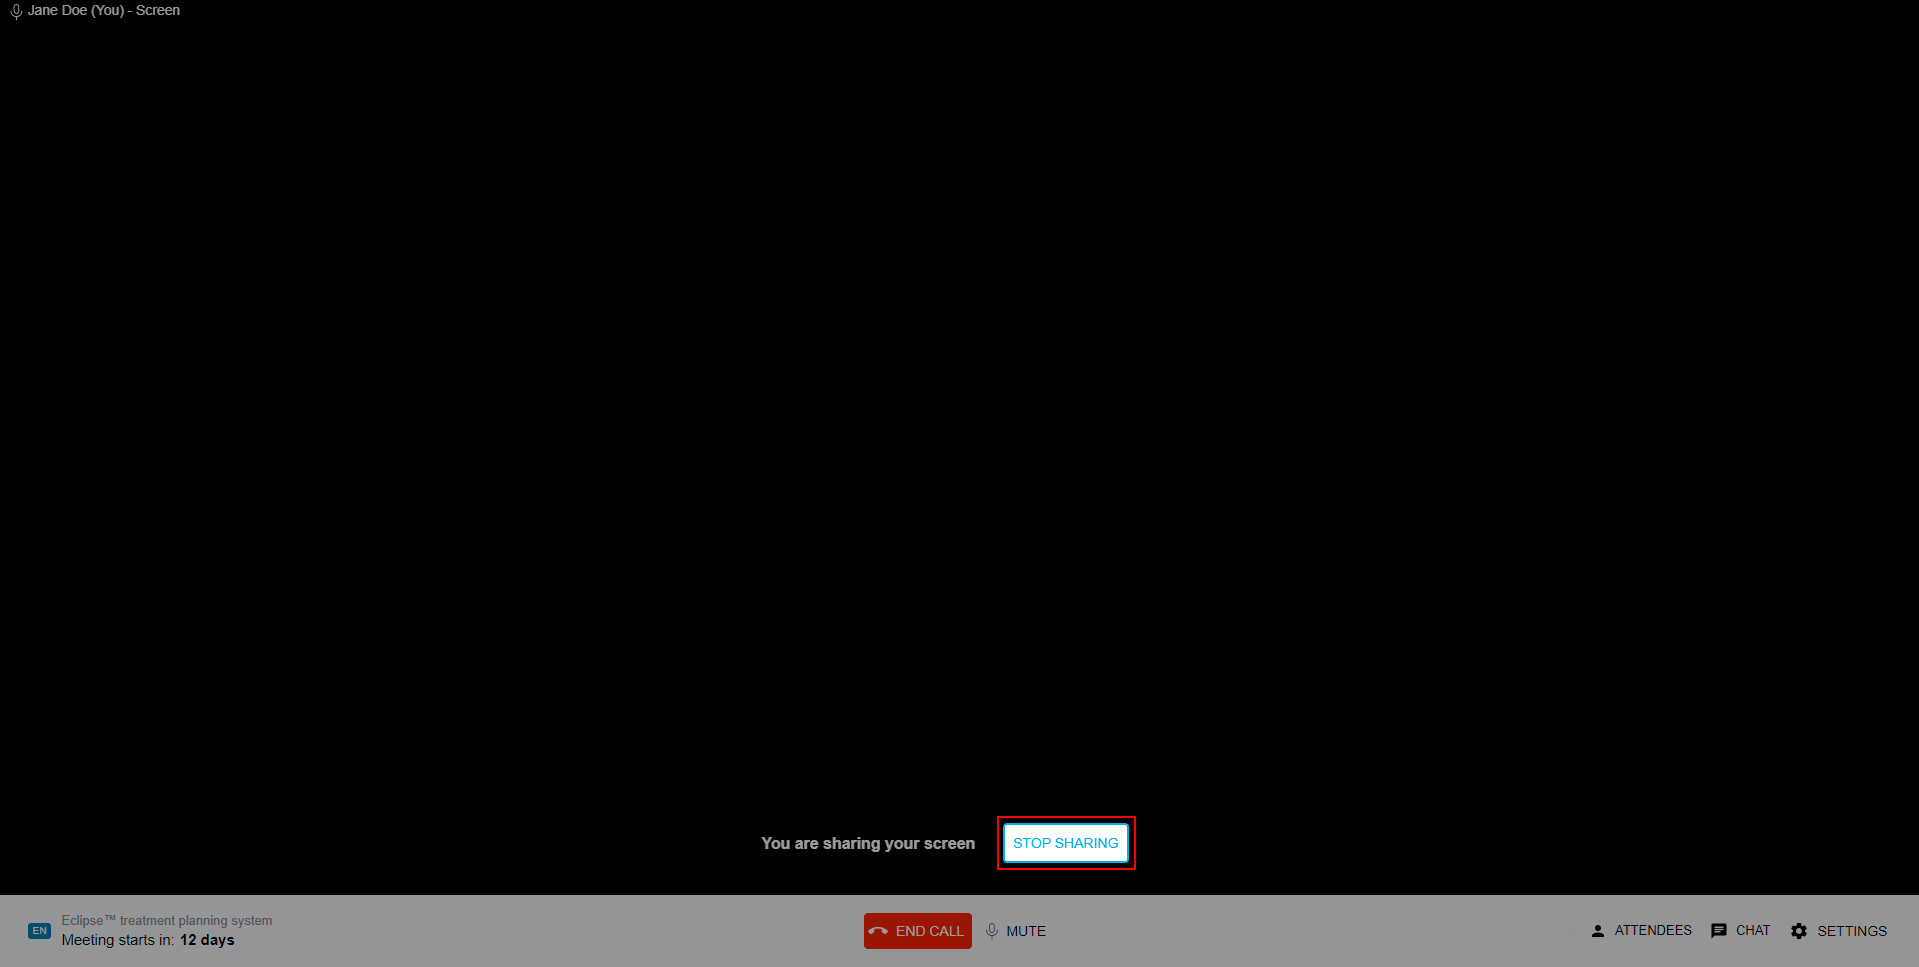
3.5. Share/Stop sharing screen
To share your screen:
Click the “Share screen” button

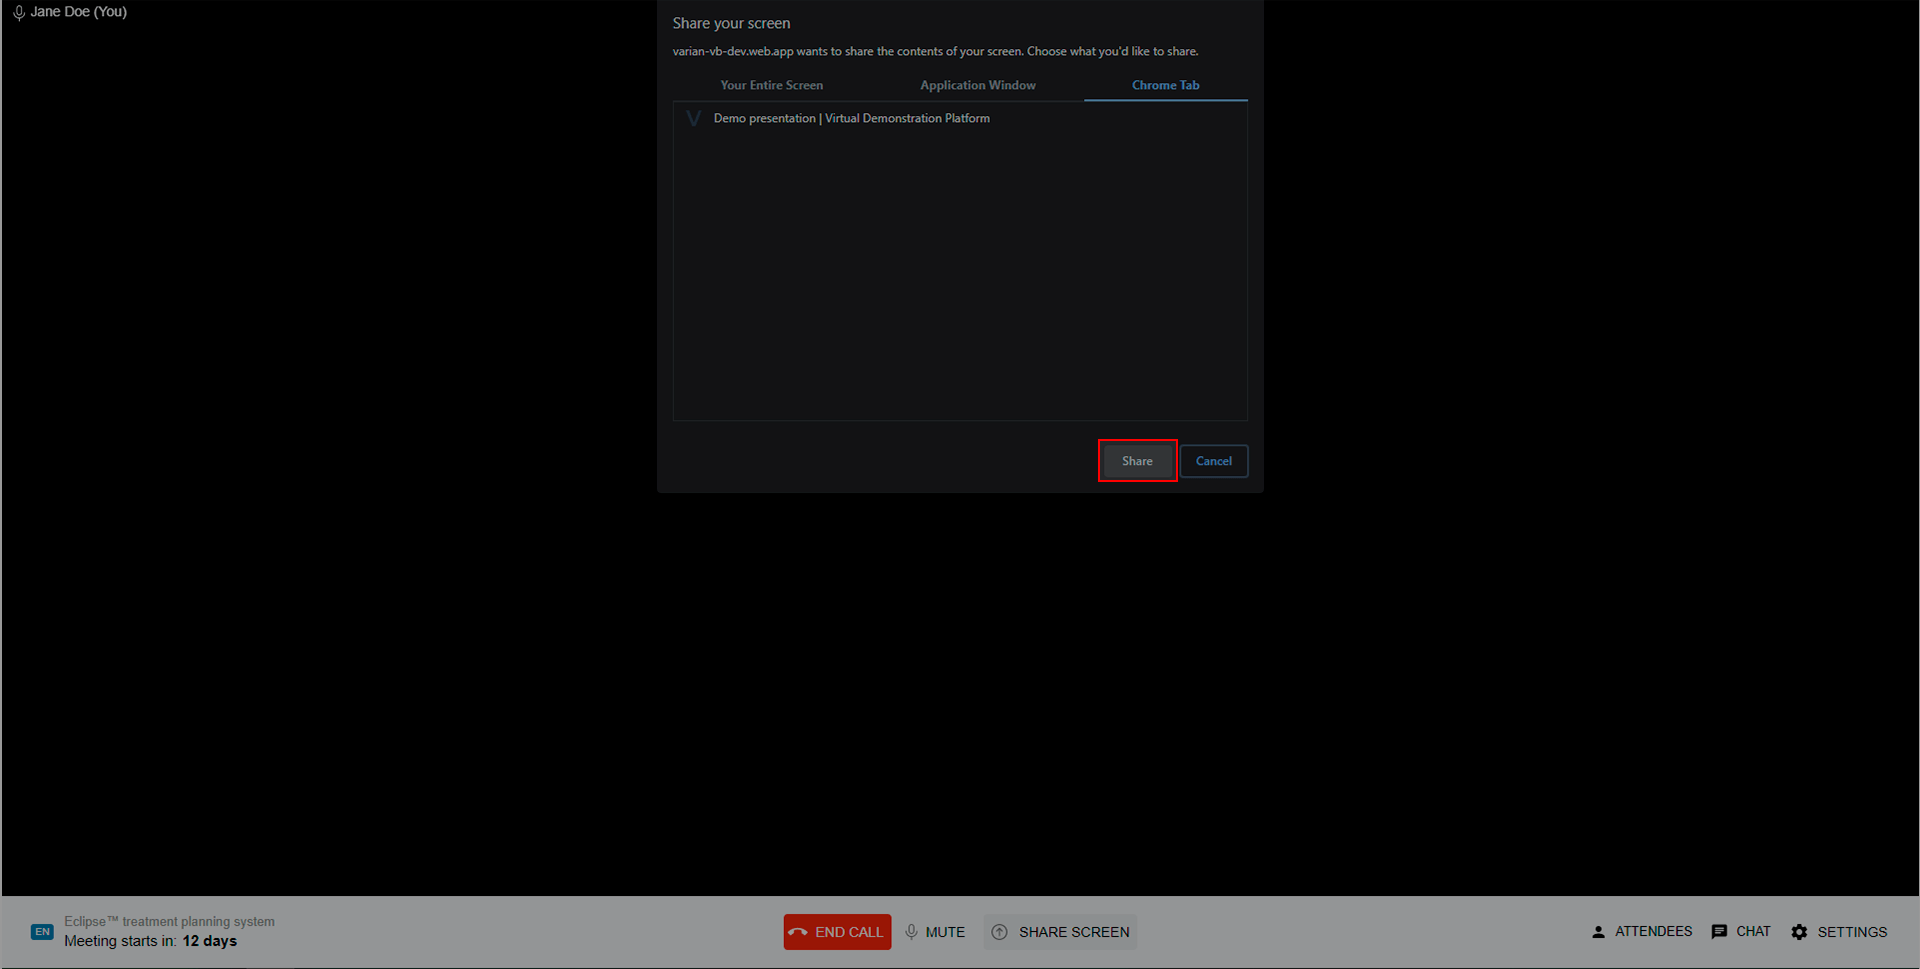
Choose source window you want to share
Click the “Share” button
To stop sharing your screen click the “Stop sharing” button.
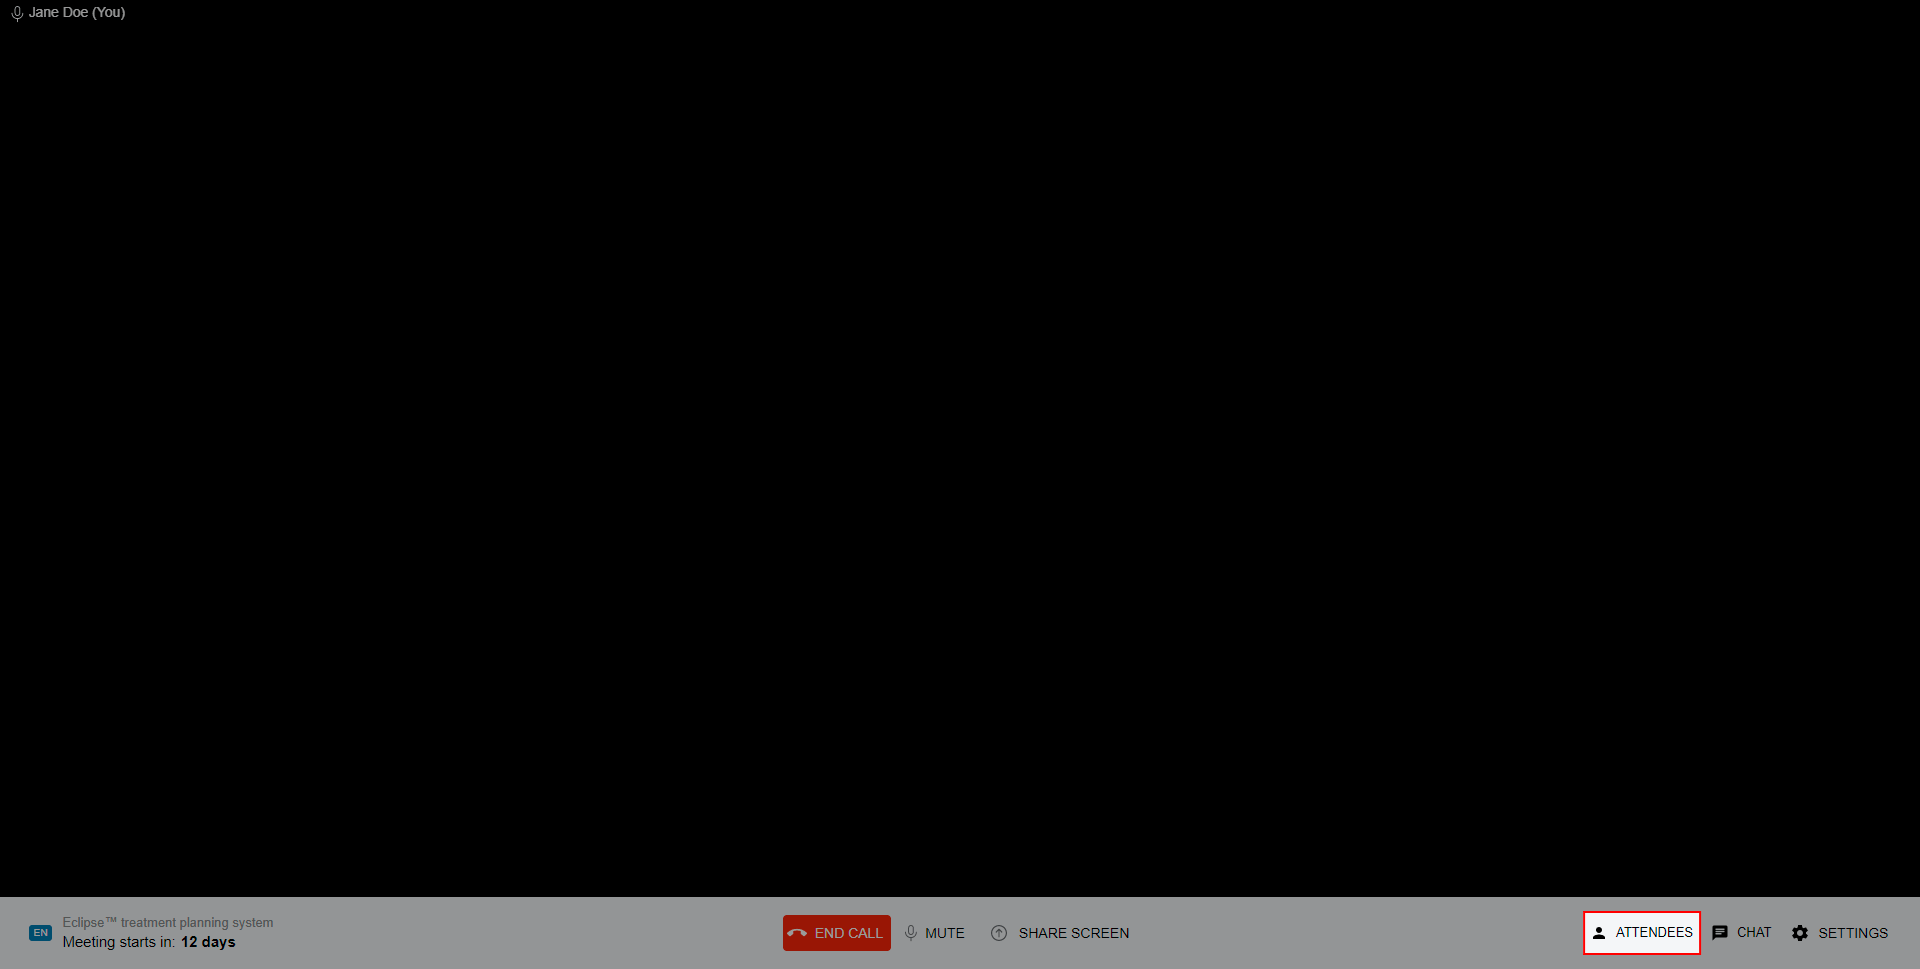
3.6. Attendees
To maximize the benefits coming from meetings with our specialists, the system allows you to invite colleagues to a scheduled demo.
To invite your coworkers:
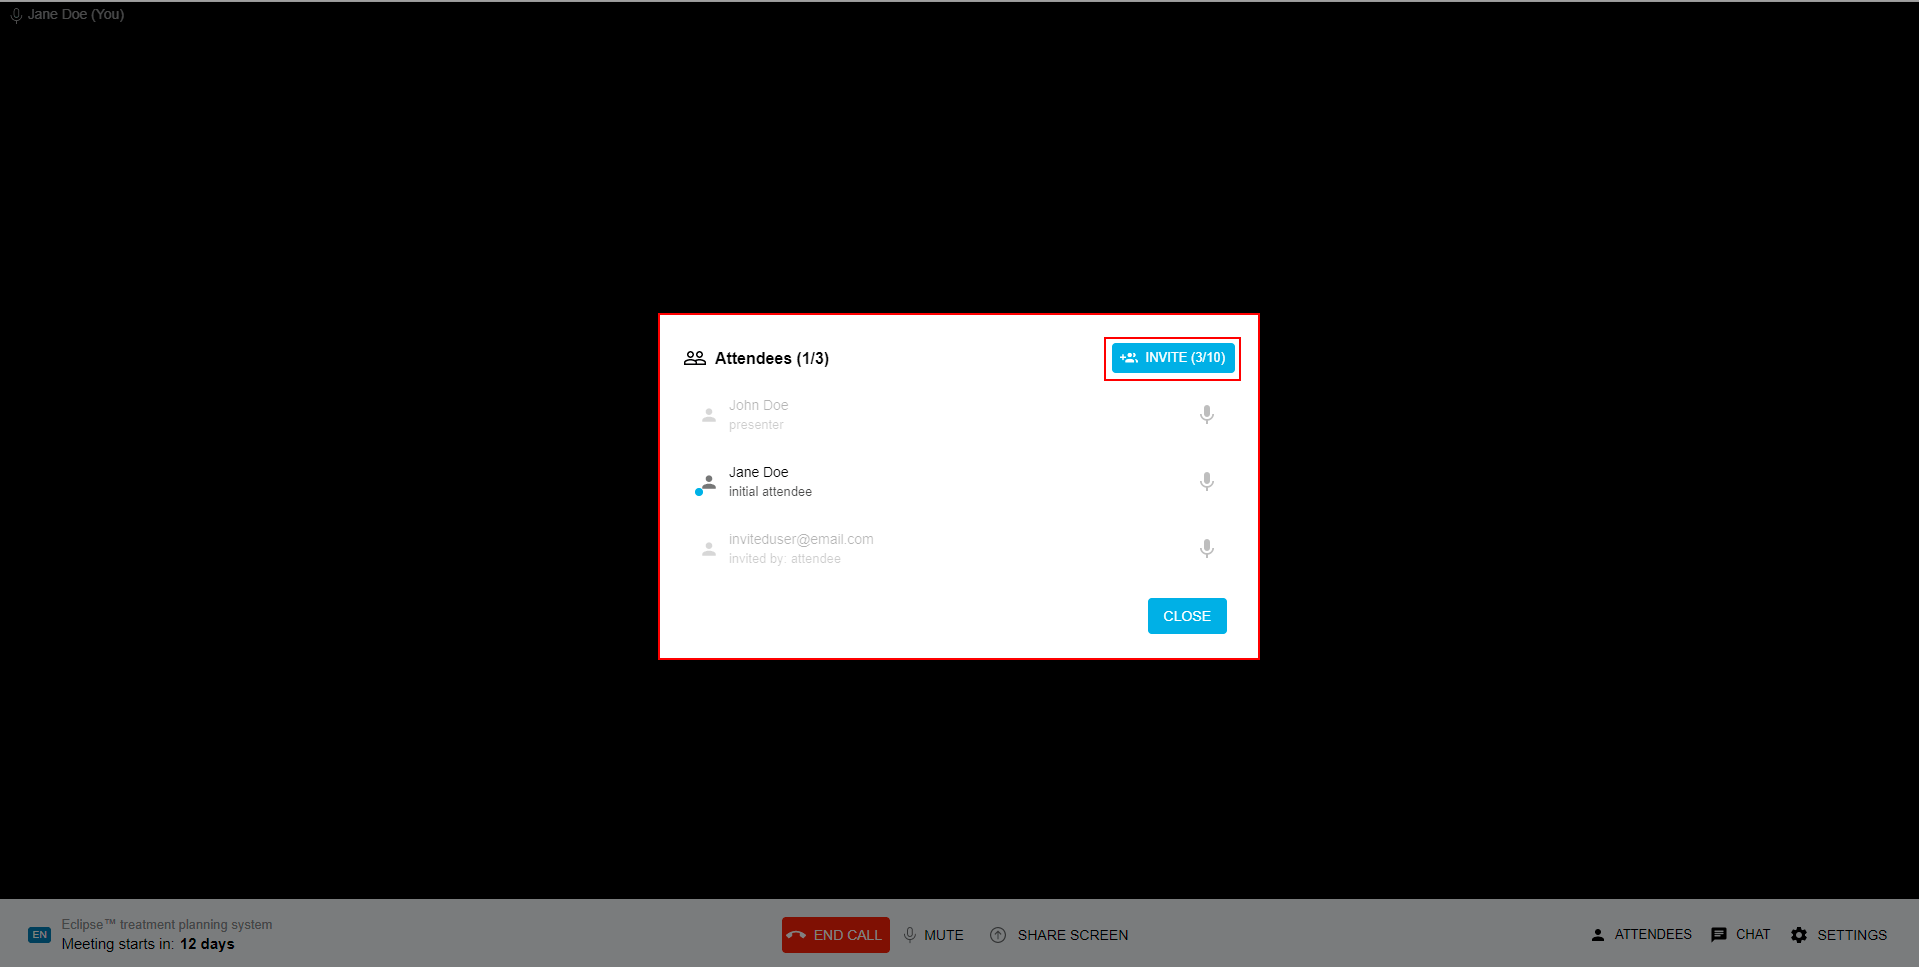
Click the “Attendees” button.
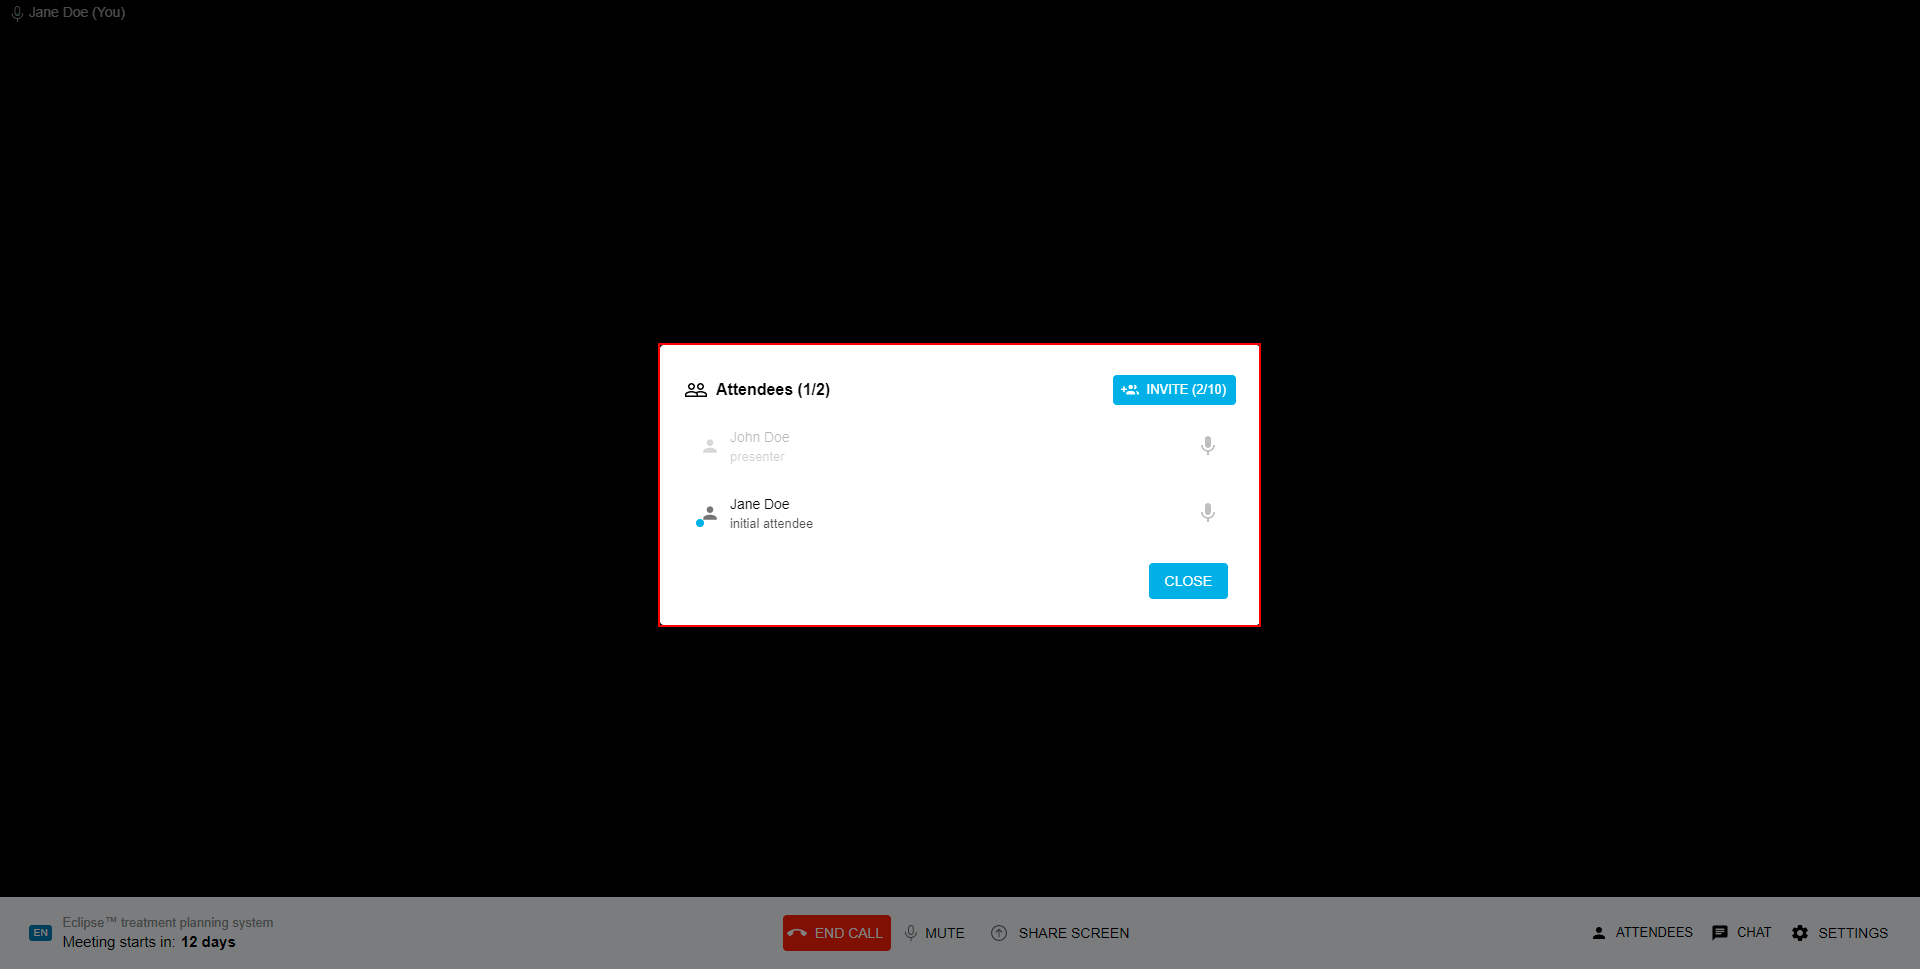
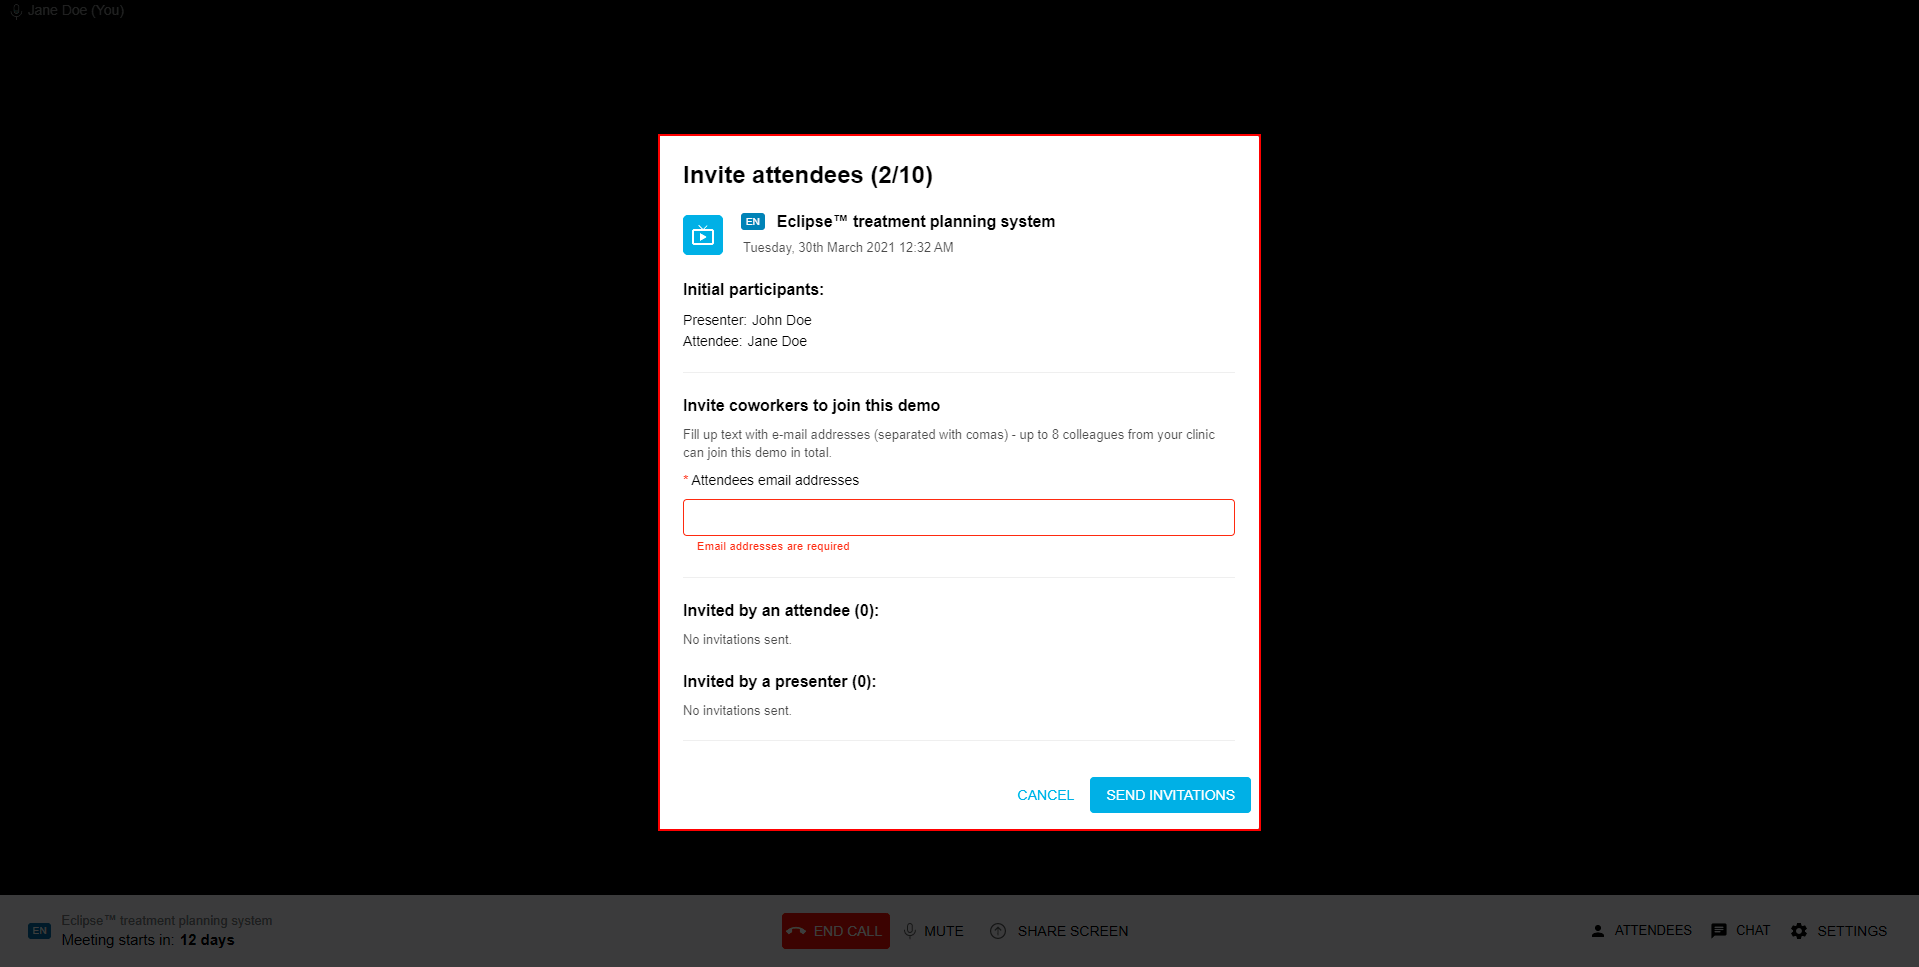
Click the “Invite” button.
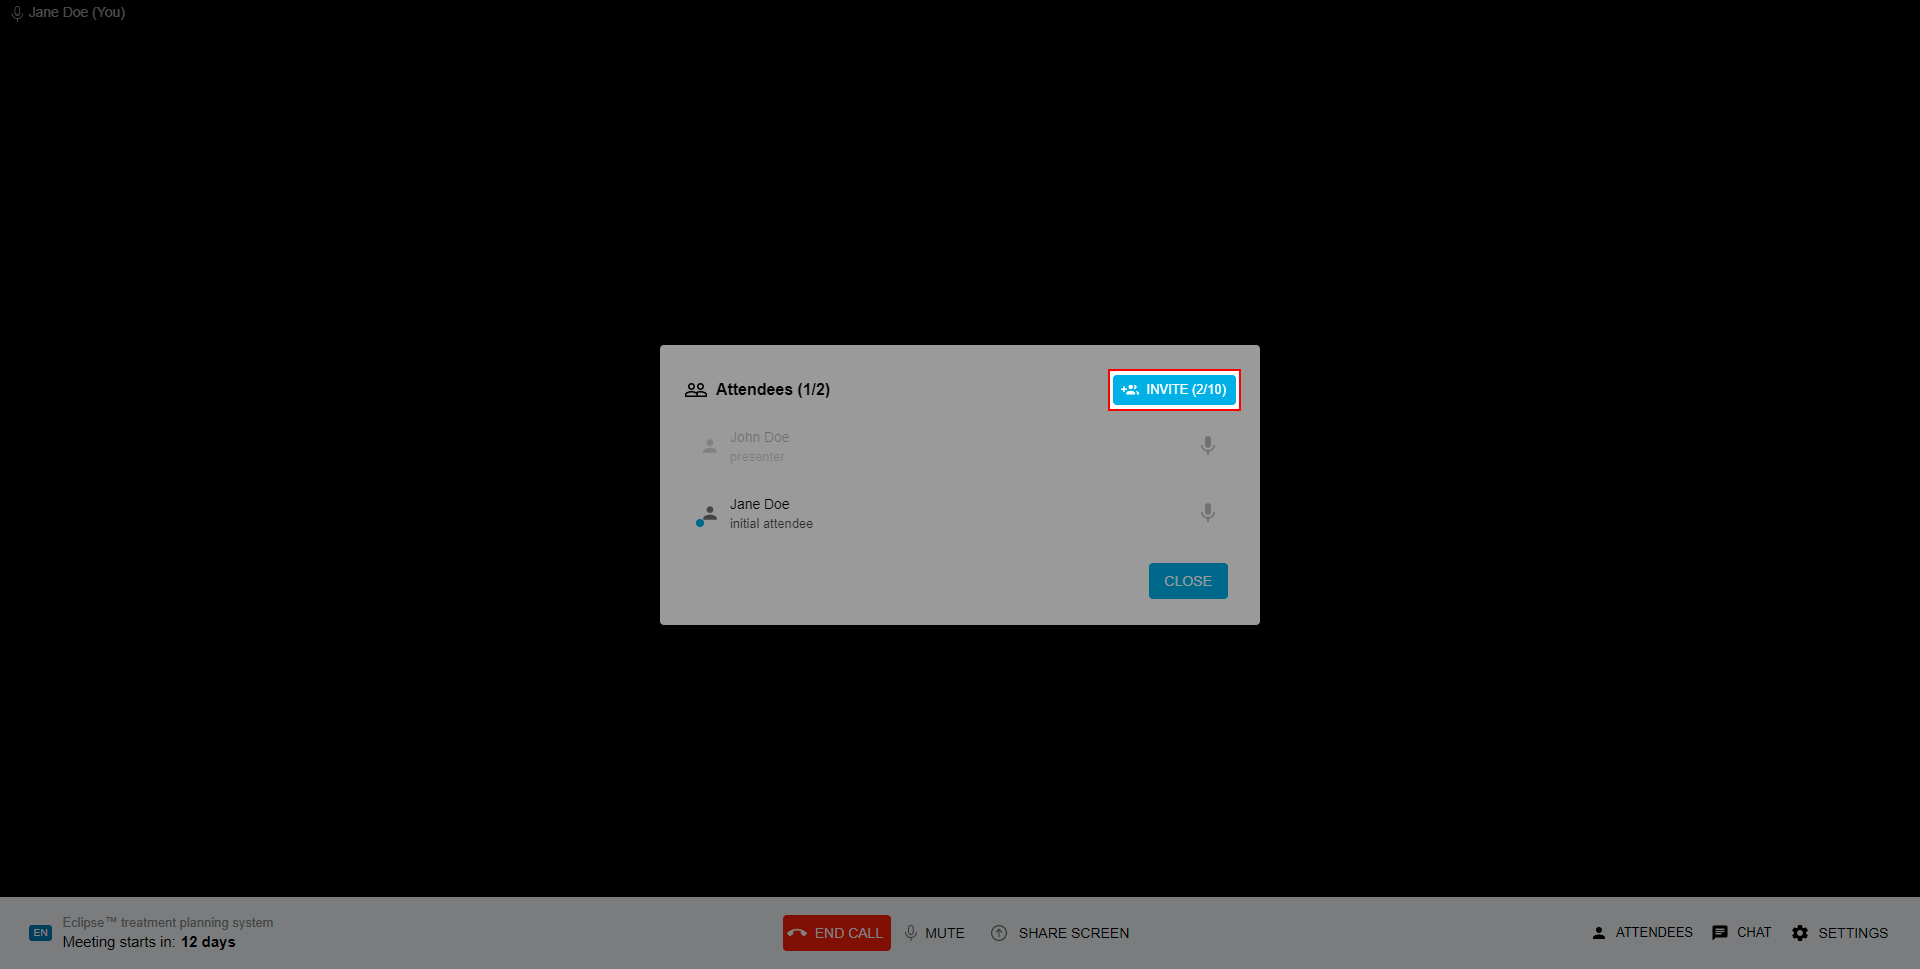
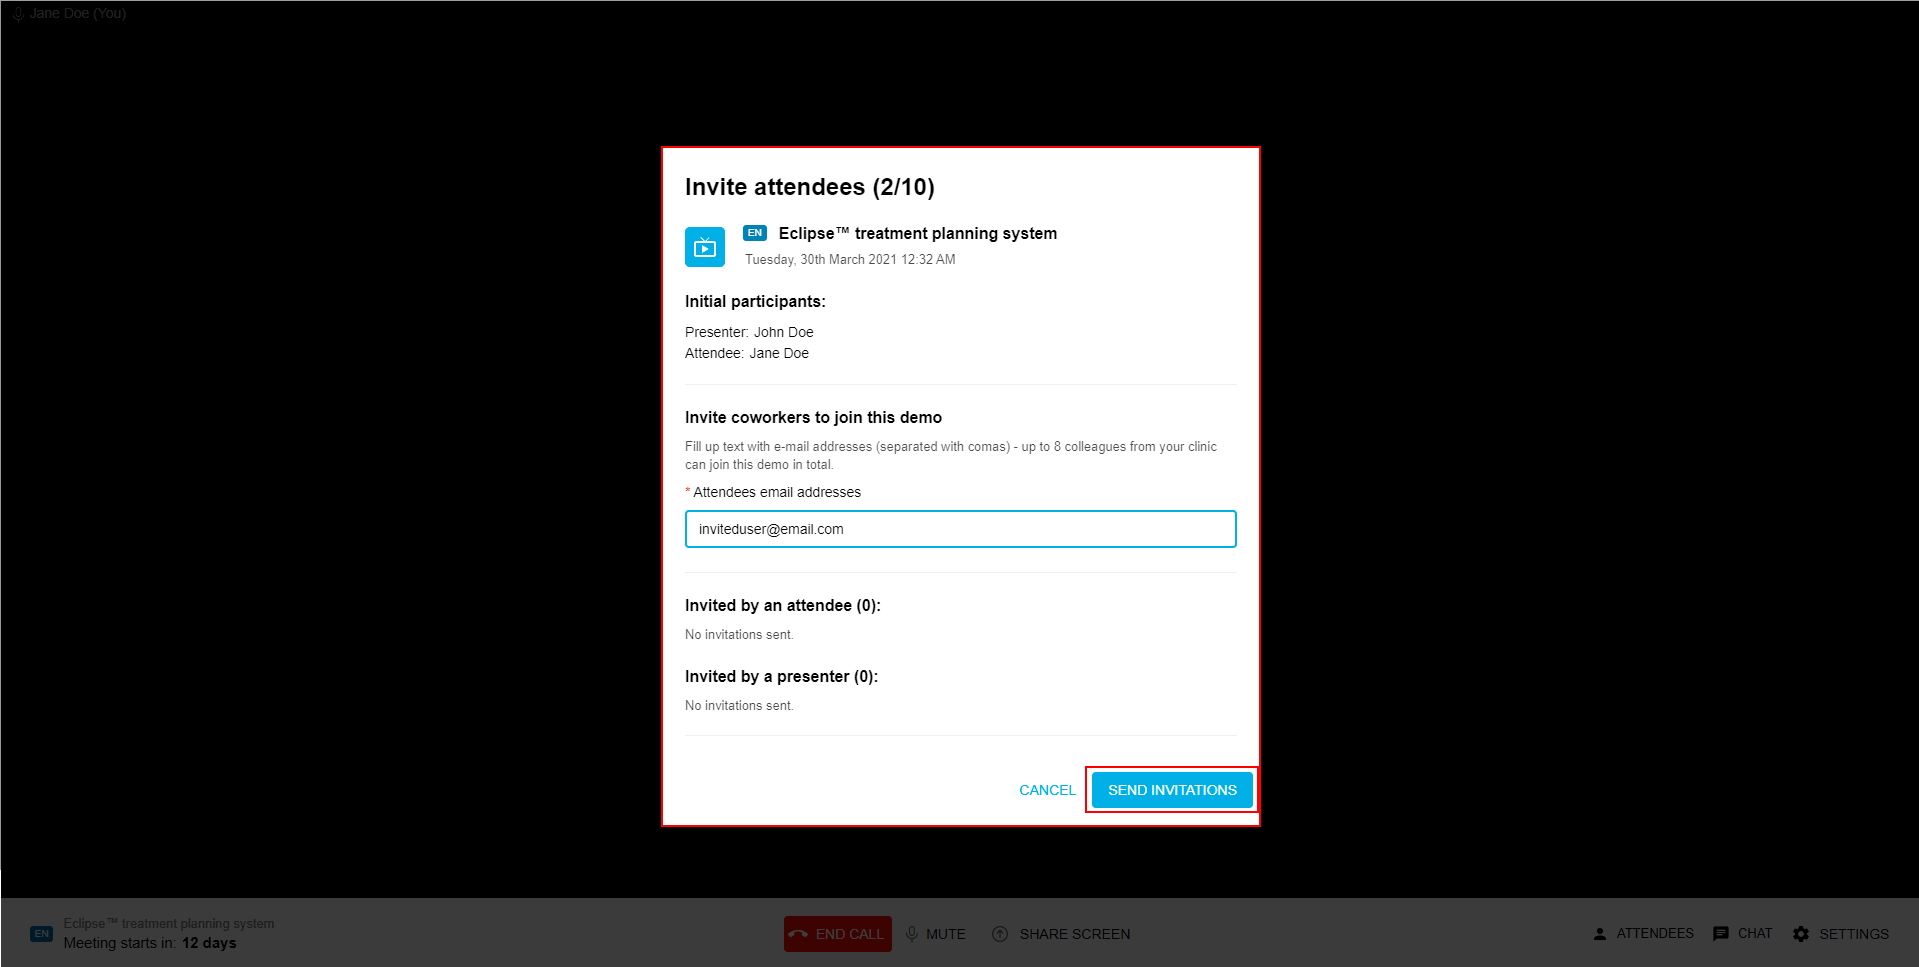
Enter the email of the collaborator you want to invite.
You can invite up to 8 colleagues from your clinic, separate email addresses by commas - and click 'Send invitations'.
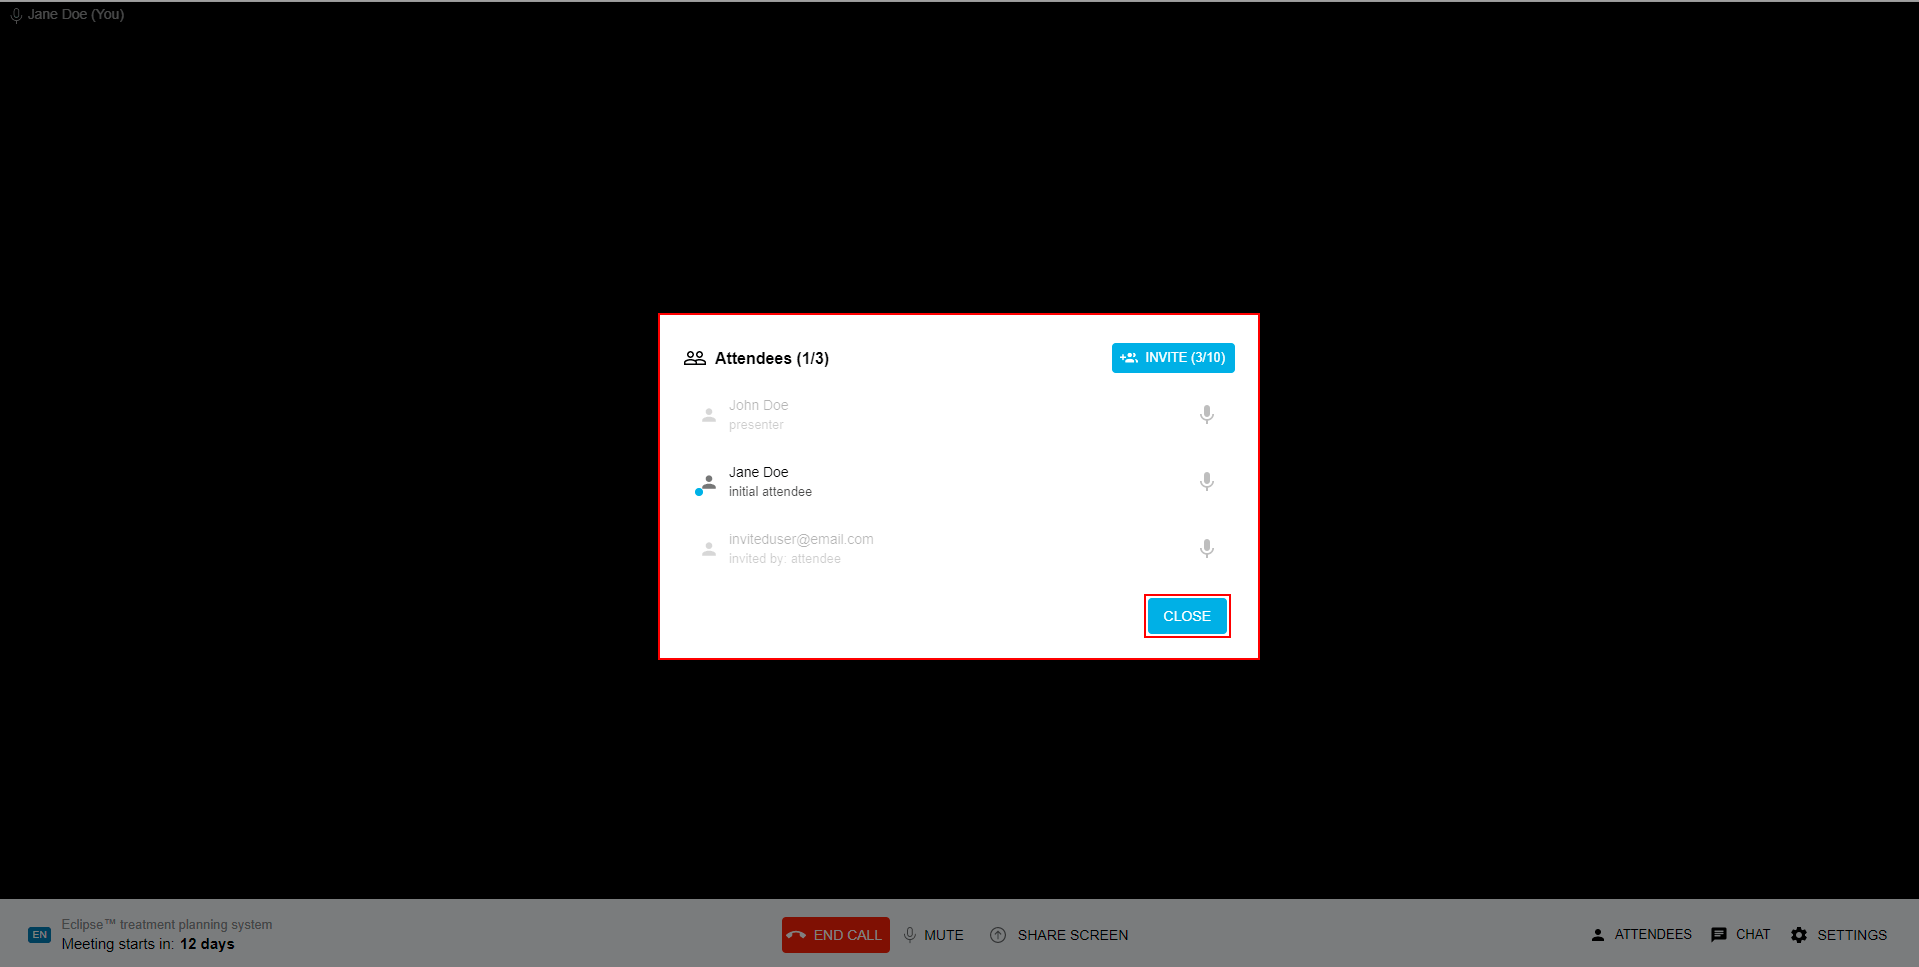
Quit “Attendees” window by clicking the “Close” button.
To uninvite your coworkers:
Click the “Attendees” button.
Click the “Invite” button.
Click the “Uninvite” button
Confirm uninvite by clicking the “Yes, uninvite” button.
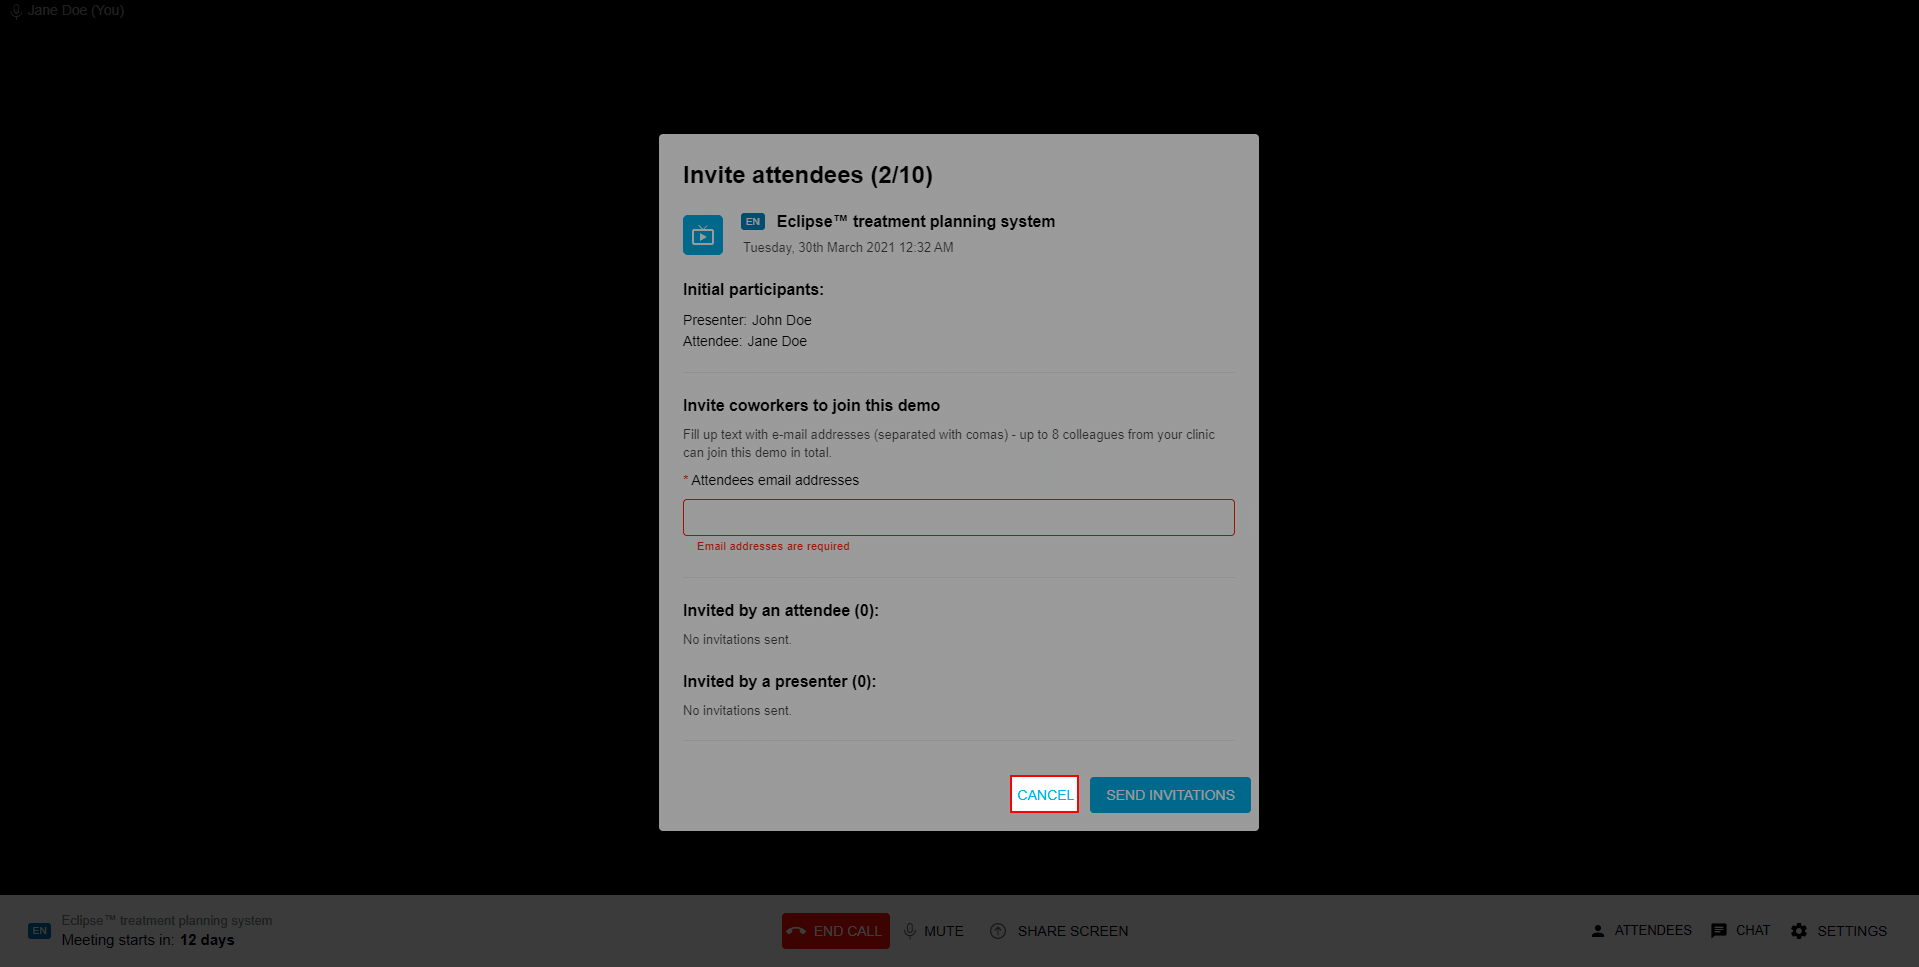
Quit “Invite attendees” by clicking the “Cancel” button.
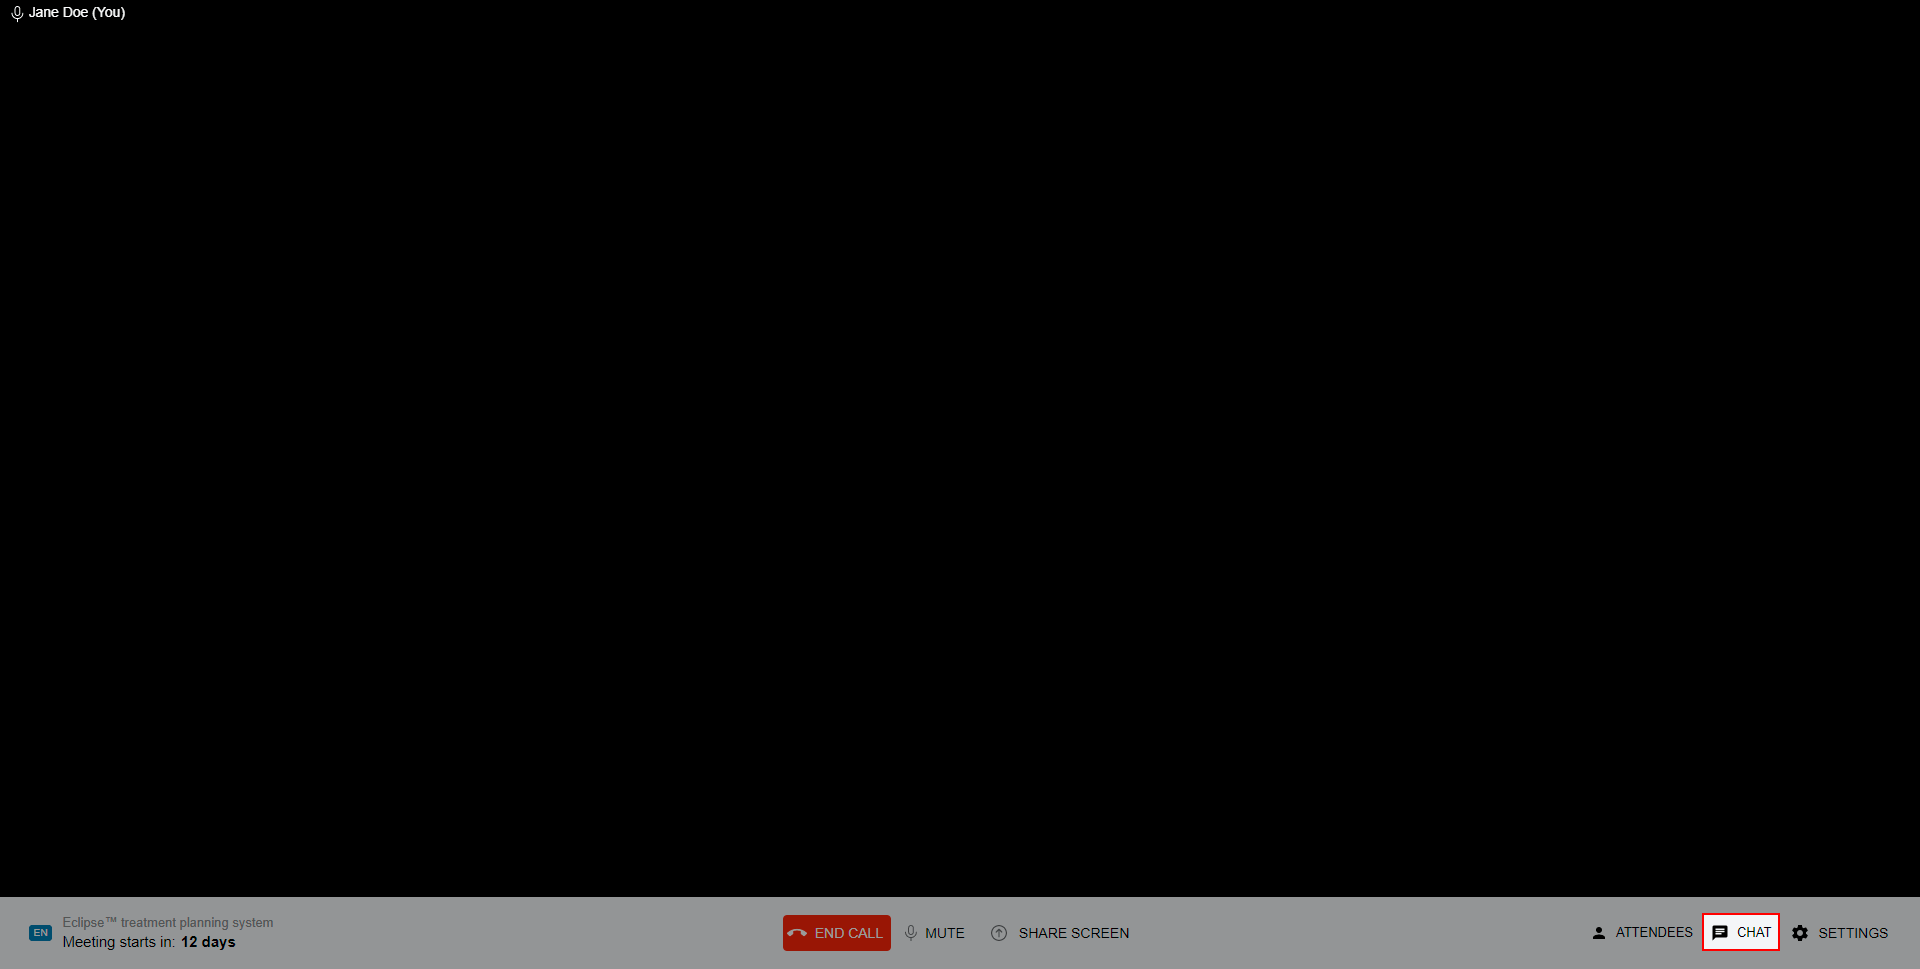
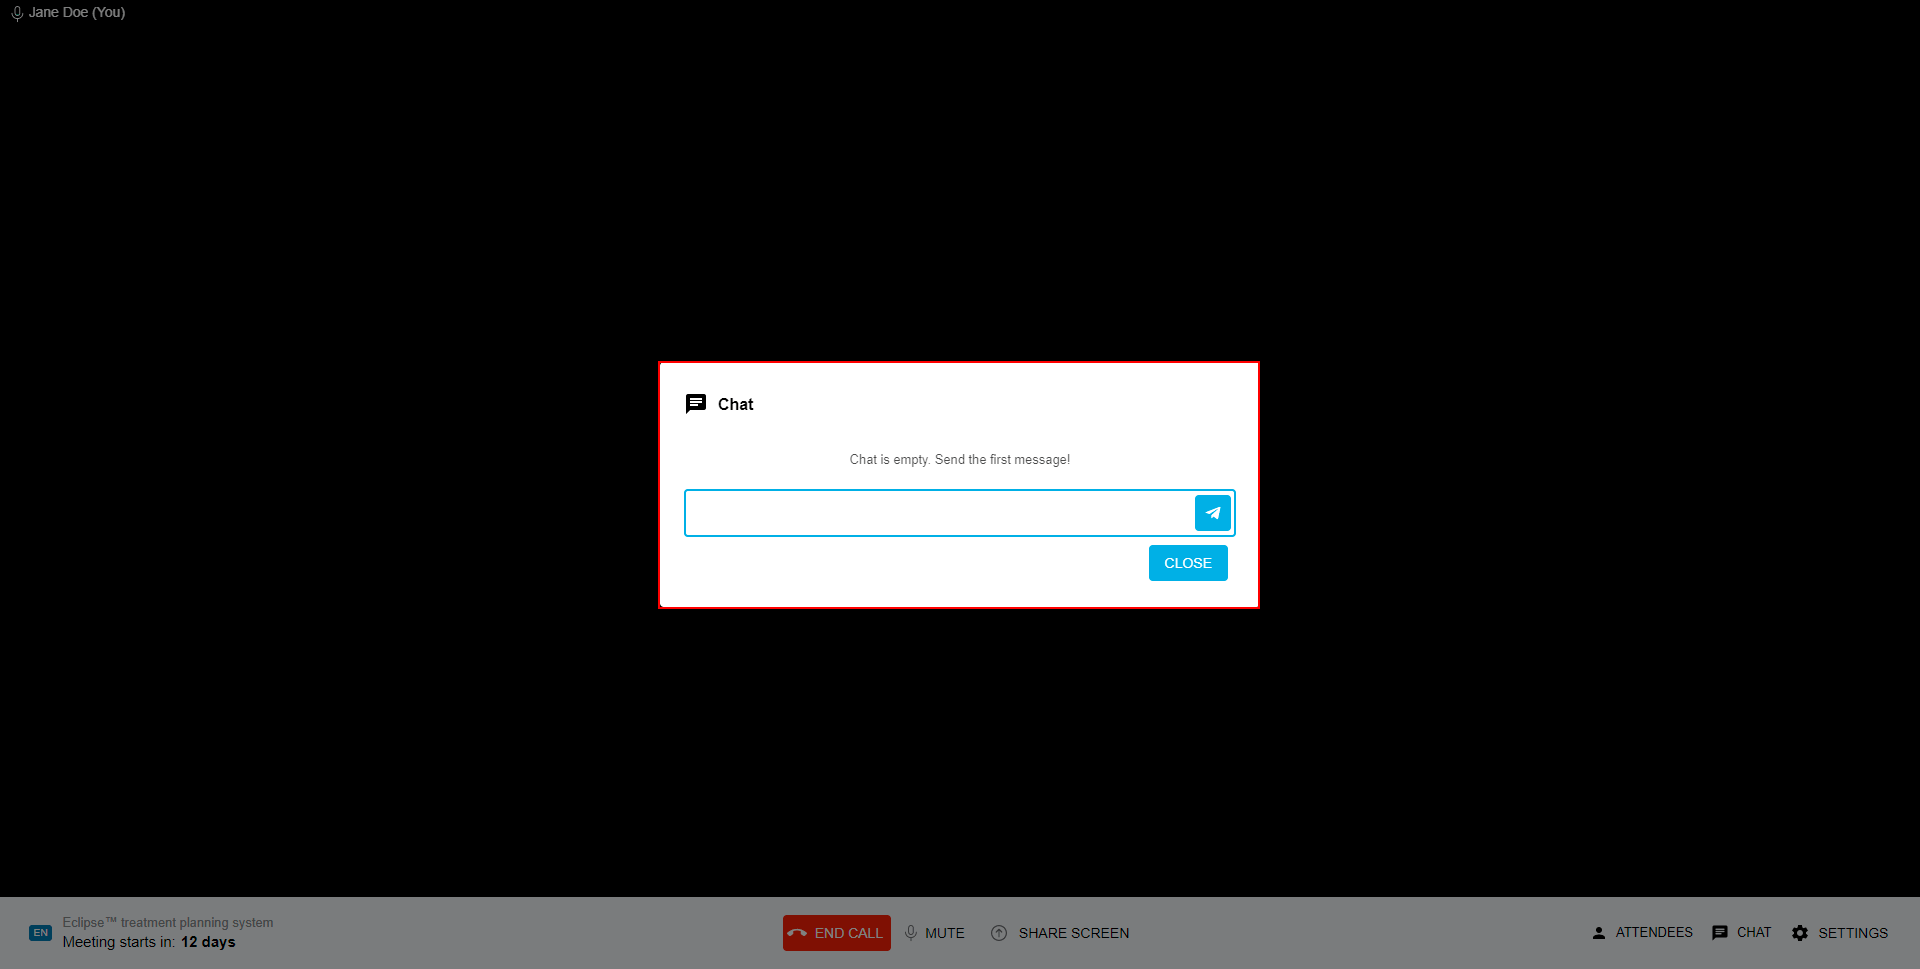
3.7. Chat
To send a message:
Click the “Chat” button placed on the bottom nav bar.
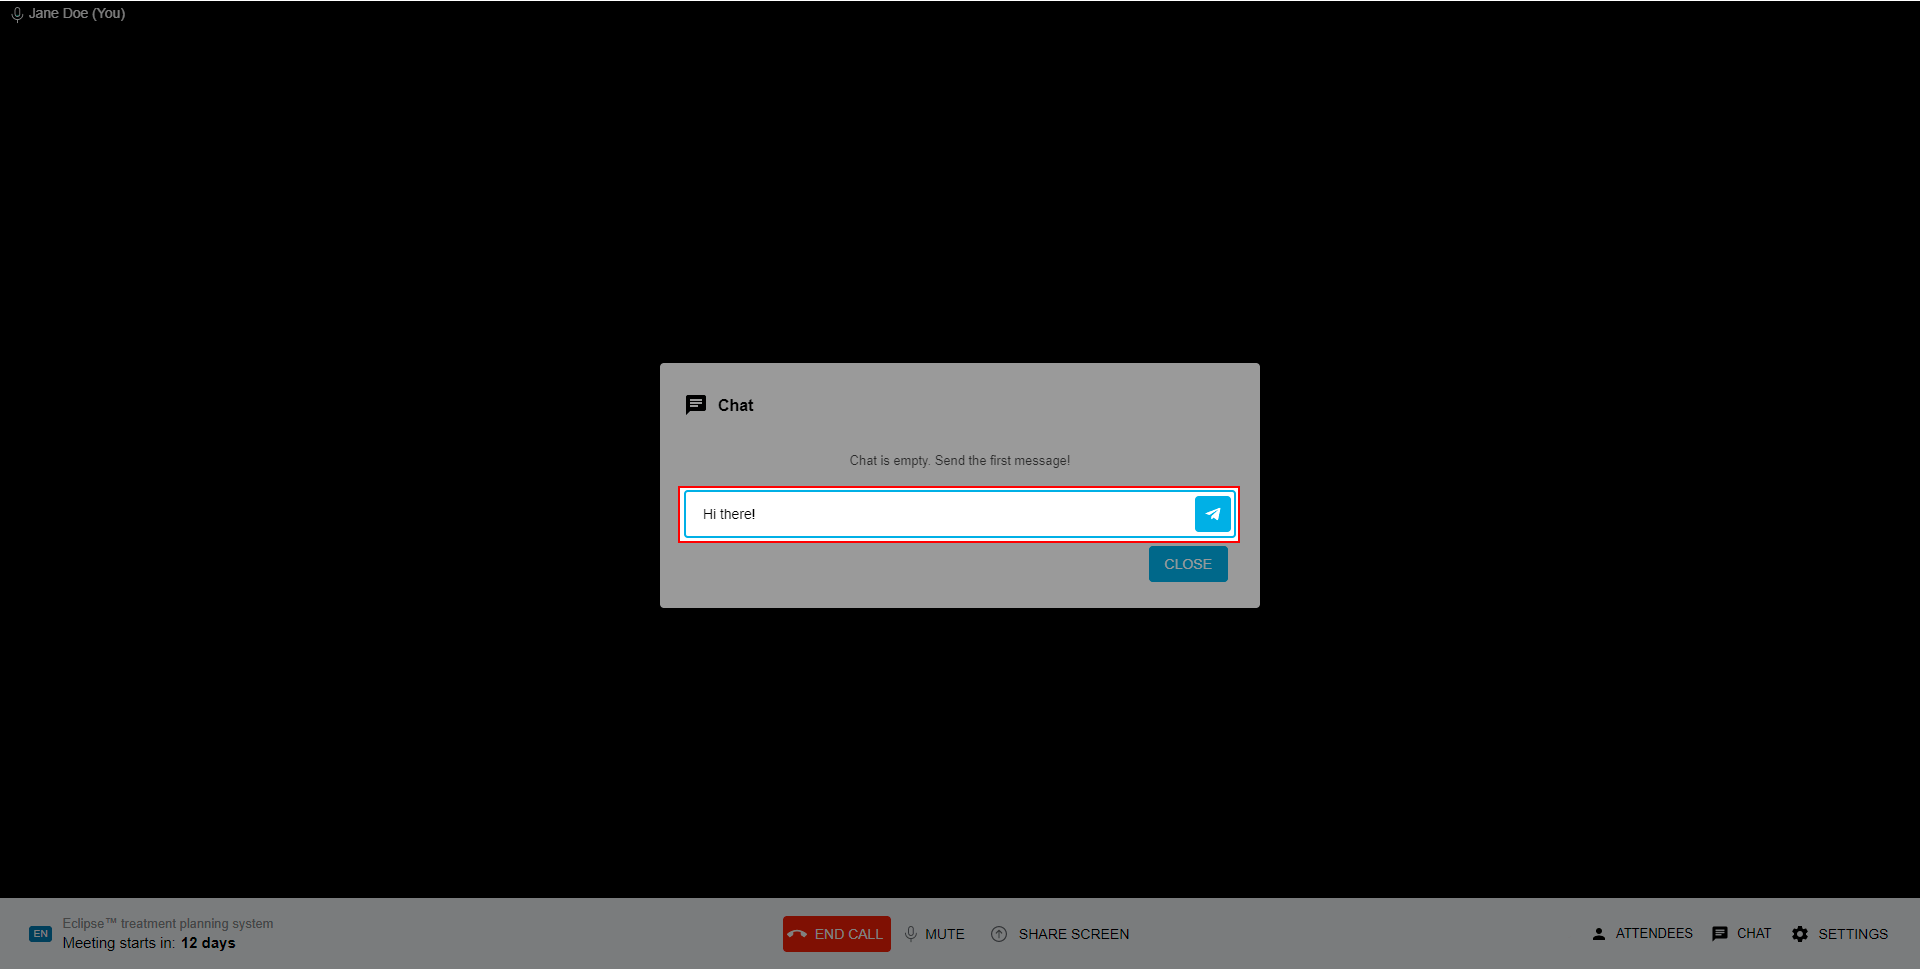
Type your message and send a message using the icon button.

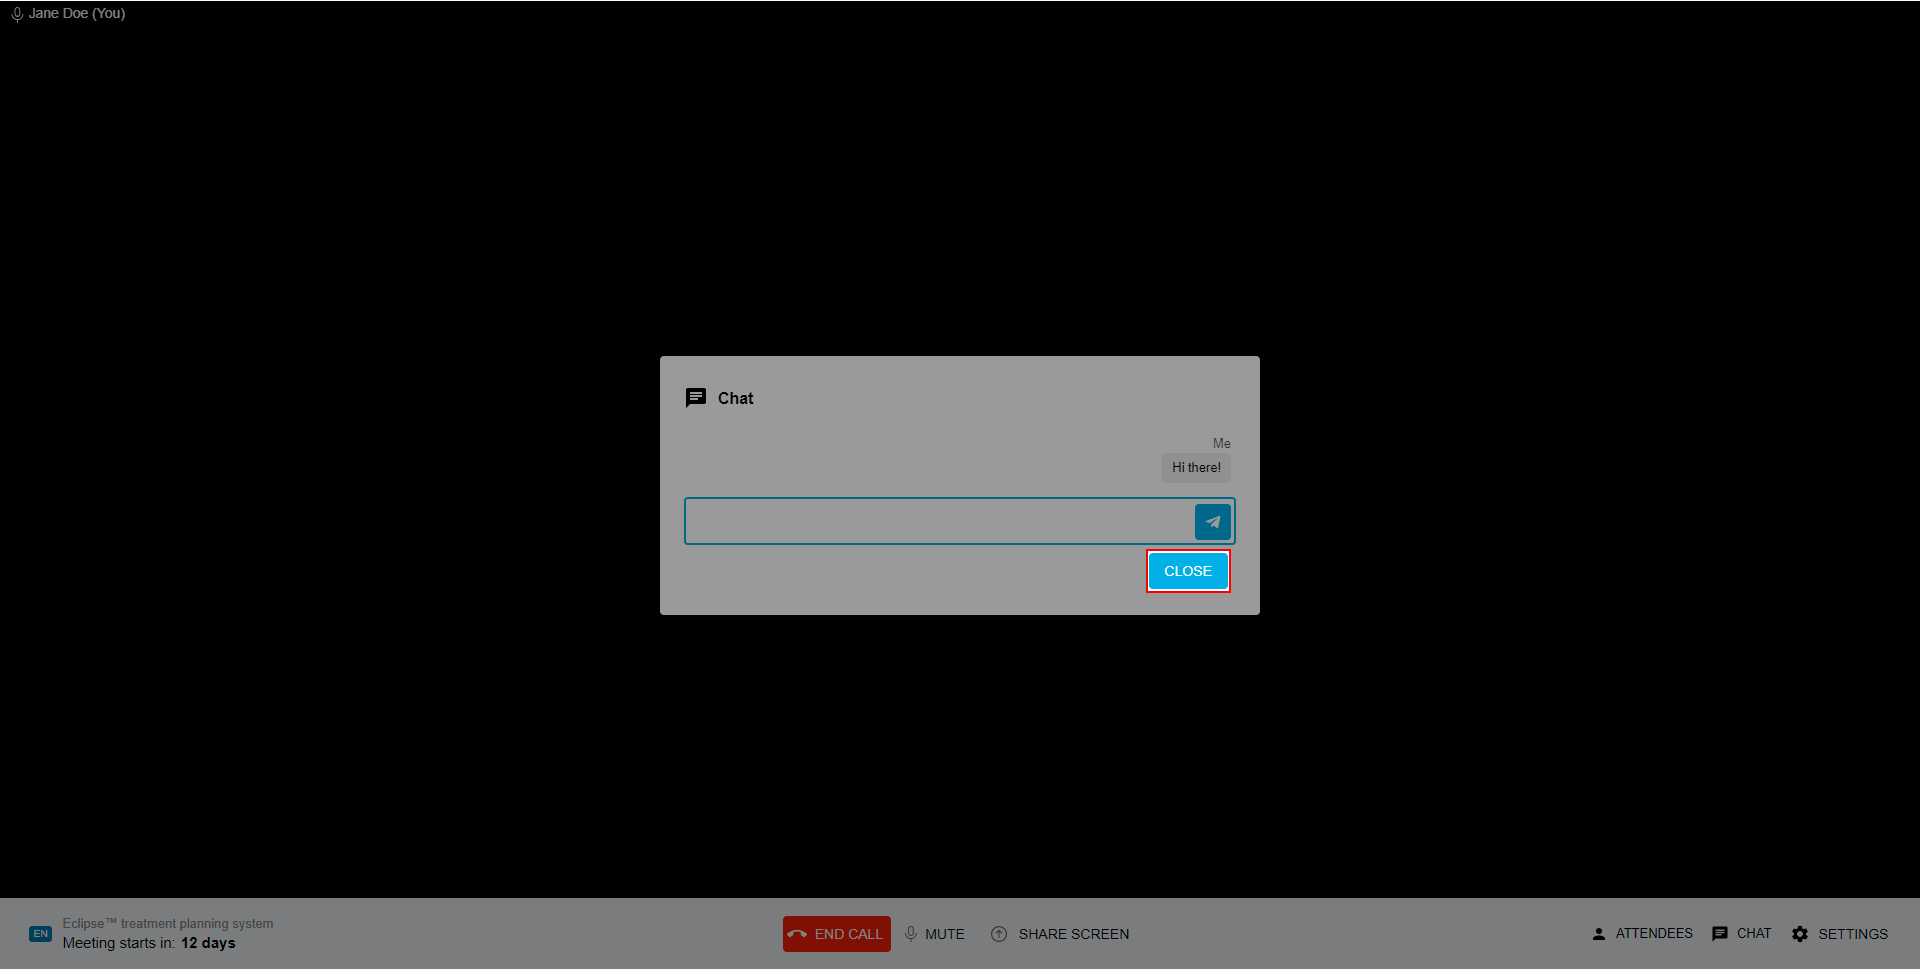
To close the Chat click the “Close” button.
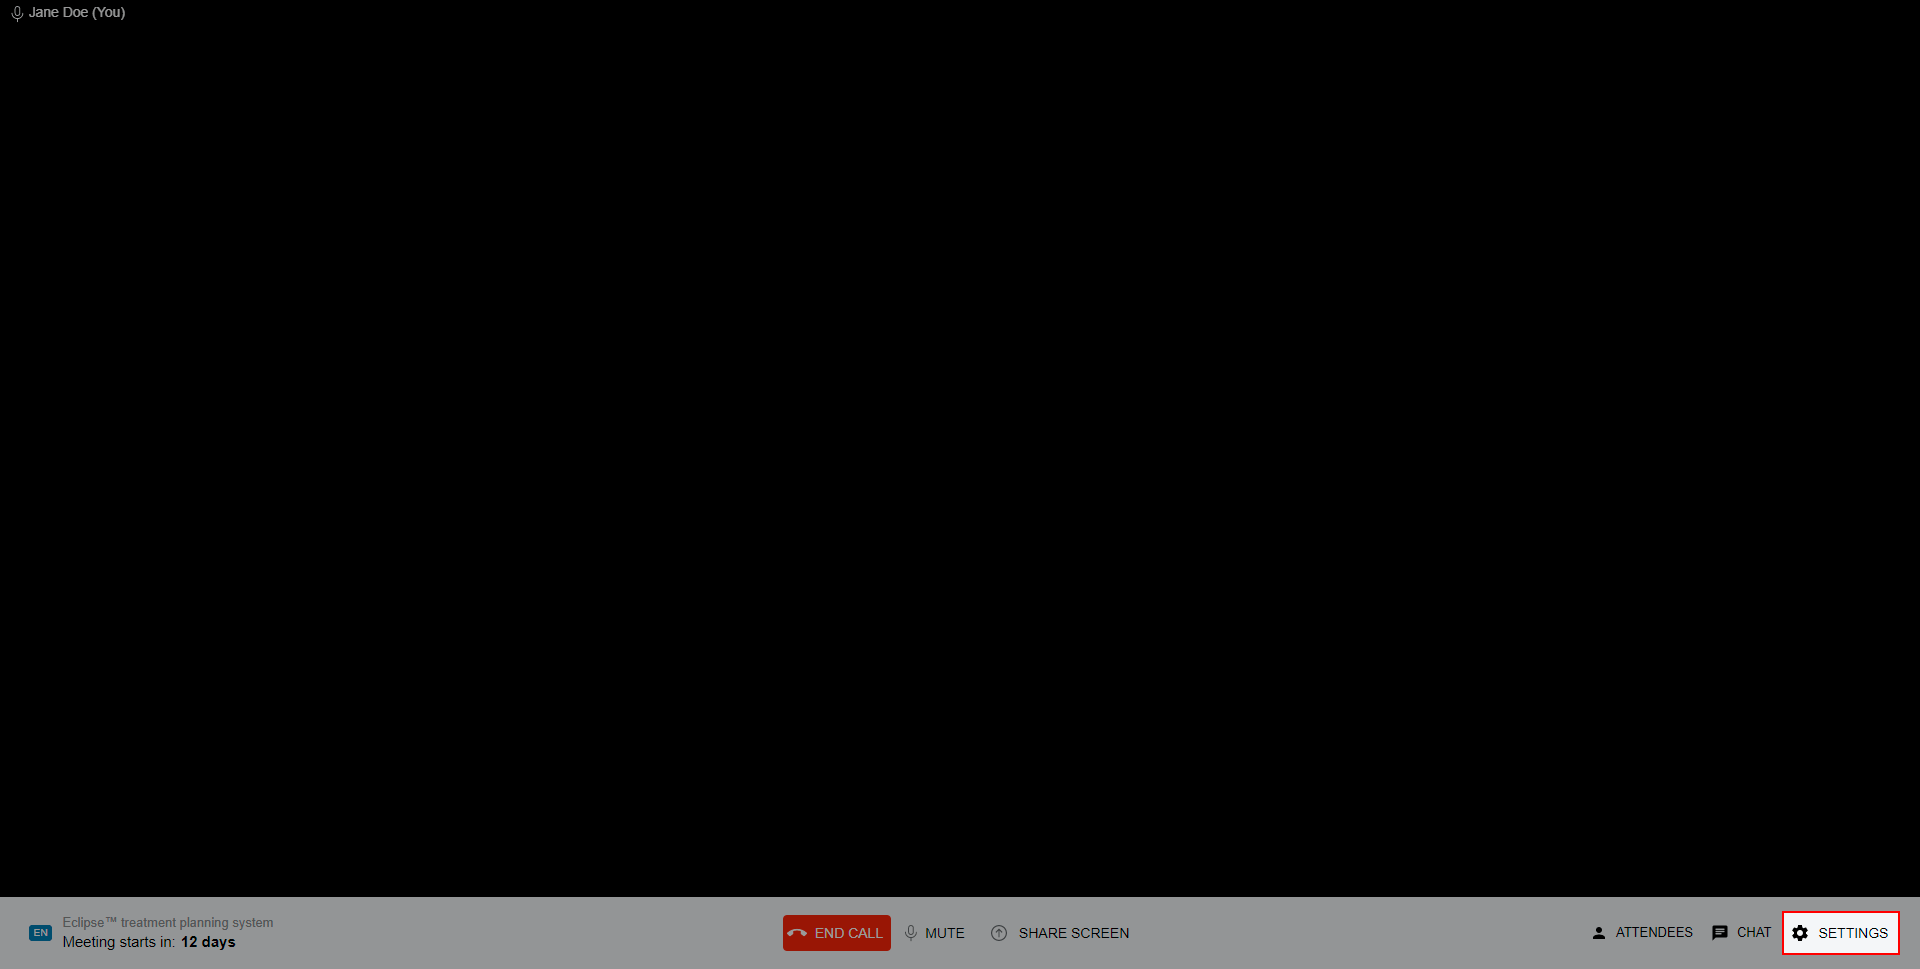
3.8. Settings
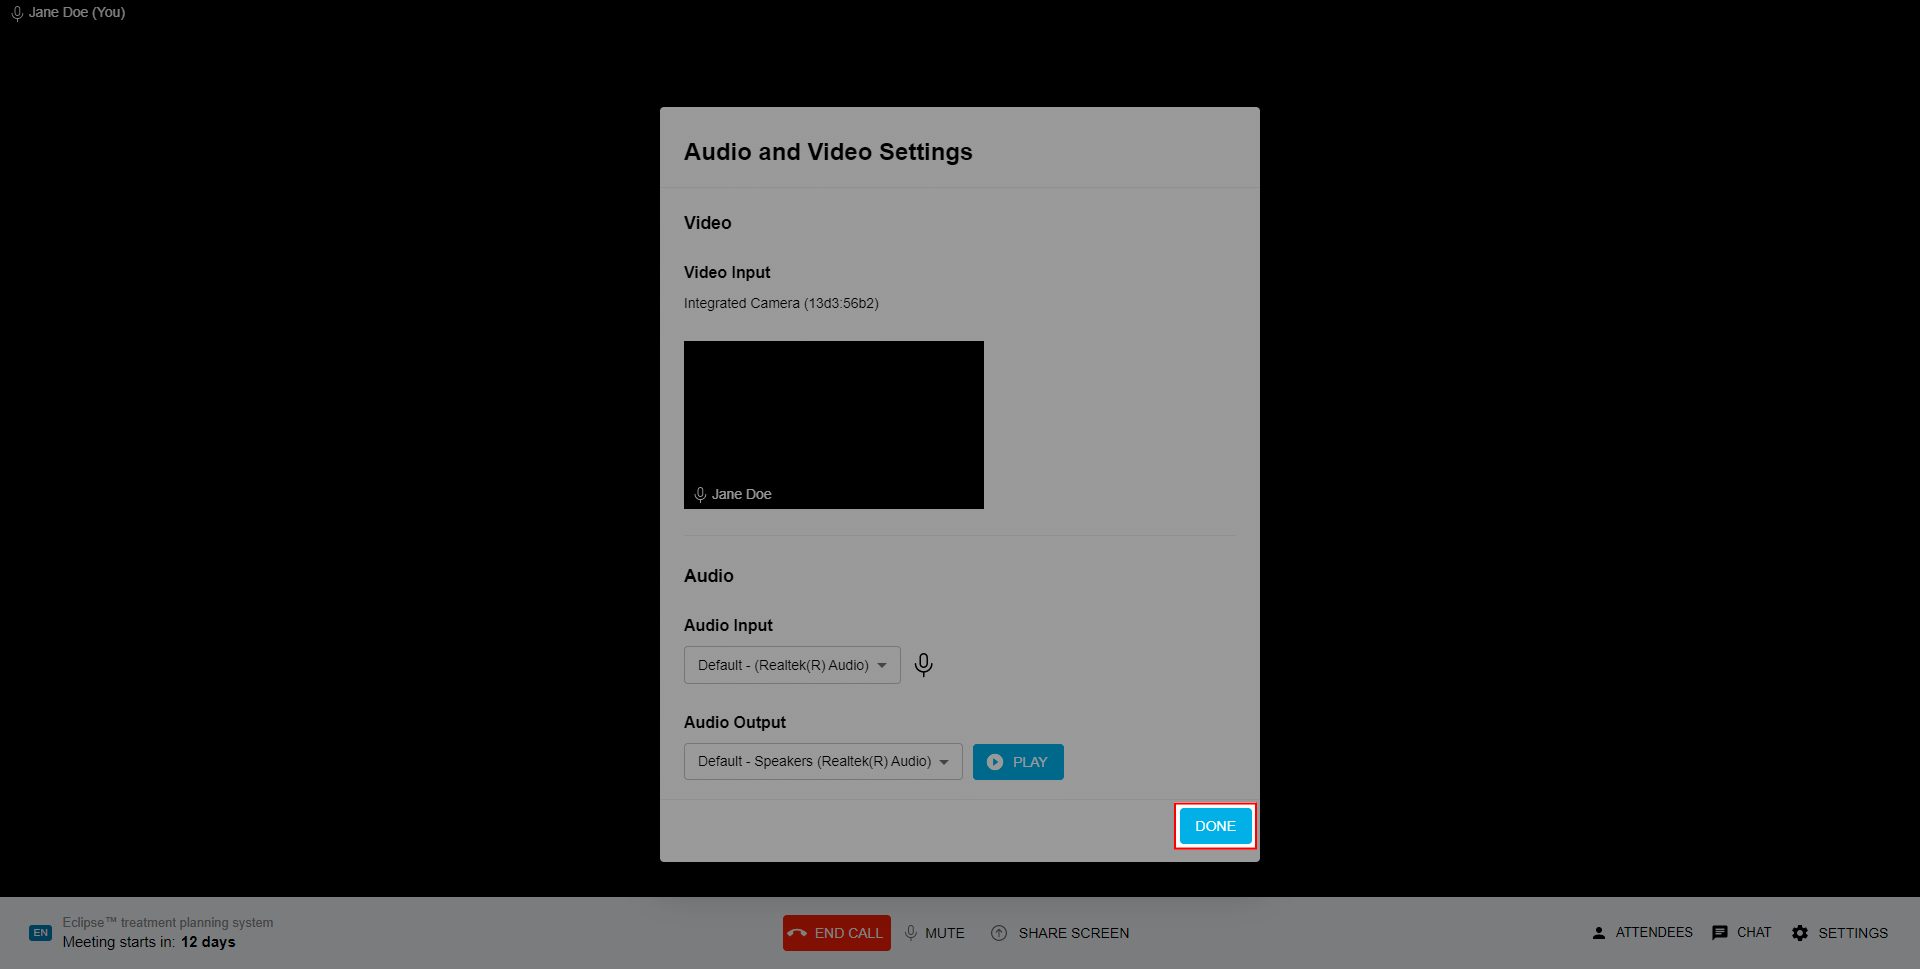
To change your audio/video preferences during the Demo, please click the “Settings” button.
To close the window click the “Done” button.
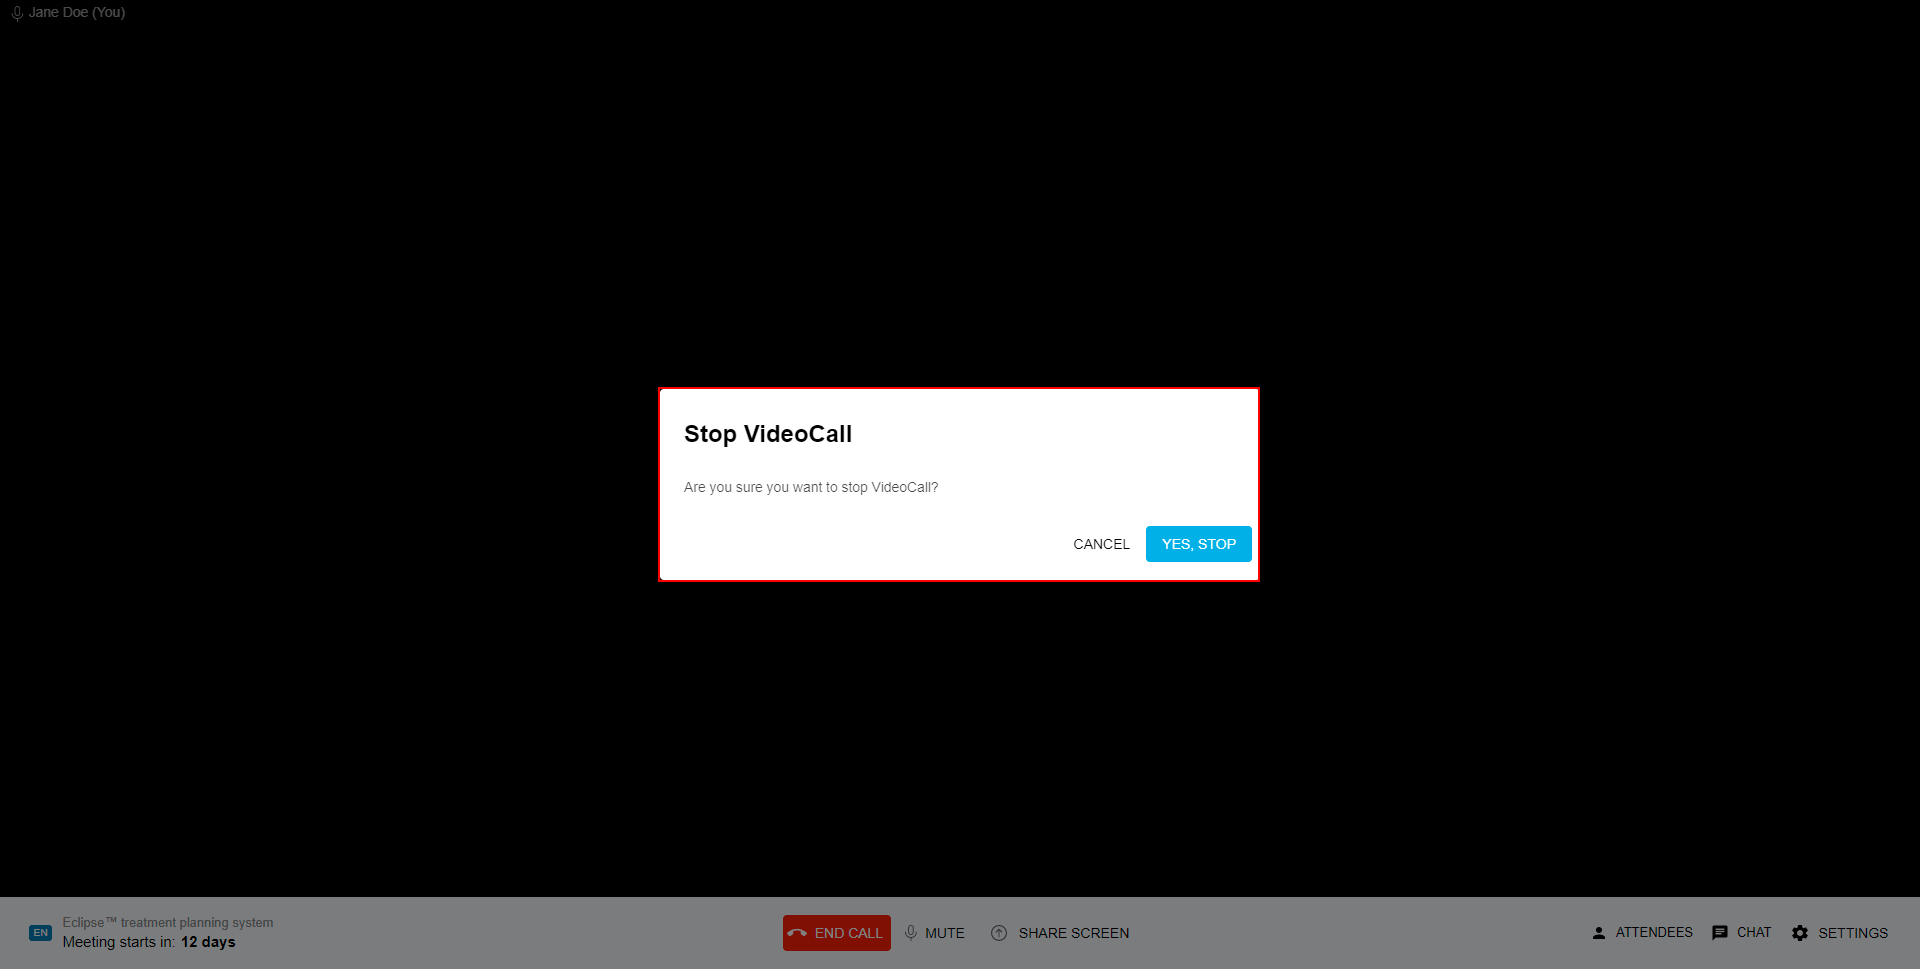
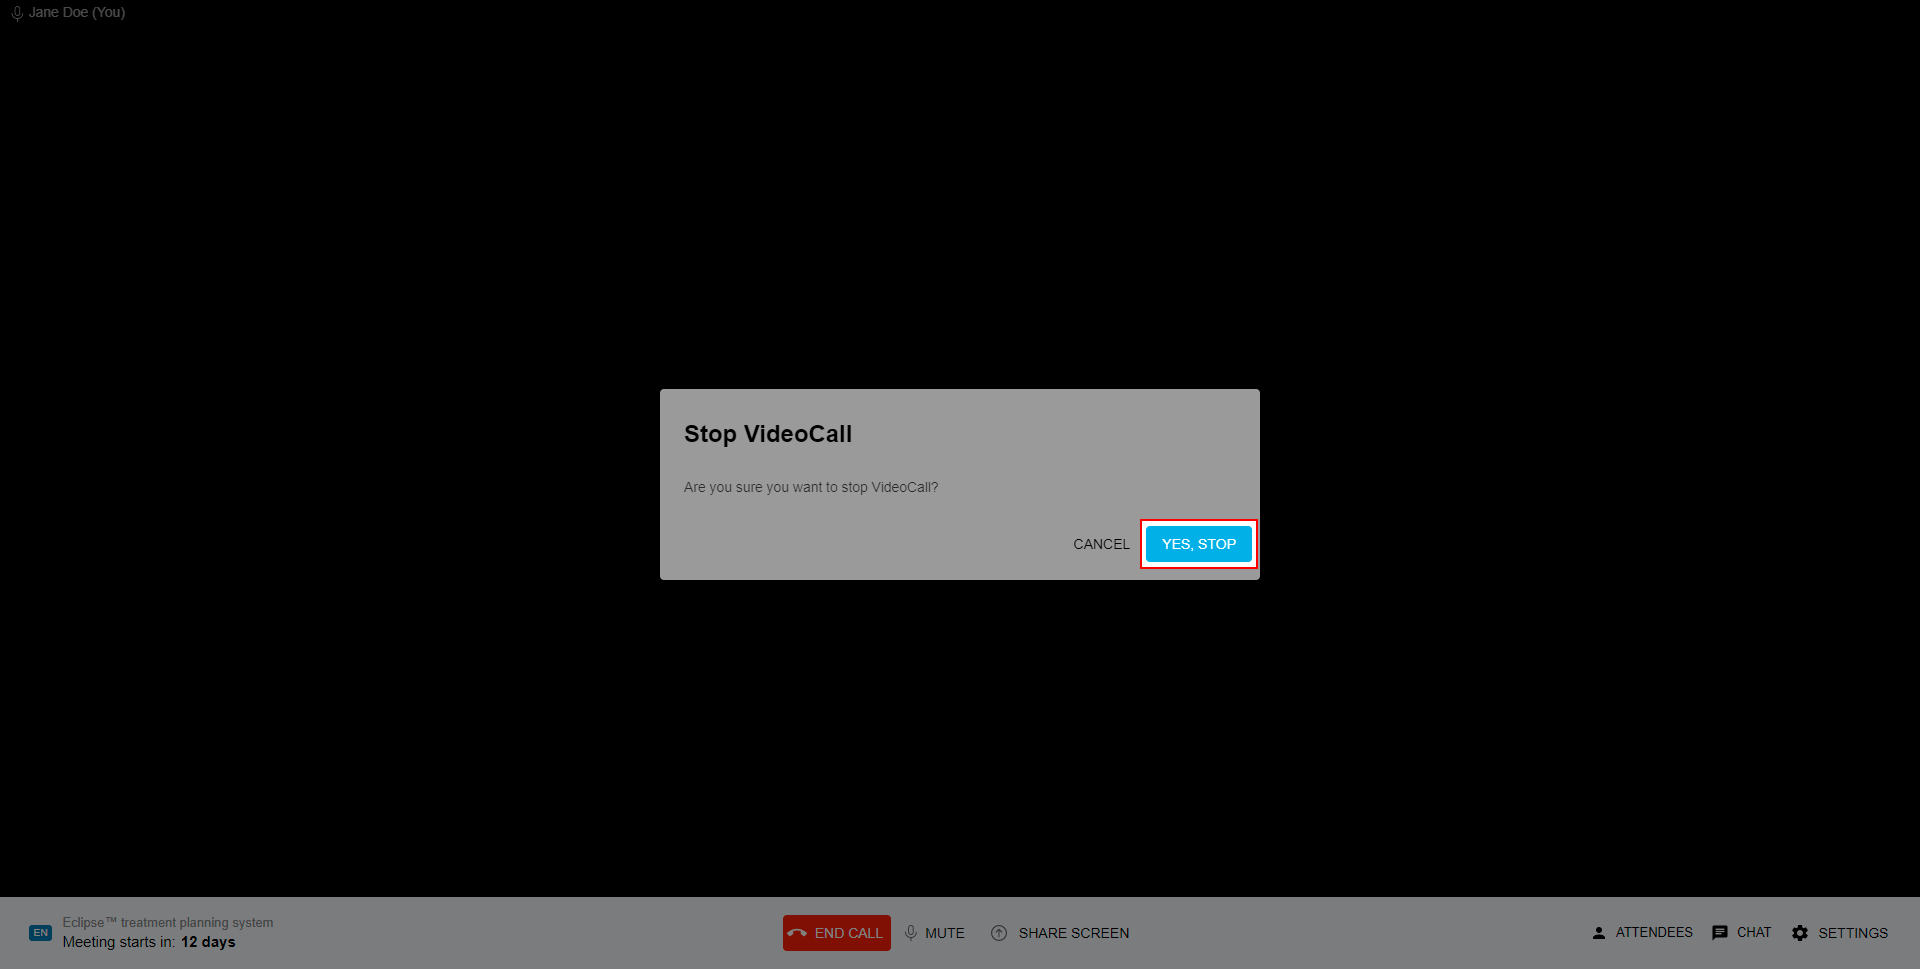
3.9. End call
To end Demo, click the “End call” button and confirm it by clicking the Yes, stop button.